Install Apache
Note: If you are installing the Microsoft IIS Web Server, you should skip over this section.
If you are upgrading, you do not need to upgrade your Apache installation. However, if you have upgraded your version of Tomcat, you will need to verify that the paths in your extraview.conf and httpd.conf files match the current paths to Tomcat – see the section Configure Apache below for instructions.
If you are upgrading from a version prior to 9.1, you may optionally enable the new ExtraView Spell Check utility. From ExtraView 9.1 onwards, this is configured automatically when you perform the initial installation. Click on this link to see the installation instructions.
The extraview.conf and workers.properties files referenced below can be downloaded from https://www.extraview.com/site/content/support-software
The following screenshots are for the installation of Apache 2.4. Apache.org does not provide downloadable binary files for the HTTP server for Windows. You can download Apache for Windows from https://www.apachelounge.com/download/
Open the httpd-2.4.28-Win64-VC15.zip file and extract the Apache24 folder to your destination location – C:\ExtraView so that you have it installed in C:\ExtraView\Apache24

Configuring Apache 2.4
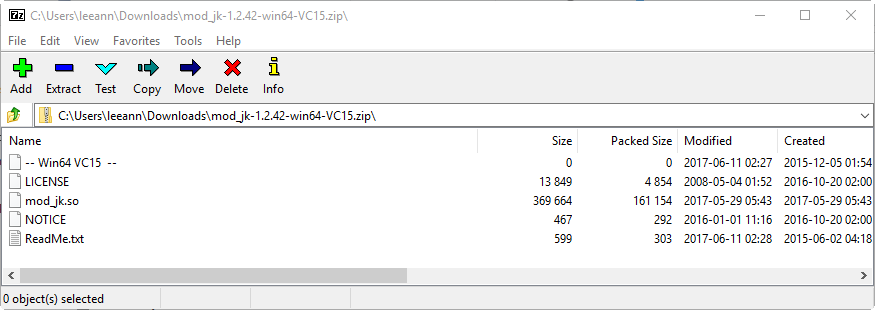
You will have downloaded an Apache Tomcat Connector file from apachelounge.com. In our example, we downloaded mod_jk-1.2.42-win64-VC15.zip.
Extract the file named mod_jk.so into C:\ExtraView\Apache24\modules, or the corresponding directory on your system.
Copy the workers.properties file into C:\ExtraView\Apache24\conf, or the corresponding directory on your system.
Copy the extraview.conf file into C:\ExtraView\Apache24\conf\extra, or the corresponding directory on your system.
Edit the file named httpd.conf in C:\ExtraView\Apache24\conf, or the corresponding directory on your system.
Find the line:
#ServerName www.example.com:80
Set it to a valid entry – do not use the URL/servername that you will use to access ExtraView – generally you can put the IP address of the machine here
ServerName 127.0.0.1:80
Find the line:
ServerRoot “c:/Apache24”
Set it to the path where Apache is installed
ServerRoot “c:/ExtraView/Apache24”
Find the line:
DocumentRoot “c:/Apache24/htdocs”
Set it to the path where Apache is installed
DocumentRoot “c:/ExtraView/Apache24/htdocs”
Find the line:
<Directory “c:/Apache24/htdocs”>
Set it to the path where Apache is installed
<Directory “c:/ExtraView/Apache24/htdocs”>
Find the line:
ScriptAlias /cgi-bin/ “c:/Apache24/cgi-bin/”
Set it to the path where Apache is installed
ScriptAlias /cgi-bin/ “c:/ExtraView/Apache24/cgi-bin/”
Find the line:
<Directory “c:/Apache24/cgi-bin”>
Set it to the path where Apache is installed
<Directory “c:/ExtraView/Apache24/cgi-bin”>
Now find the line:
# Include conf/extra/httpd-vhosts.conf
(Search for vhosts) and place this line below it:
Include conf/extra/extraview.conf
Verify the paths in the extraview.conf correspond to your installation locations.
Edit the file extraview.conf to point to the correct corresponding directories on your server.
Locate the line at the bottom of the extraview.conf file that refers to mod_jk.so and make any needed changes to match your mod_jk file that you either compiled or downloaded: LoadModule jk_module modules/mod_jk.so If you enter the URL of the server into a browser, for example http://localhost, you should get the Apache test page.
Installing the Apache 2.4 as a Windows Service
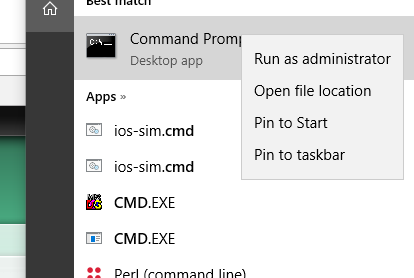
Open a command prompt as an administrator
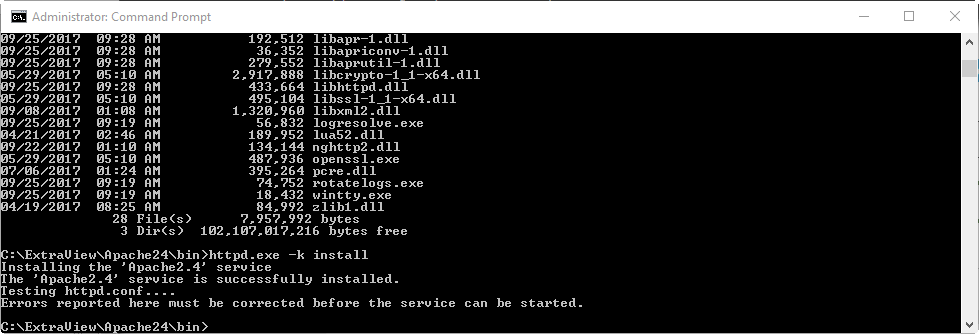
Go to the C:\ExtraView\Apache24\bin folder where httpd.exe is located
Install Apache24 as a service by typing in the command
httpd.exe -k install
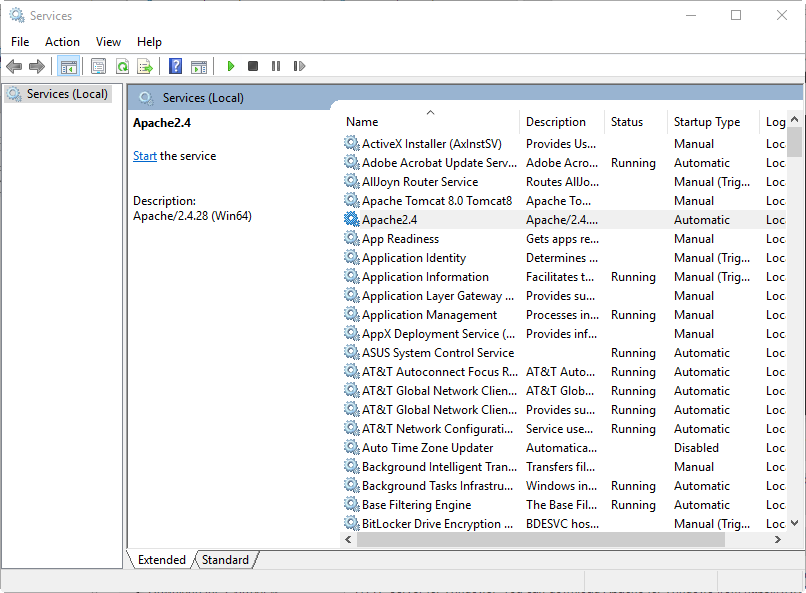
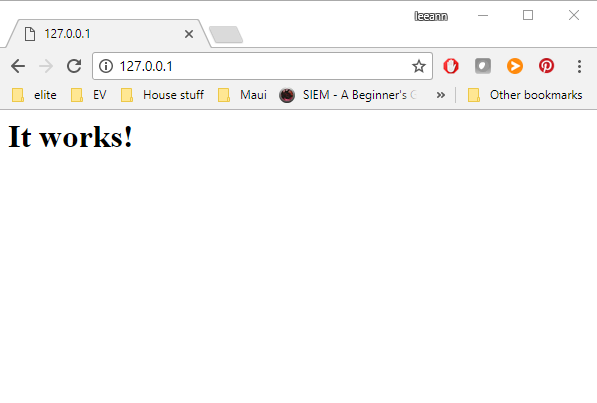
Start the service and verify if it works:
This assumes the location of Apache Tomcat and the ExtraView installation will be altered to suit those of your installation.
Configuring Apache to Use JavaScript Compression
ExtraView ships with its JavaScript files in both a compressed and a non-compressed format. There may be a considerable speed advantage to using the compressed JavaScript files, especially if your users do not have access to a high bandwidth network. To enable the delivery of compressed JavaScript to your user’s computers, set these directives in your extraview.conf file:
Now, find the following line in your httpd.conf file:
#LoadModule rewrite_module modules/mod_rewrite.so
Remove the comment character (#) at the beginning of the line.
Find the following line in your httpd.conf file:
#LoadModule expires_module modules/mod_expires.so
Remove the comment character (#) at the beginning of the line.
Lastly, look for the line:
#LoadModule headers_module modules/mod_headers.so
and remove the comment character (#) from the beginning of the line. The Apache server must be restarted after these changes.
Using Drag-and-Drop File Upload with SSL Enabled
If your users are utilizing the drag-and-drop file upload for attachments, document fields and image fields, make sure that the Apache configuration has a ServerName or ServerAlias for the SSL virtual host that matches the hostname you are using. For example, you can customize this fragment to get the desired behavior.
ServerName mydomain.com
ServerAlias www.mydomain.com
. . .
</VirtualHost>
