Google Email Configuration
The OAuth2 authentication scheme only works with Gmail Business Accounts, not individual Gmail accounts. Google Email support IMAP and SMTP connections. It does not support a POP3 connections.
Step 1 – Access the Google Email Portal
Sign on to your established Google Email business account at https://console.cloud.google.com. The screen will be similar to this:
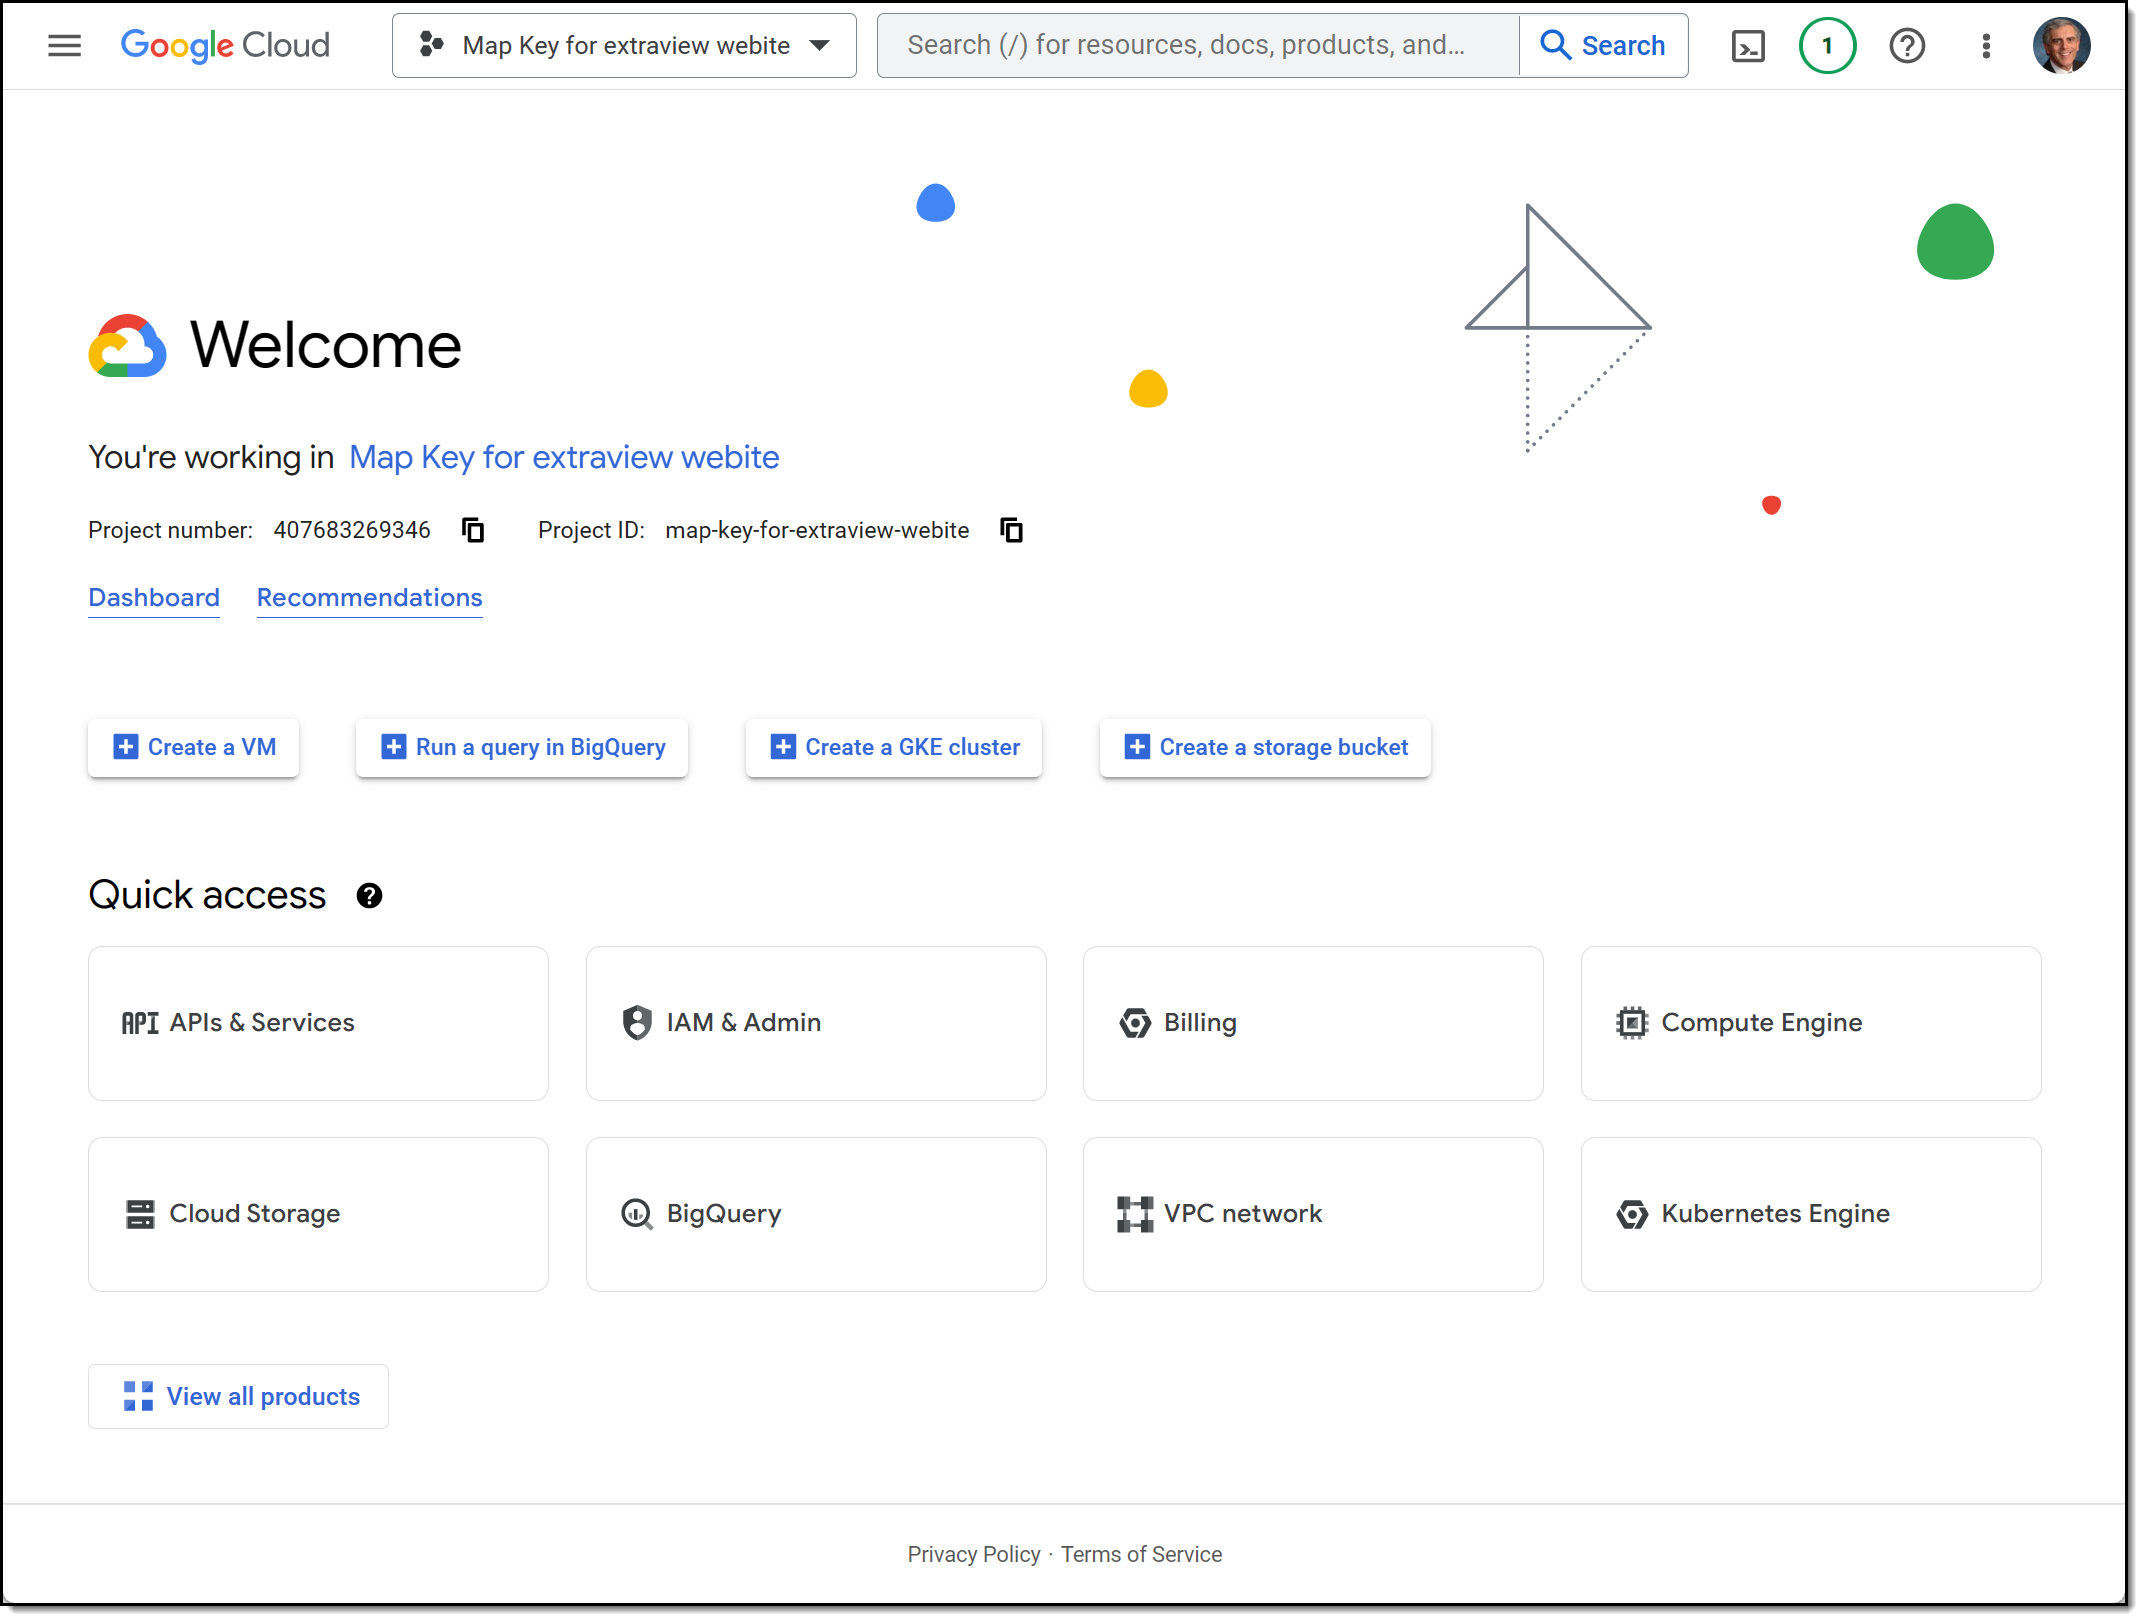
Click on the APIs & Services link.
Step 2 – Create a Project
Create a new Project with the NEW PROJECT button, or use an existing one if you want to modify its settings. The project requires a name, your organization and location details.
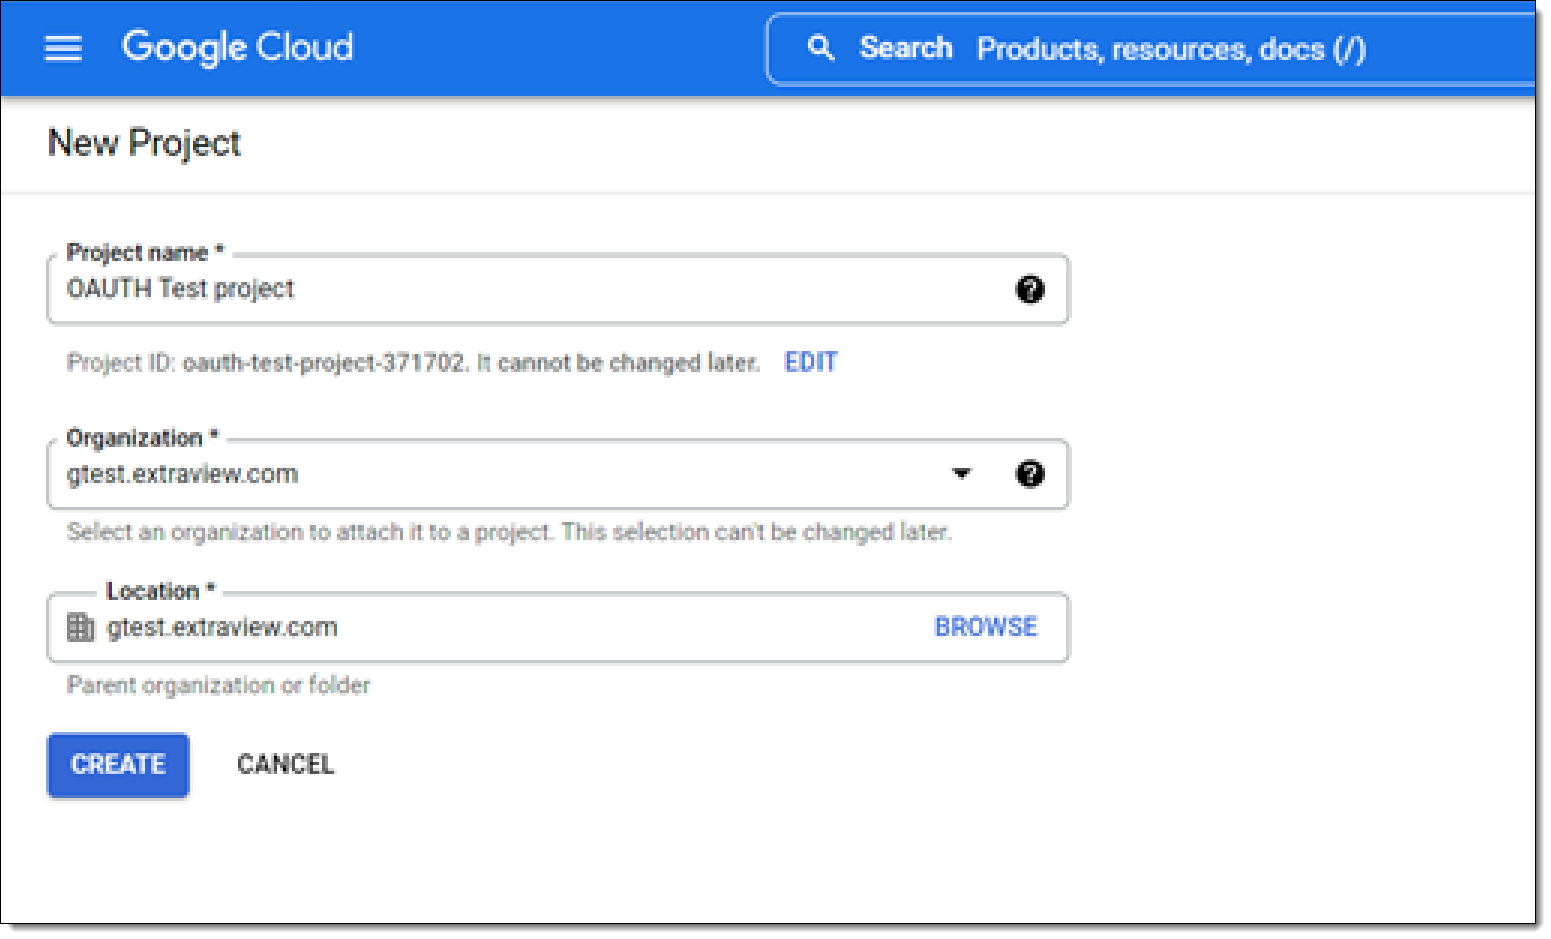
Make sure your project is selected – you see its name at the top of the Azure screen when it’s selected.
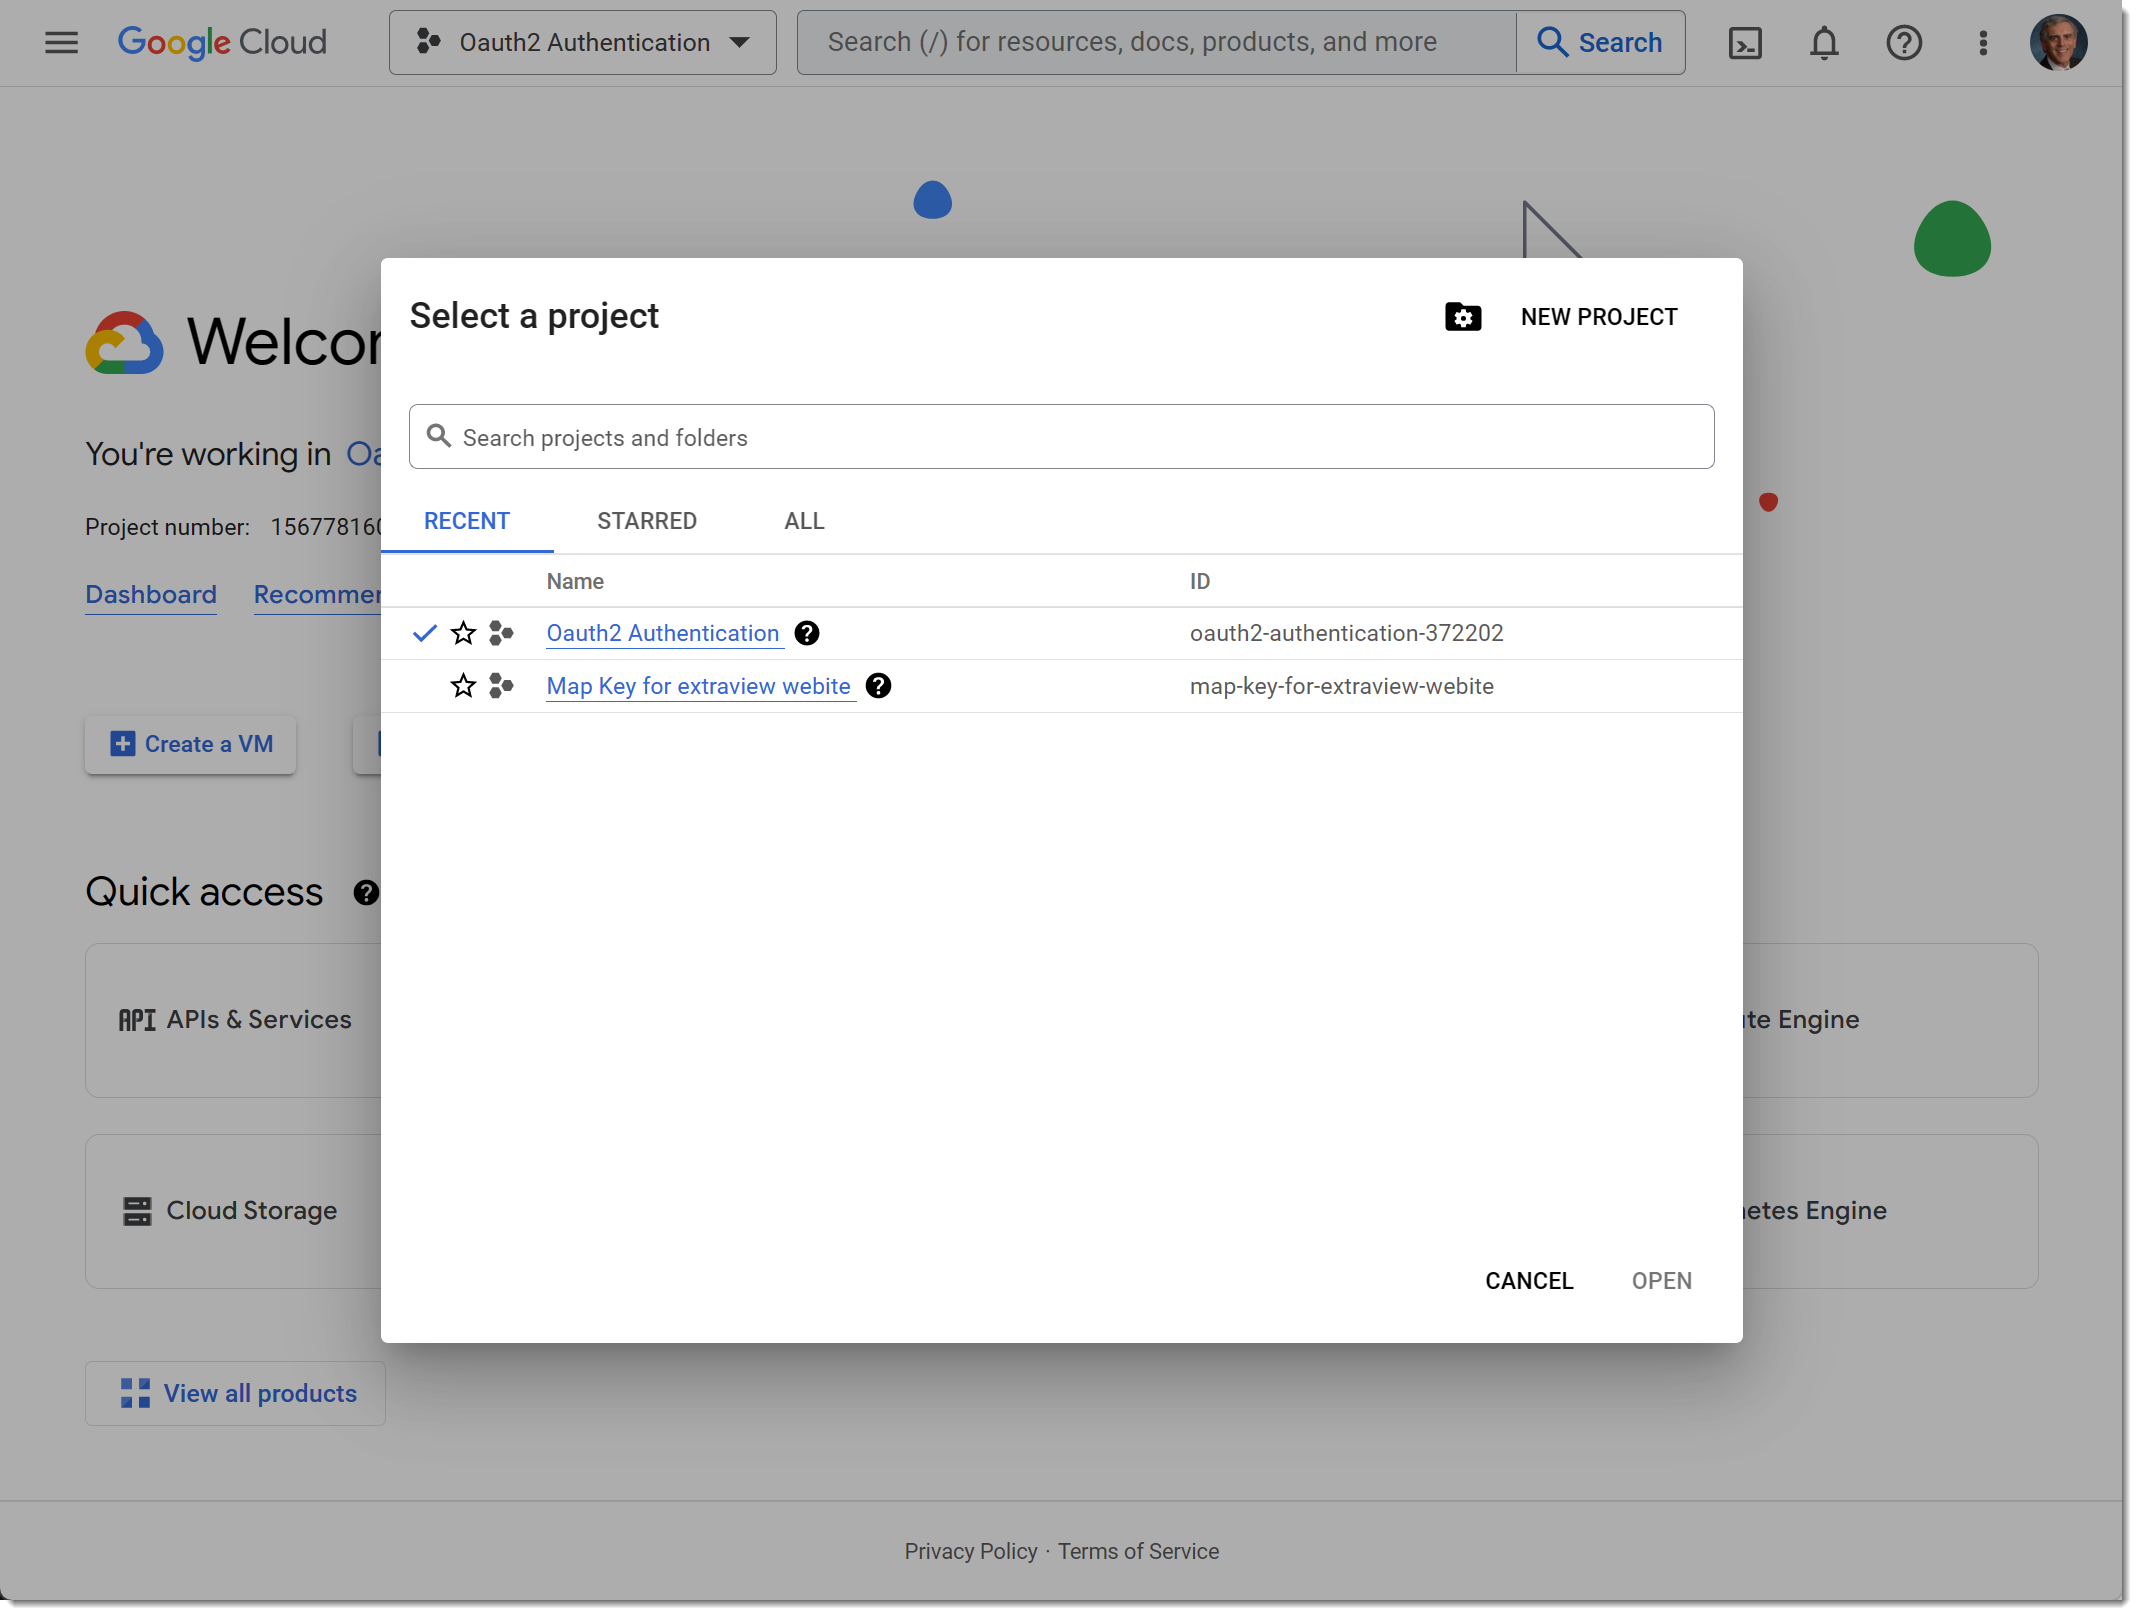
Select the project you created.
Step 3 – Enable the APIs
This step is where you enable the APIs for the project you just created. Click on the APIs & Services link from the Welcome screen.
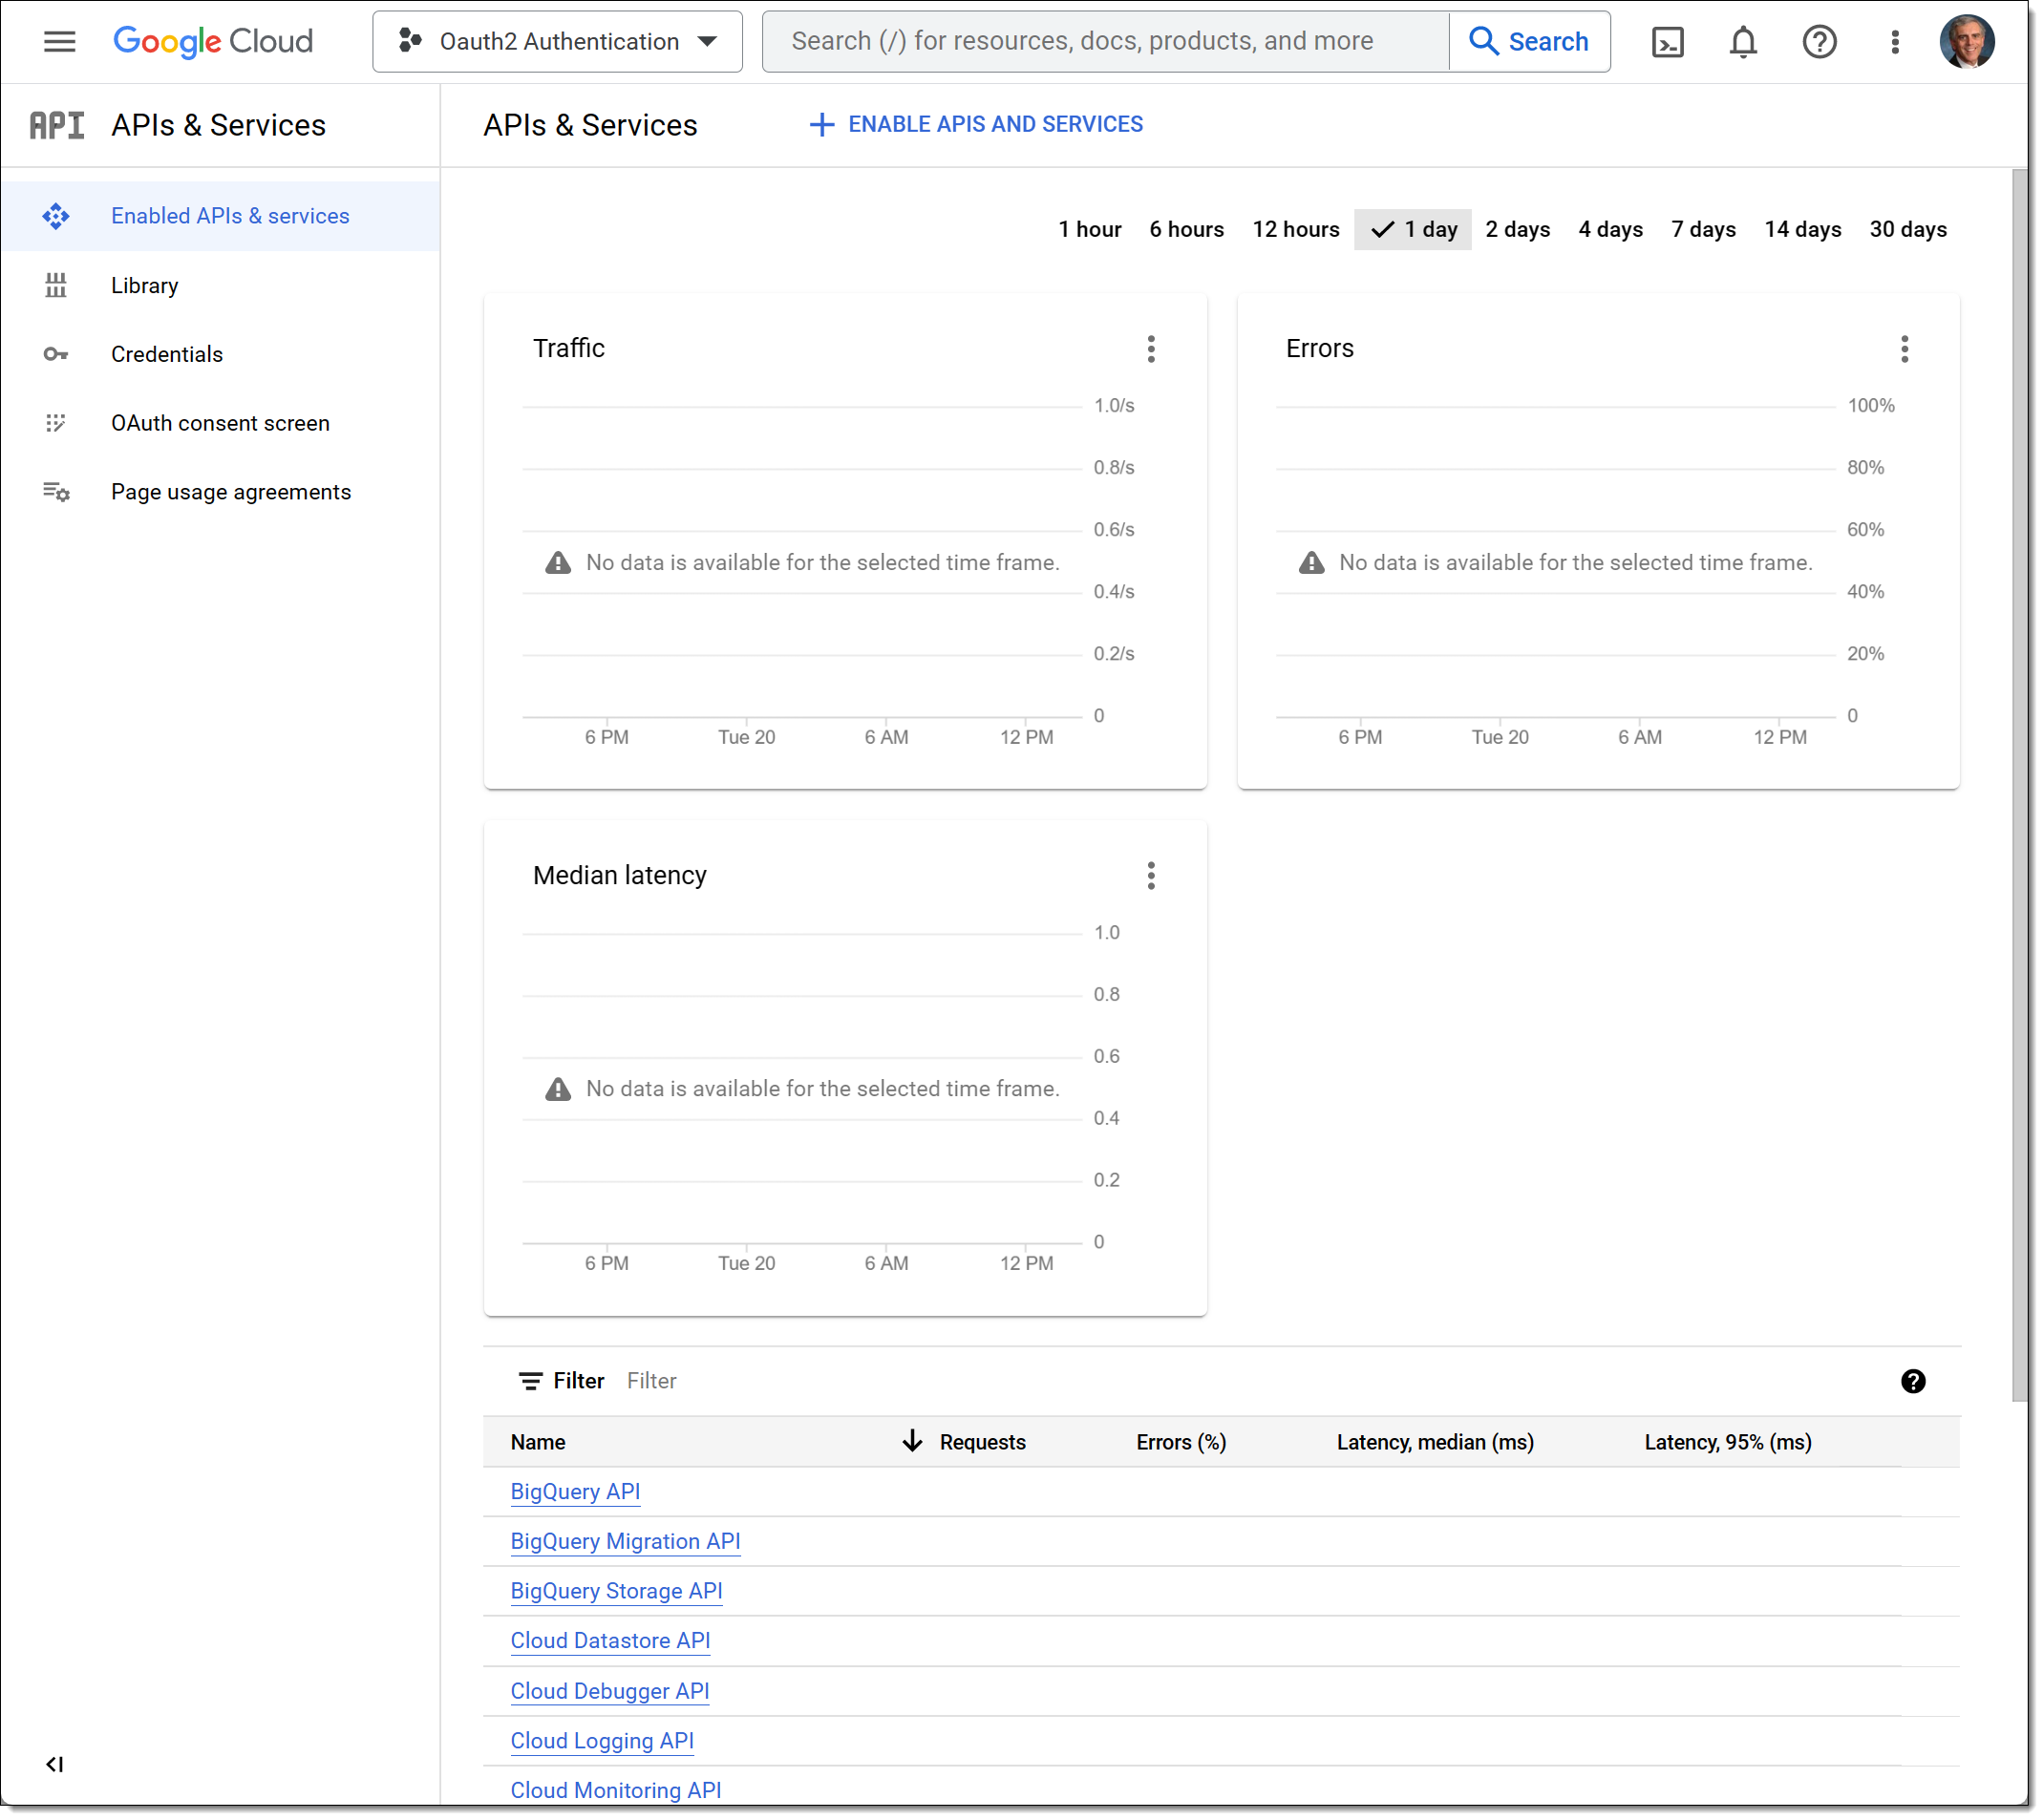
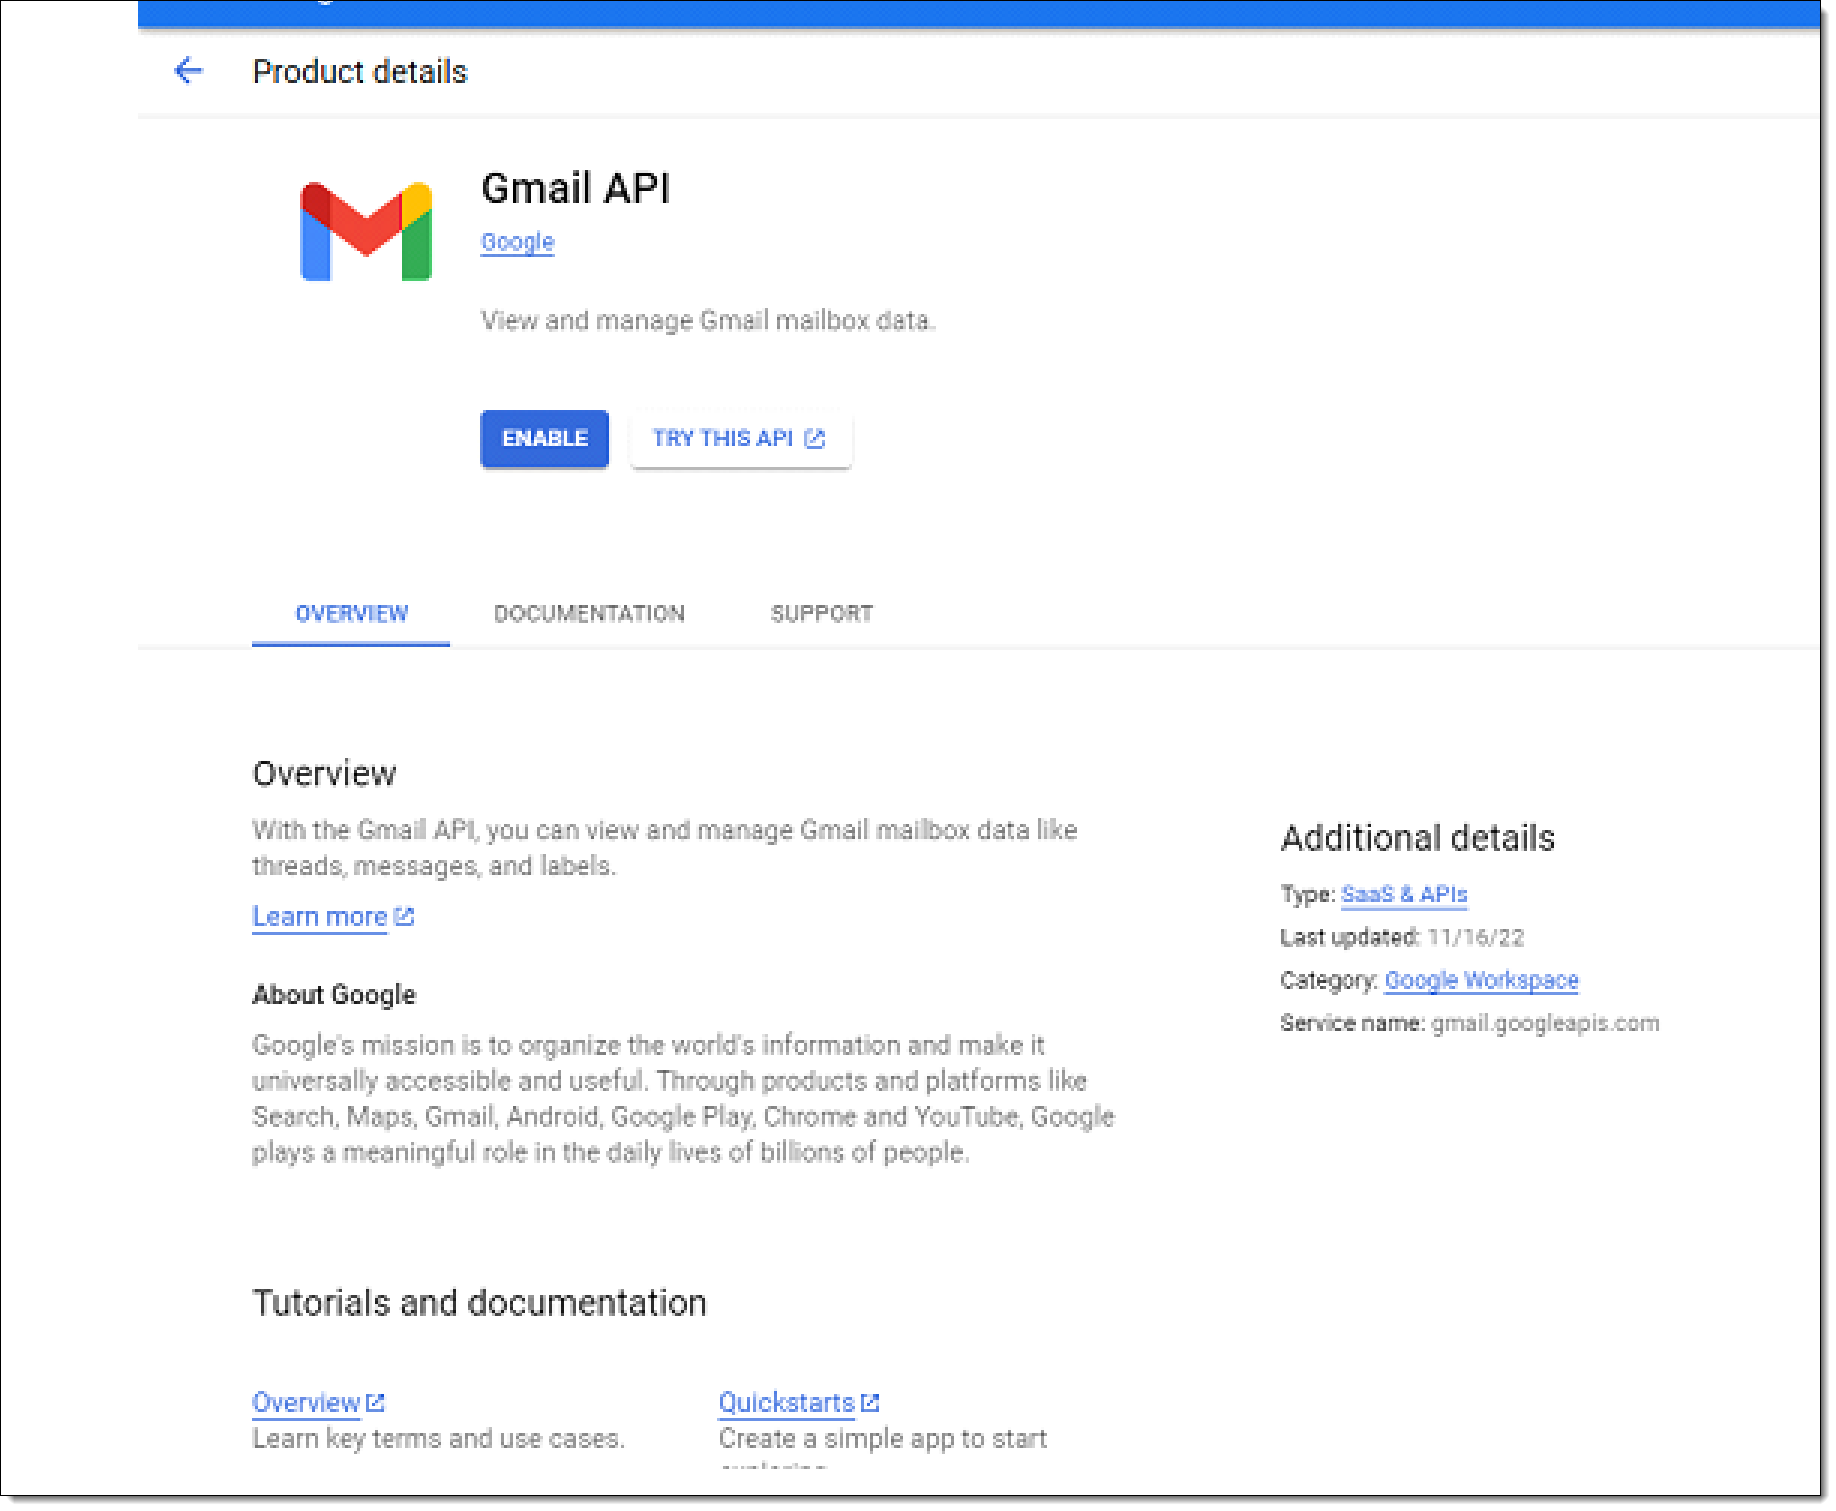
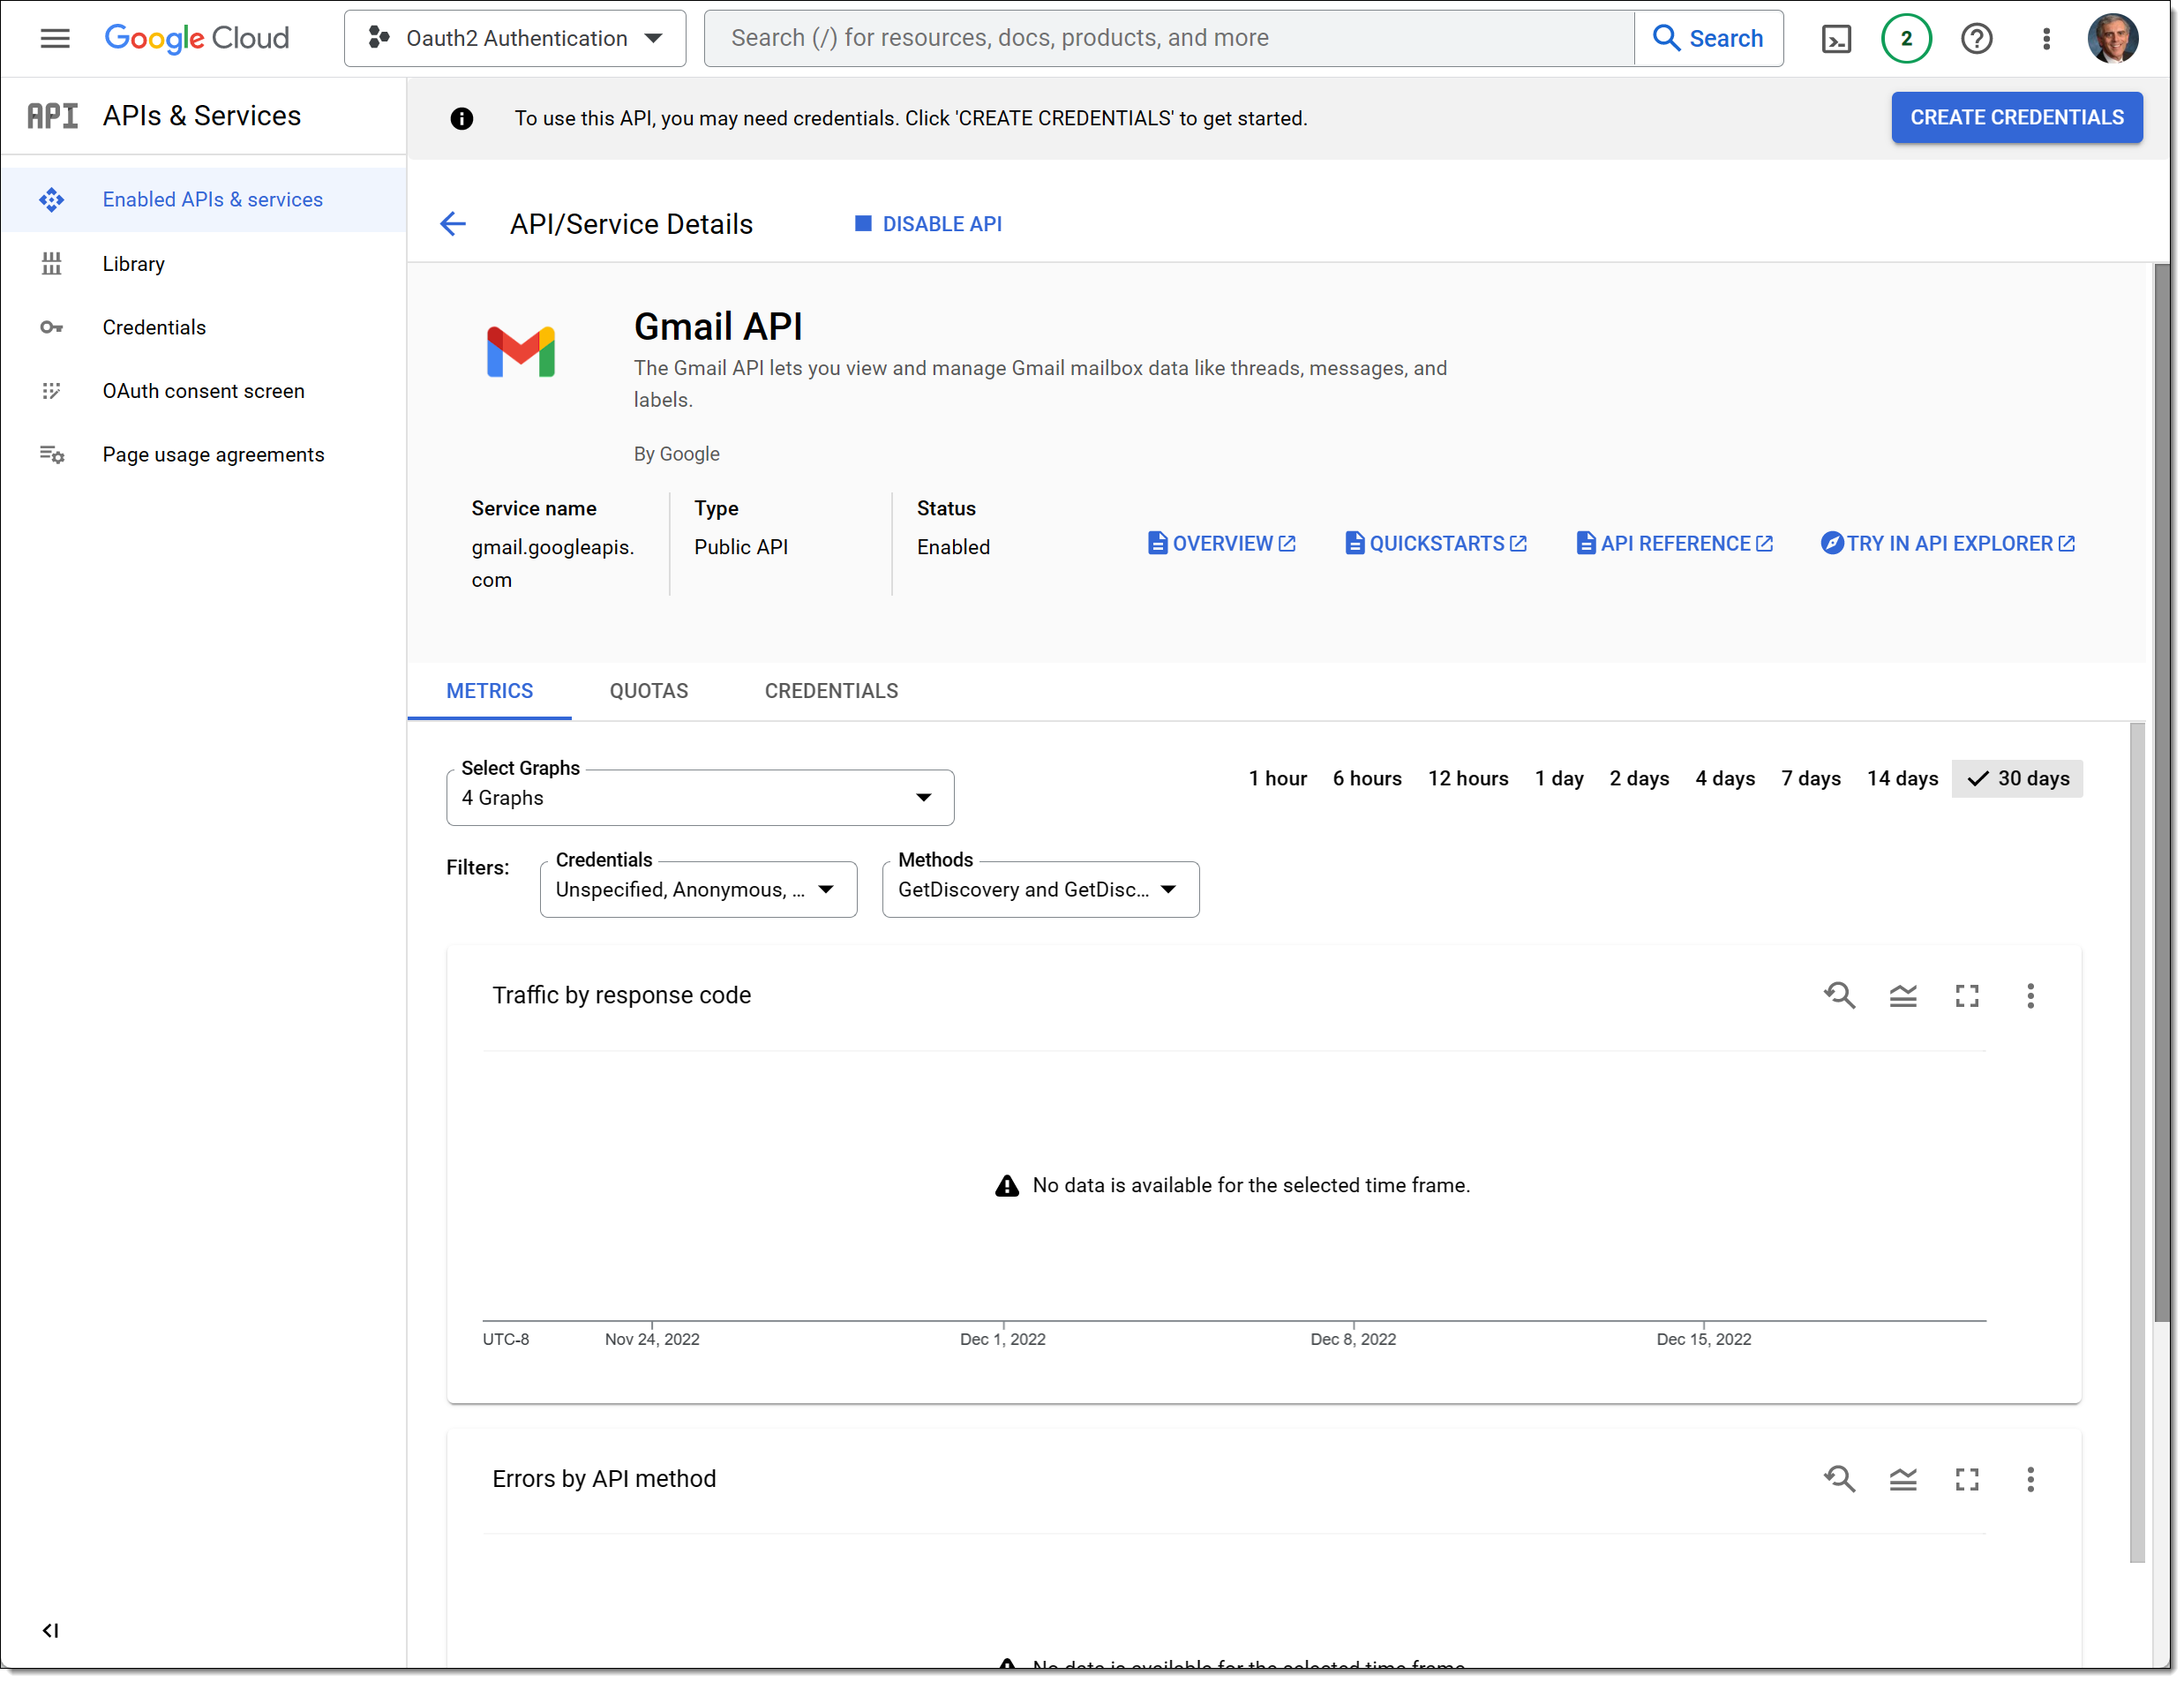
Now click on the link at the top of the screen ENABLE APIS AND SERVICES. Search down the page for the GMail API. Click on the Gmail API button and then click the ENABLE button.
Step 4 – Create the OAuth Consent
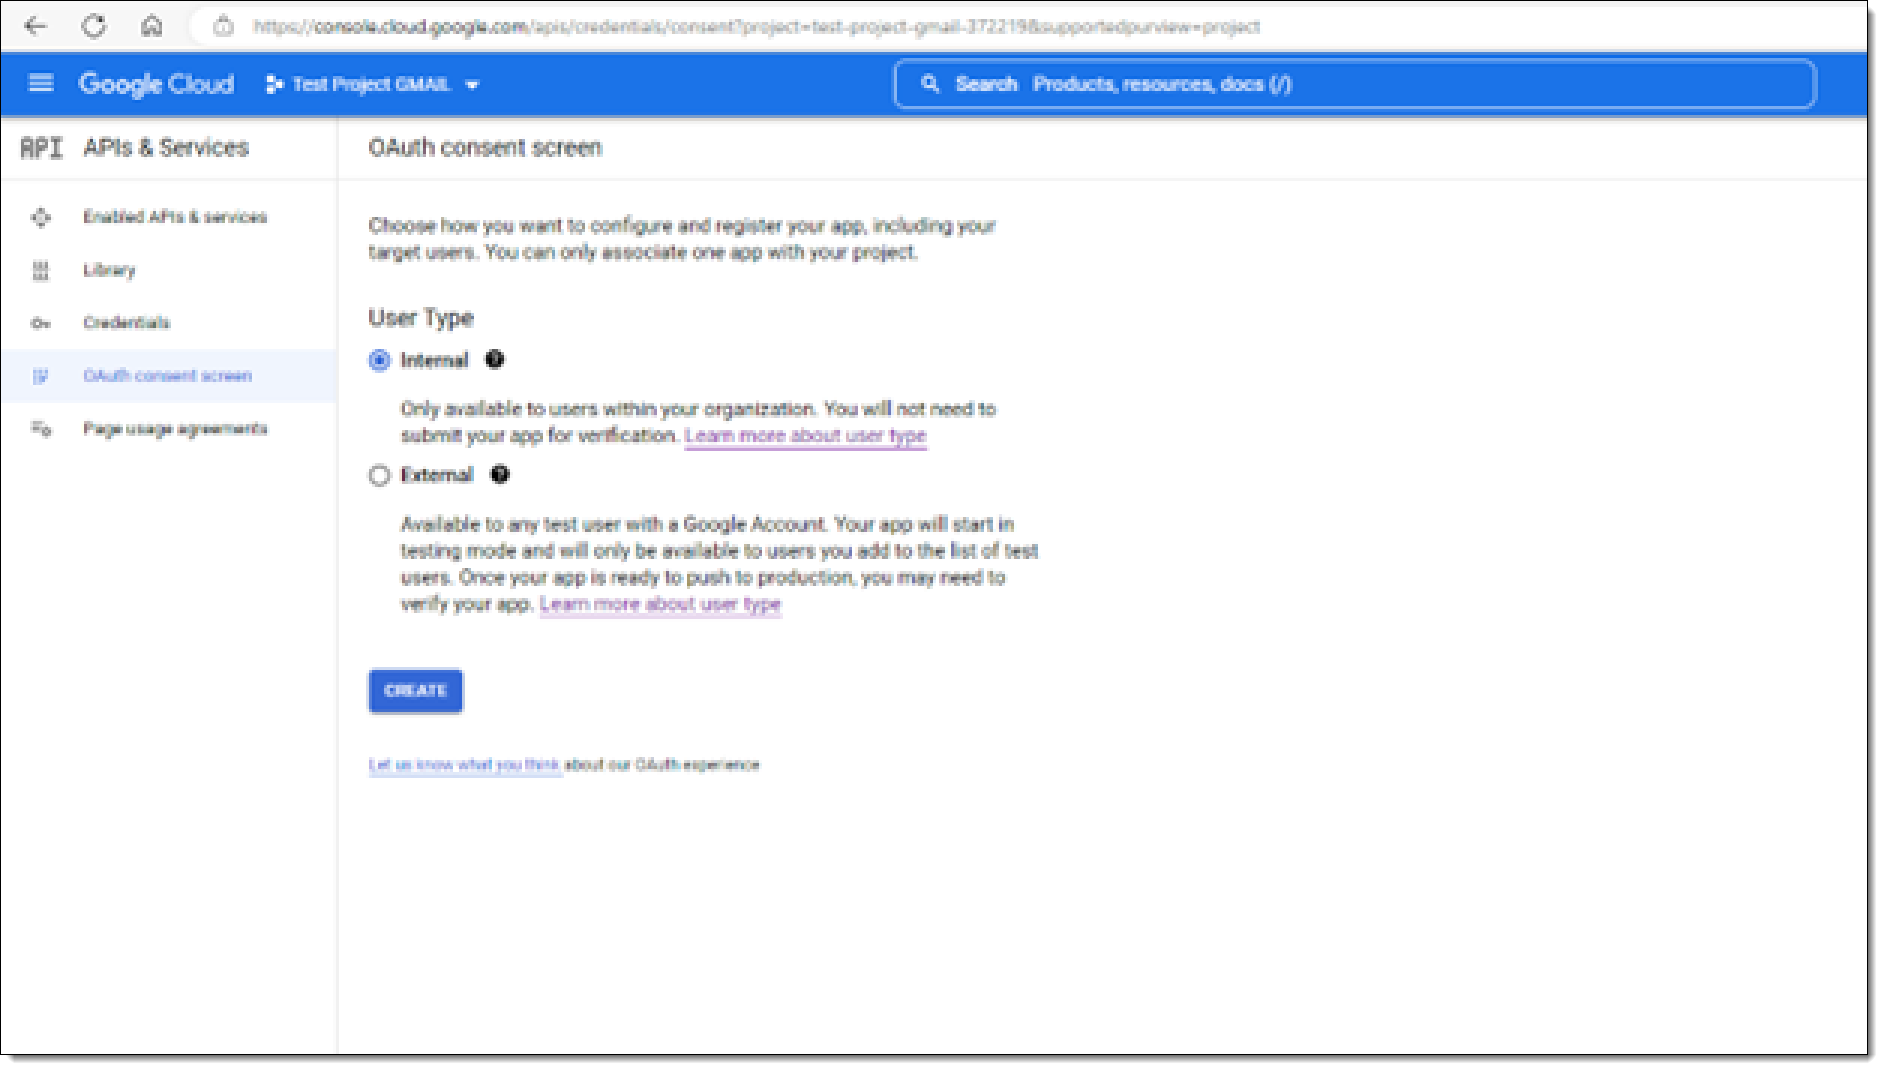
From the screen just shown, click on the OAuth consent screen link in the left-hand menu. Select a User Type of Internal on this screen and click the CREATE button..
Step 5 – Provide the App Information
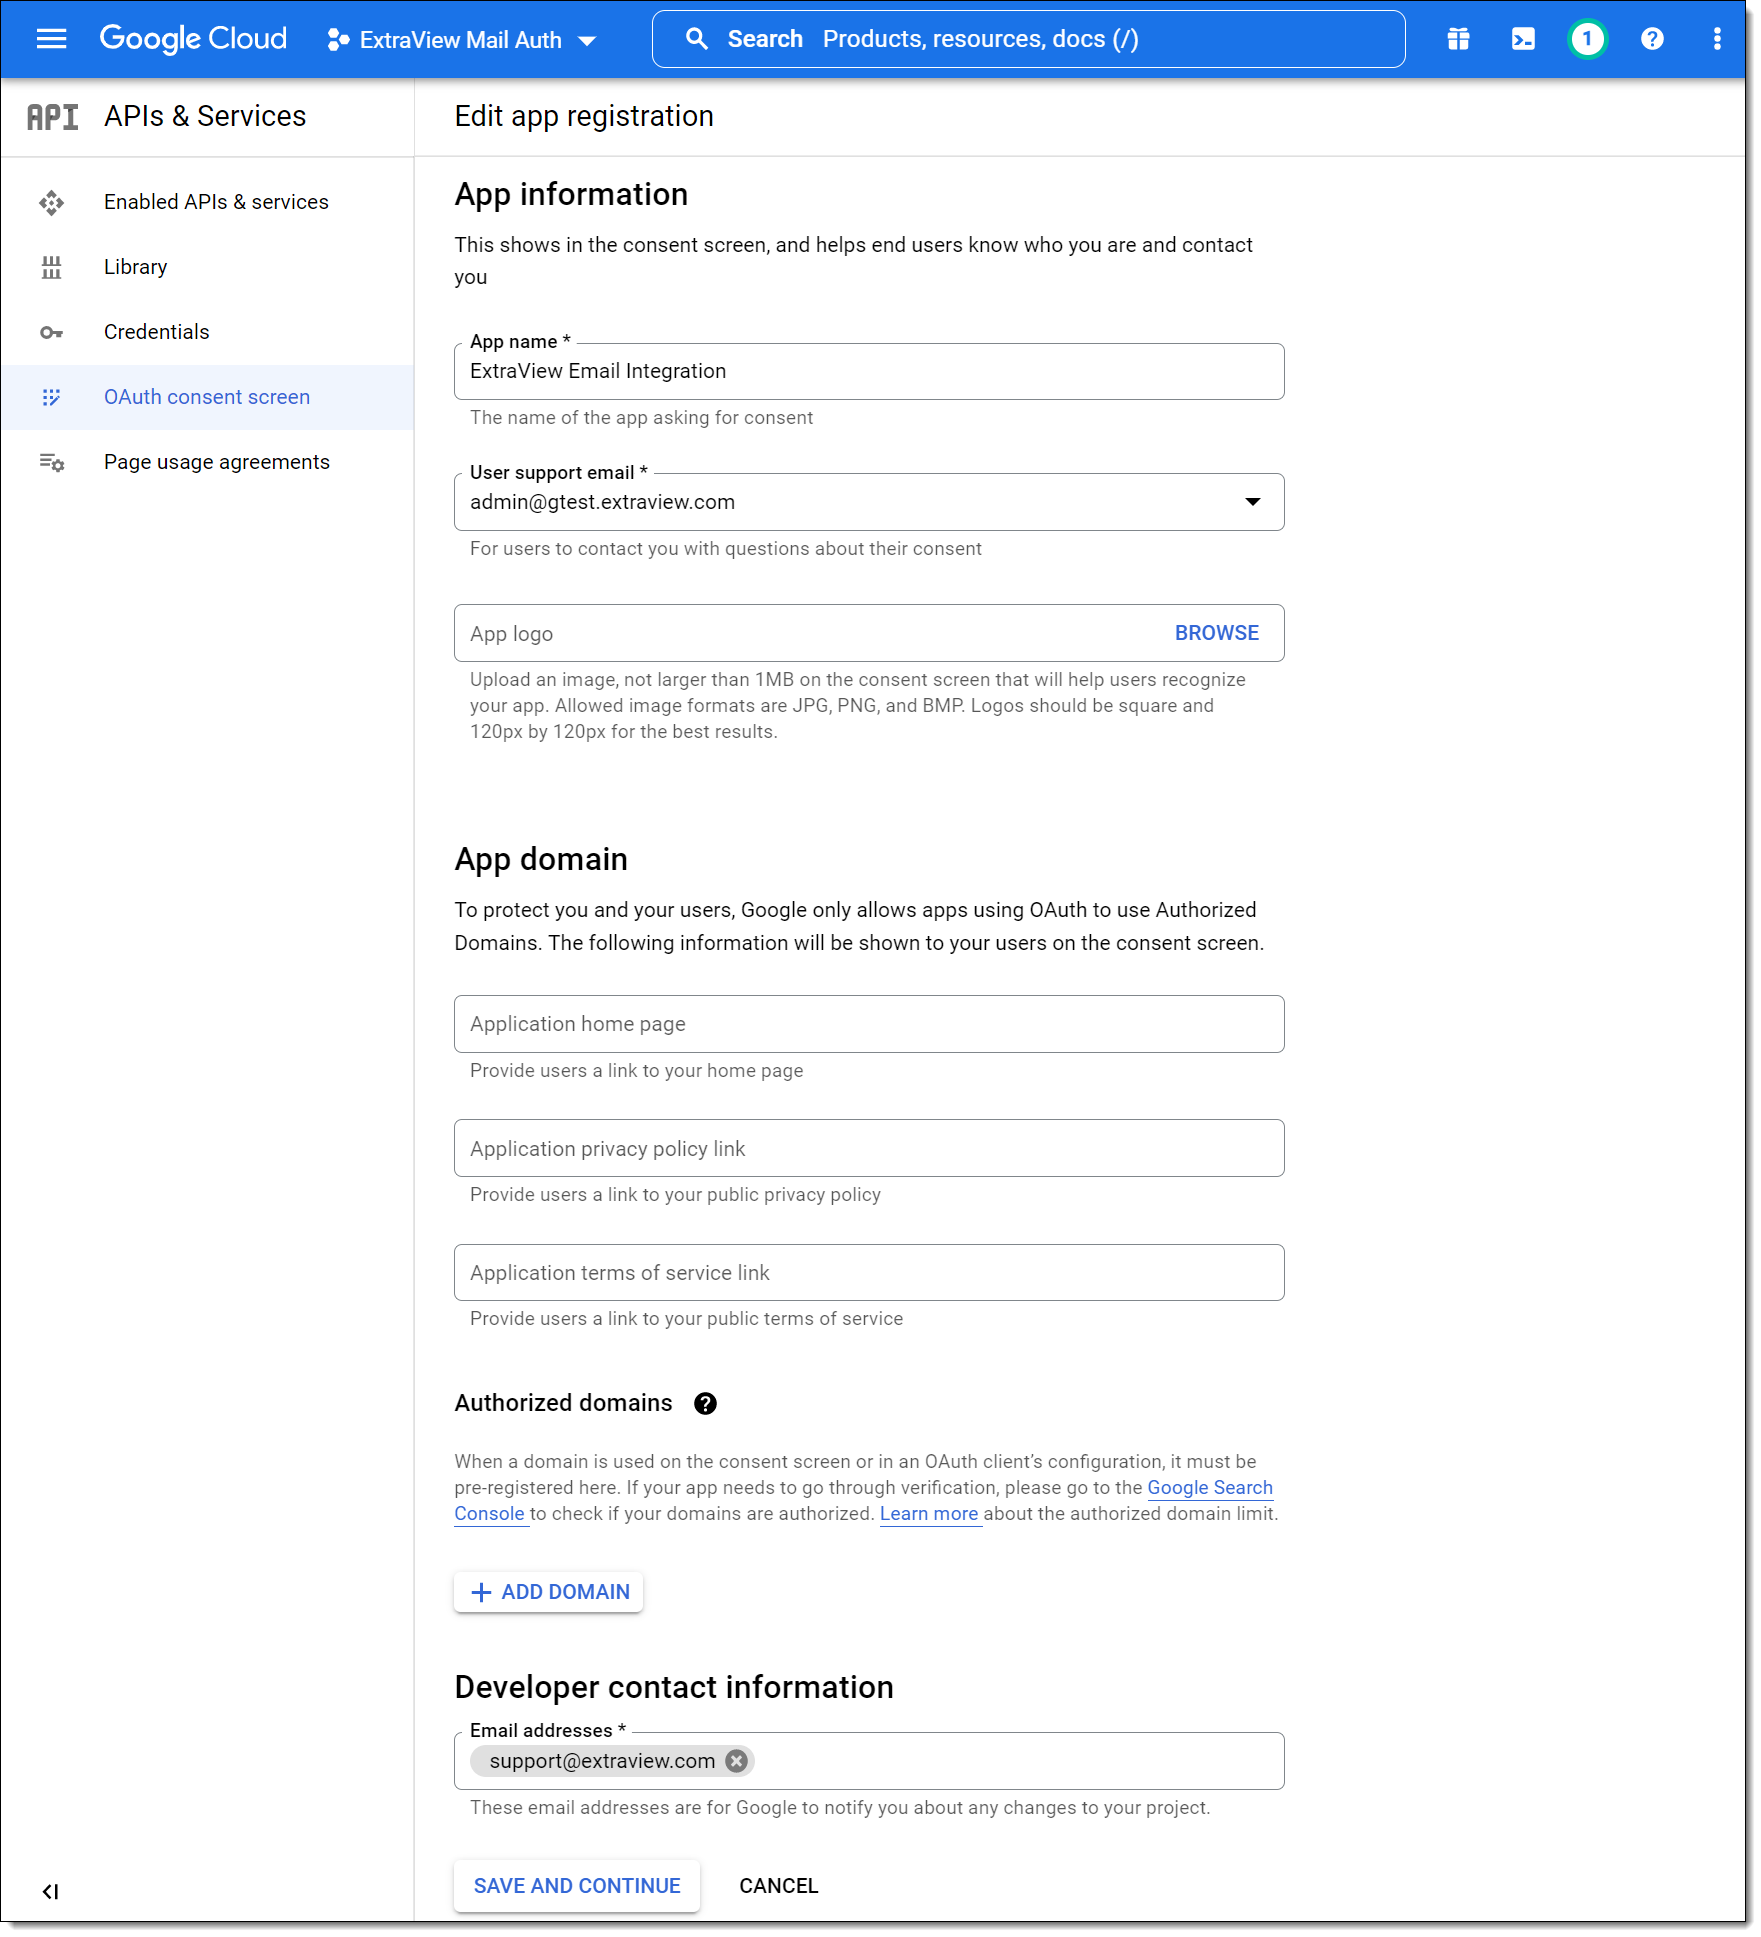
Complete the form for the OAuth consent screen with the entries required for your email access and click Save AND CONTINUE.
Step 6 – Set the Scopes
This takes you to the Scopes screen. You may add the required scopes with the button labeled ADD OR REMOVE SCOPES. Click this button.
Use the Filter search capability to look for GMAIL and select the Gmail API with a scope of https://mail.google.com and check this entry.
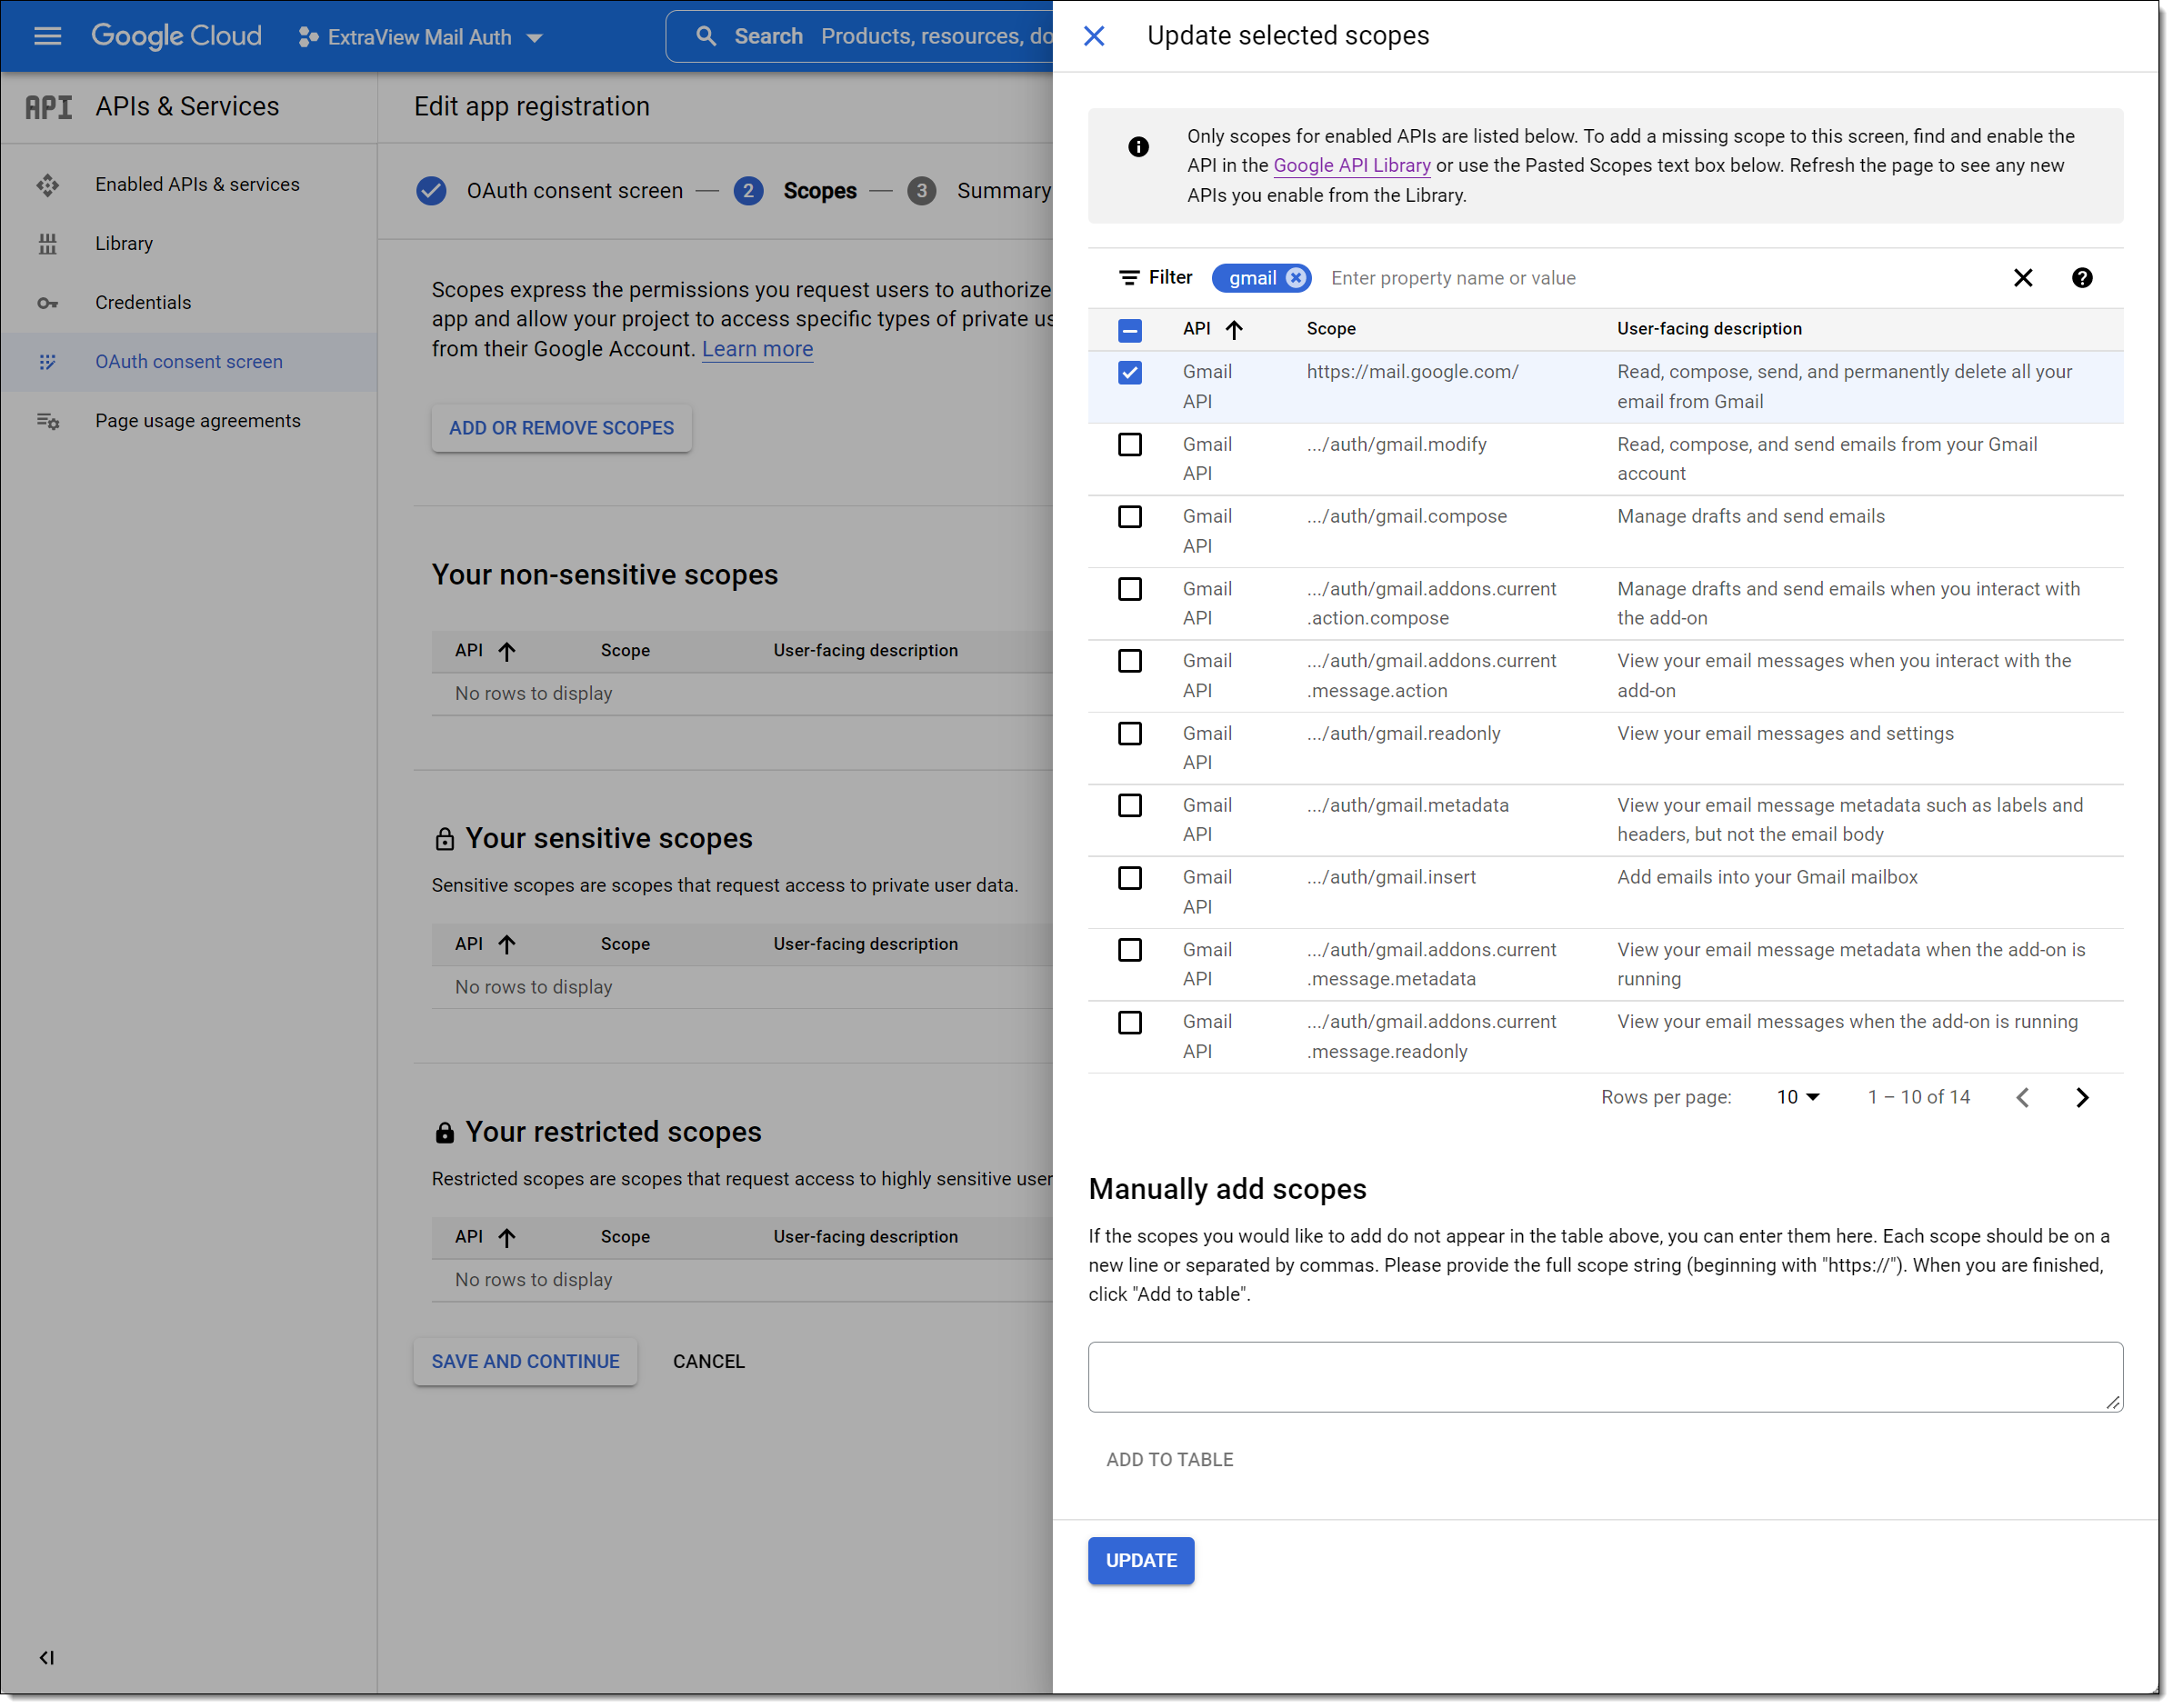
Click UPDATE to add this scope.
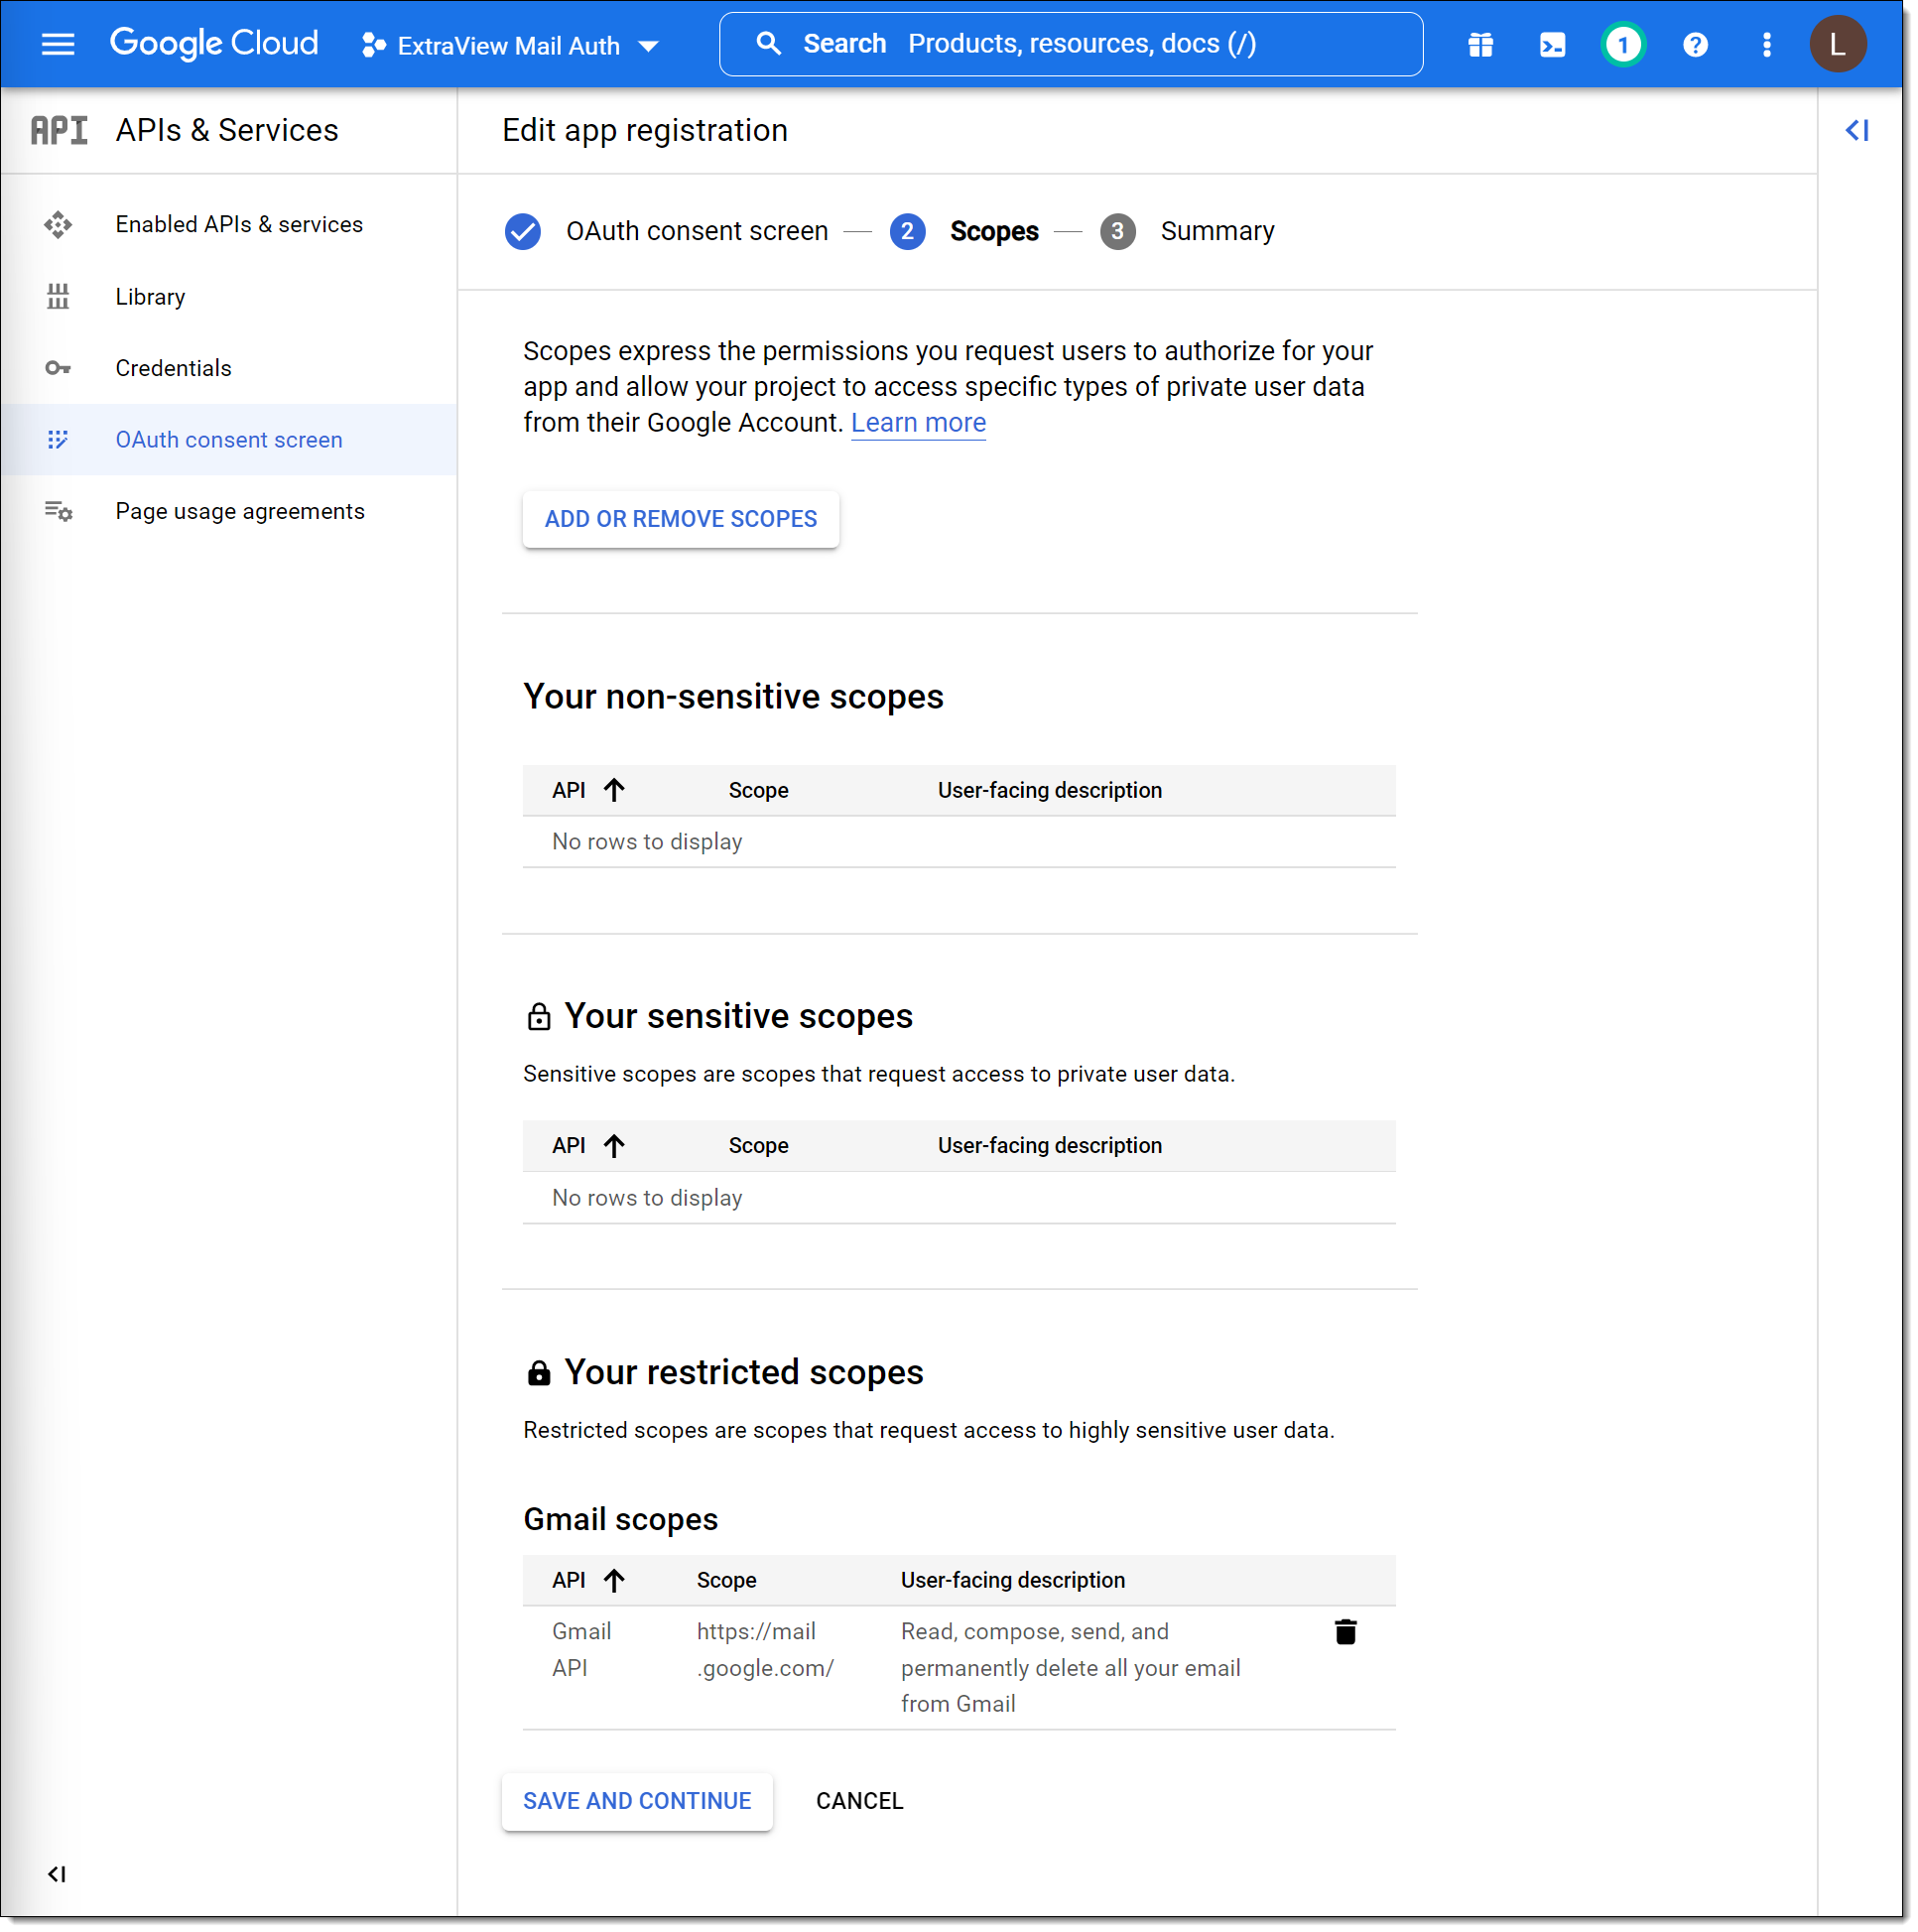
Click SAVE AND CONTINUE to save the scope information. You will see a summary for the OAUTH consent screen.
Step 7 – Create Credentials
Click Create Credentials from the left-hand navigation menu.
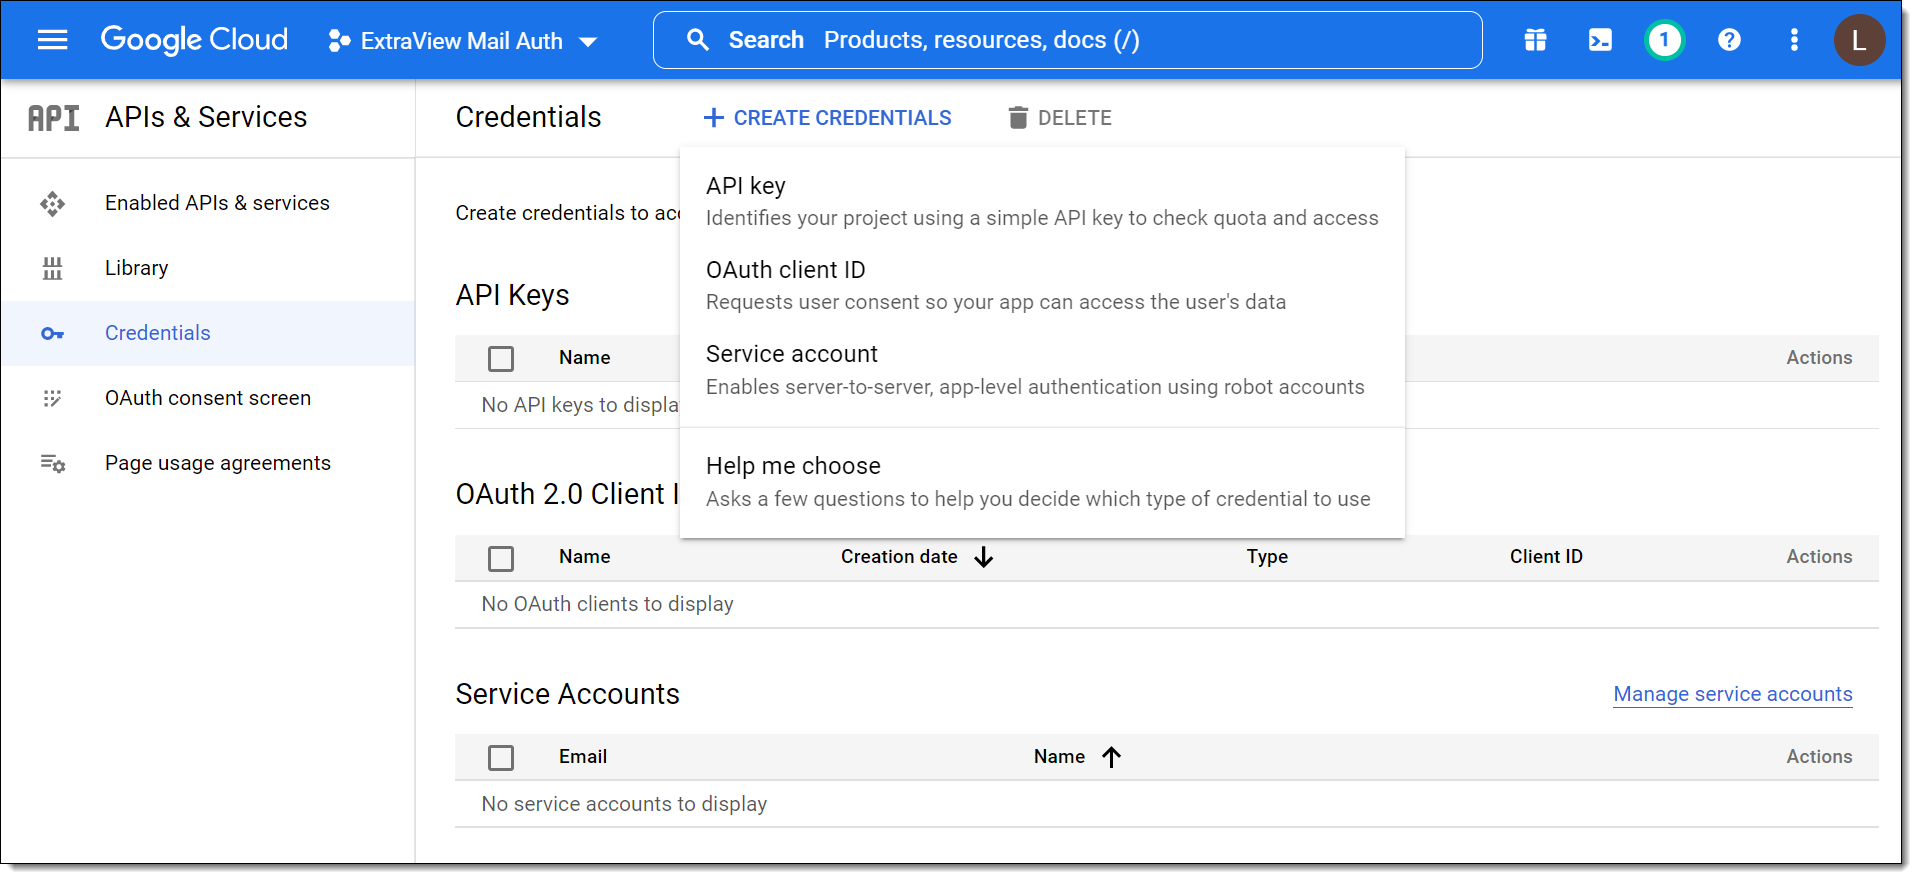
Select the OAuth Client ID from the menu, The Application Type is Web Application. Provide a Name.
The Authorization redirect URI is required. This is the URI that redirects the app back to the ExtraView code. Its value can be seen on the directions within the screen Access Tokens for 3rd Party Email Services within ExtraView. Copy and paste this value from the ExtraView configuration screen into this field within the Credentials screen.
Lastly, click Create to complete the configuration.
Step 8 – OAuth Details
These are displayed on a summary popup within Azure. The Client ID and Your Client Secret are required for entering within the ExtraView Token Interface, so please make sure you keep these.
