Microsoft Azure Email Configuration
OAuth2 authorization with access tokens is supported for Microsoft Exchange (EWS), POP3, IMAP and SMTP connections.
Step 1 – Access the Azure Portal
Sign on to your established Microsoft Azure account at https://portal.azure.com/#home. Your screen will look like this:
Step 2 – Create the Tenant ID
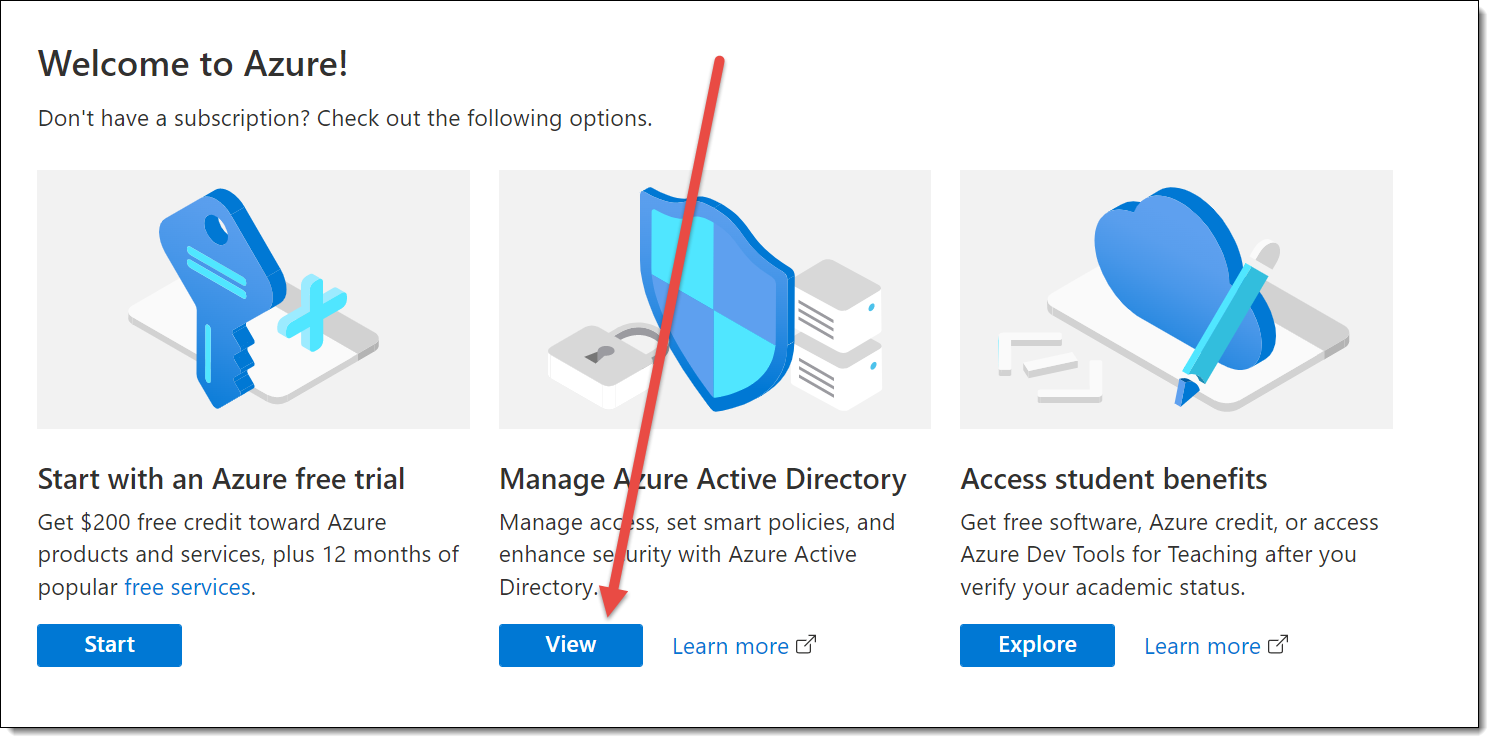
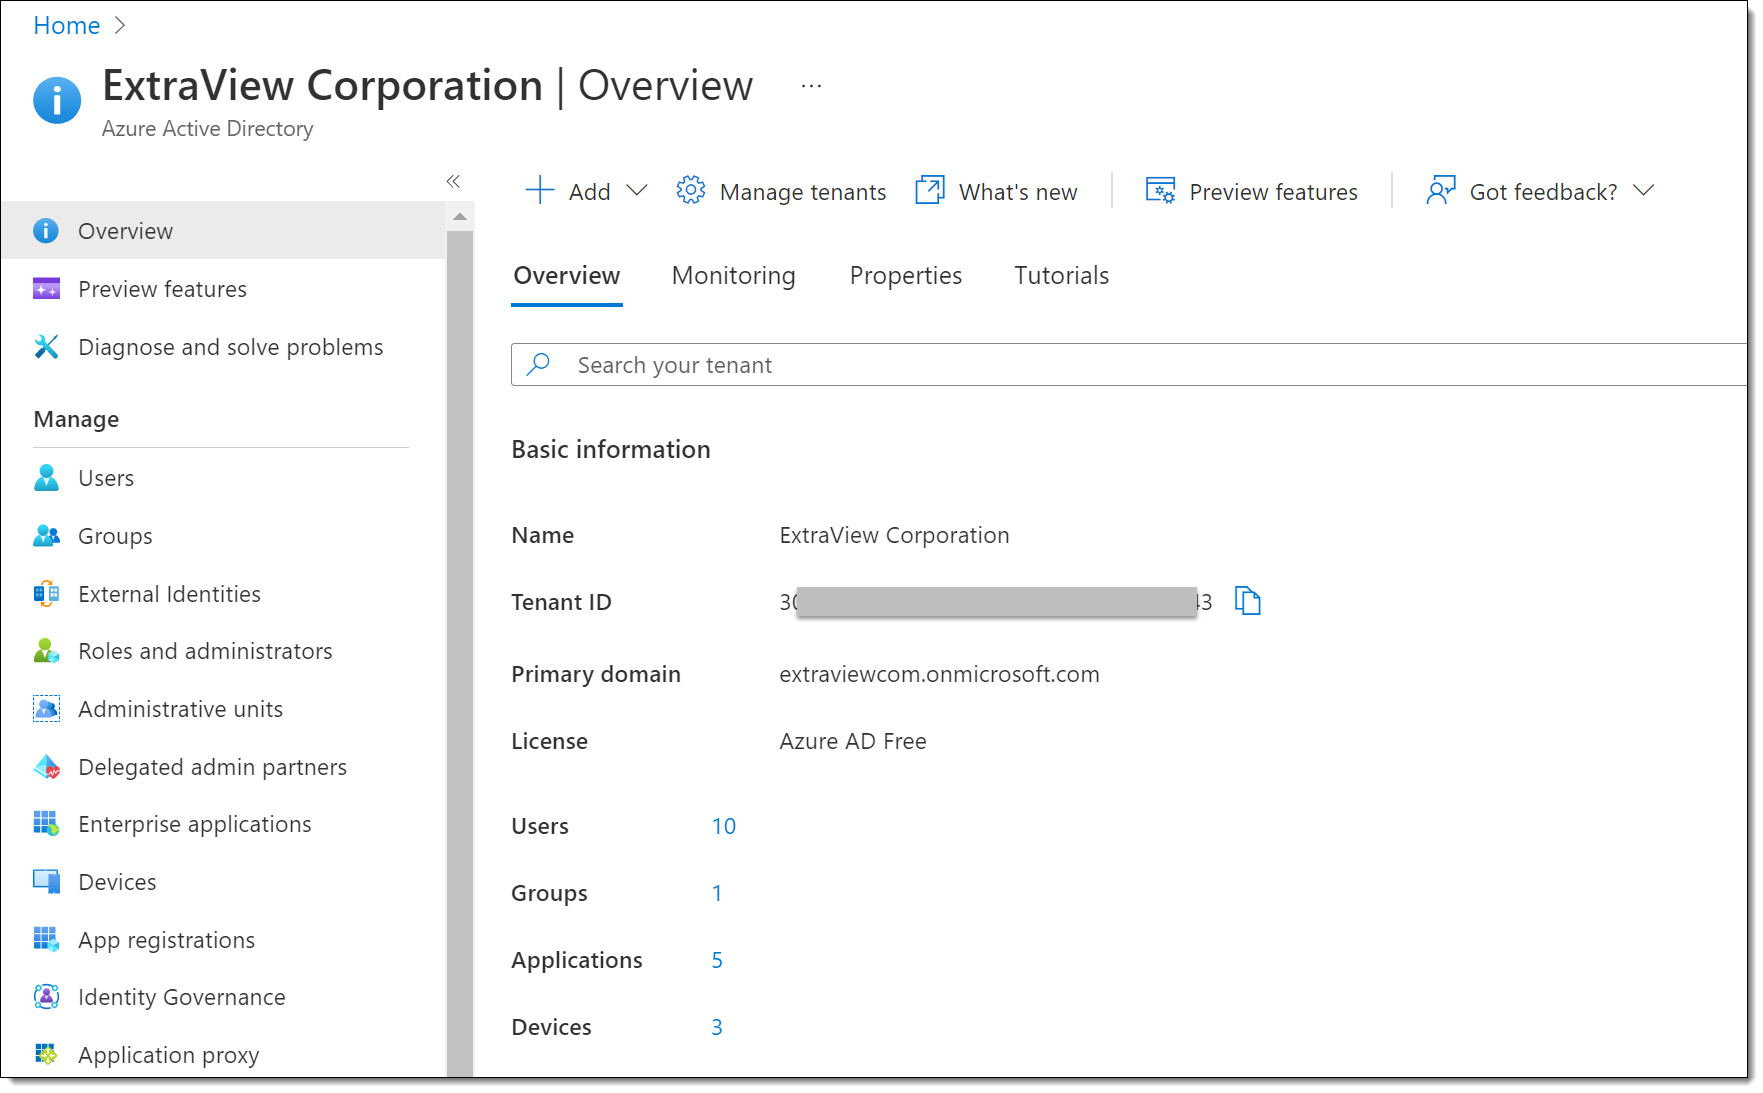
Click the Manage Azure Active Directory View button. If you have already established your Microsoft email account, you will already have a Tenant ID, and you should use this. It can be viewed on the App registration screen. If you need to create a Tenant ID, click on Manage Tenants and then Create. Provide the information required by Microsoft, such as your band Initial Domain Name. Once configured, you will have a Tenant ID, as shown in the following screen. If you have not already done so, copy down the value of the Tenant ID as this is needed when configuring ExtraView.
Step 3 – Register the Application
Now, use the Add, App registration option to register ExtraView as the application which will be granted access.
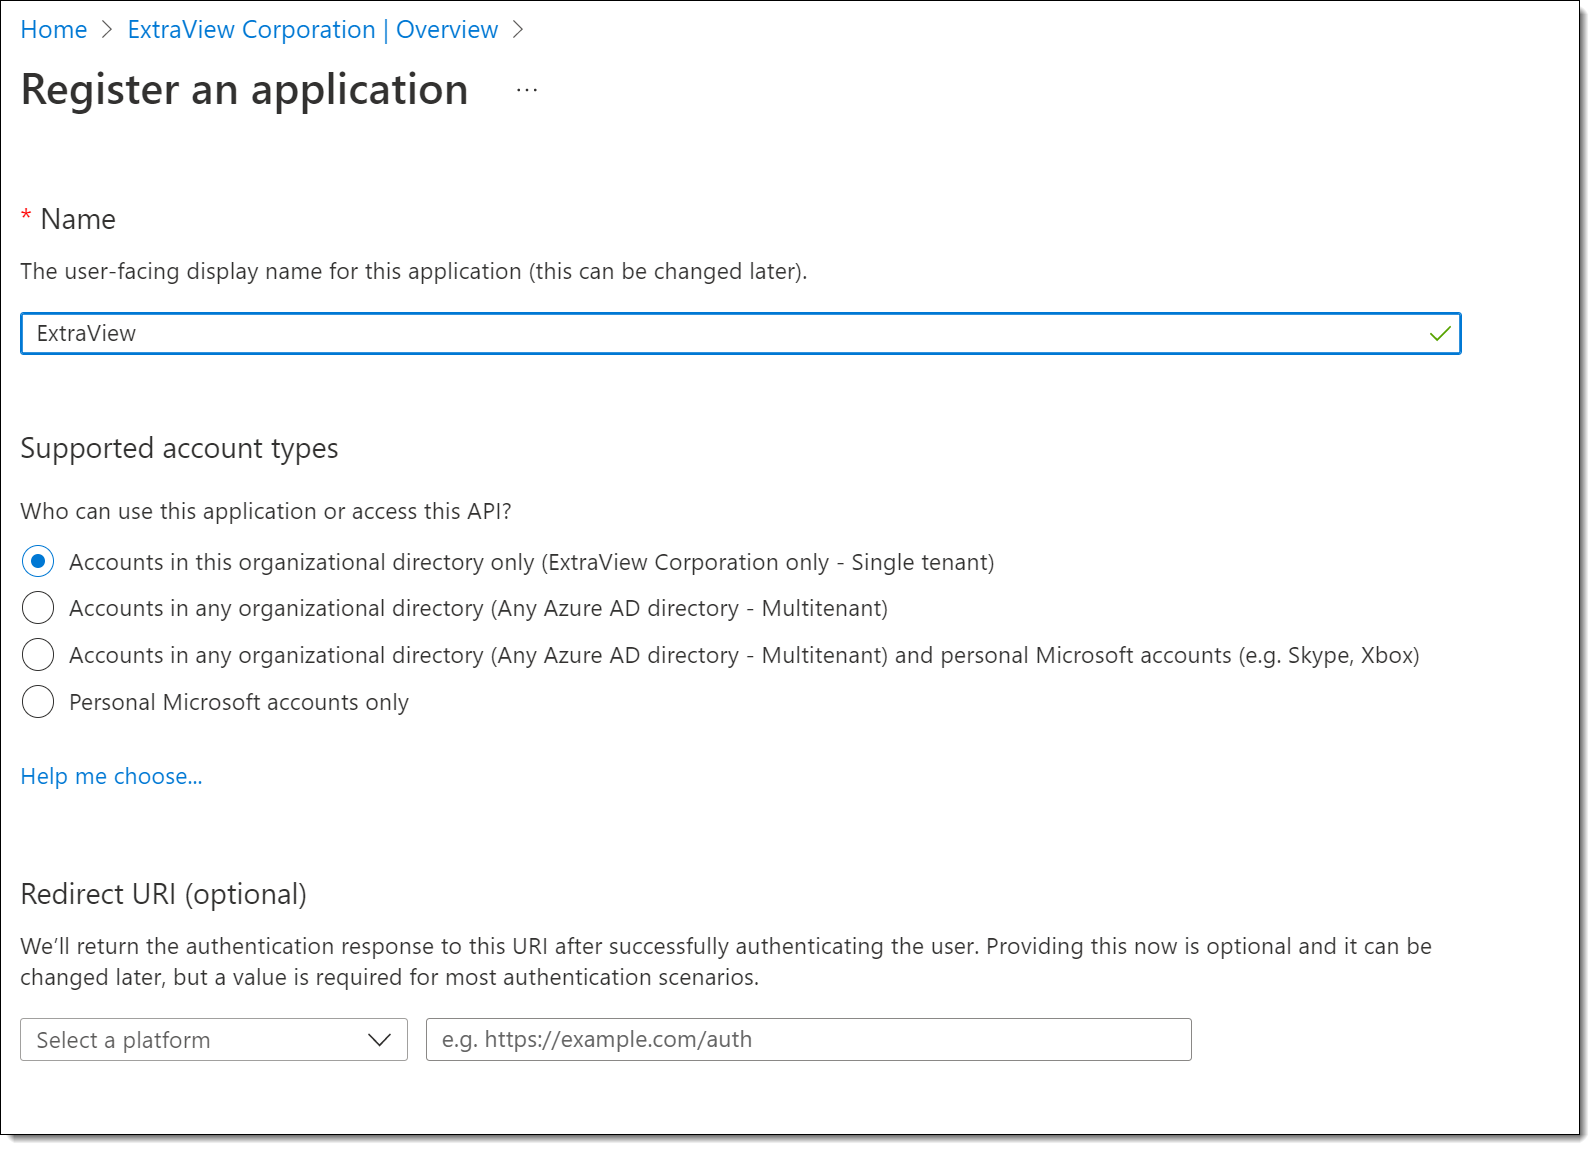
The platform must be Web and the Redirect URI must be:
https://yourextraviewurl.com/evj/OAuth2?p_action=getTokenReturn&p_option=admin.EmailTokenUtility
where https://yourextraviewurl.com/evj is the path to your ExtraView instance.
Step 4 – Copy the Values Needed for ExtraView
On the Overview screen, note down the Application (Client) ID and the Directory (tenant) ID if you have not already done so. These will be required when you configure the ExtraView Token interface.
Step 5 – Configure the Application
The next step is to configure the application, and to add a client secret.
- On the Azure navigation menu, choose App registrations
- Register a new application or edit the app you registered in the previous step
- Add a Client Secret
- This will generate the Client Secret and show its value
- Immediately copy the value of the Cient Secret the clipboard, as you will need this when configuring the ExtraView Token interface. Note that Azure only displays the value of the Client Secret when first creating it. You will not be able to retrieve this value later. Note that it is the value of the Client Secret and not the Client Secret ID that you need.
Step 6 – Set the Permissions
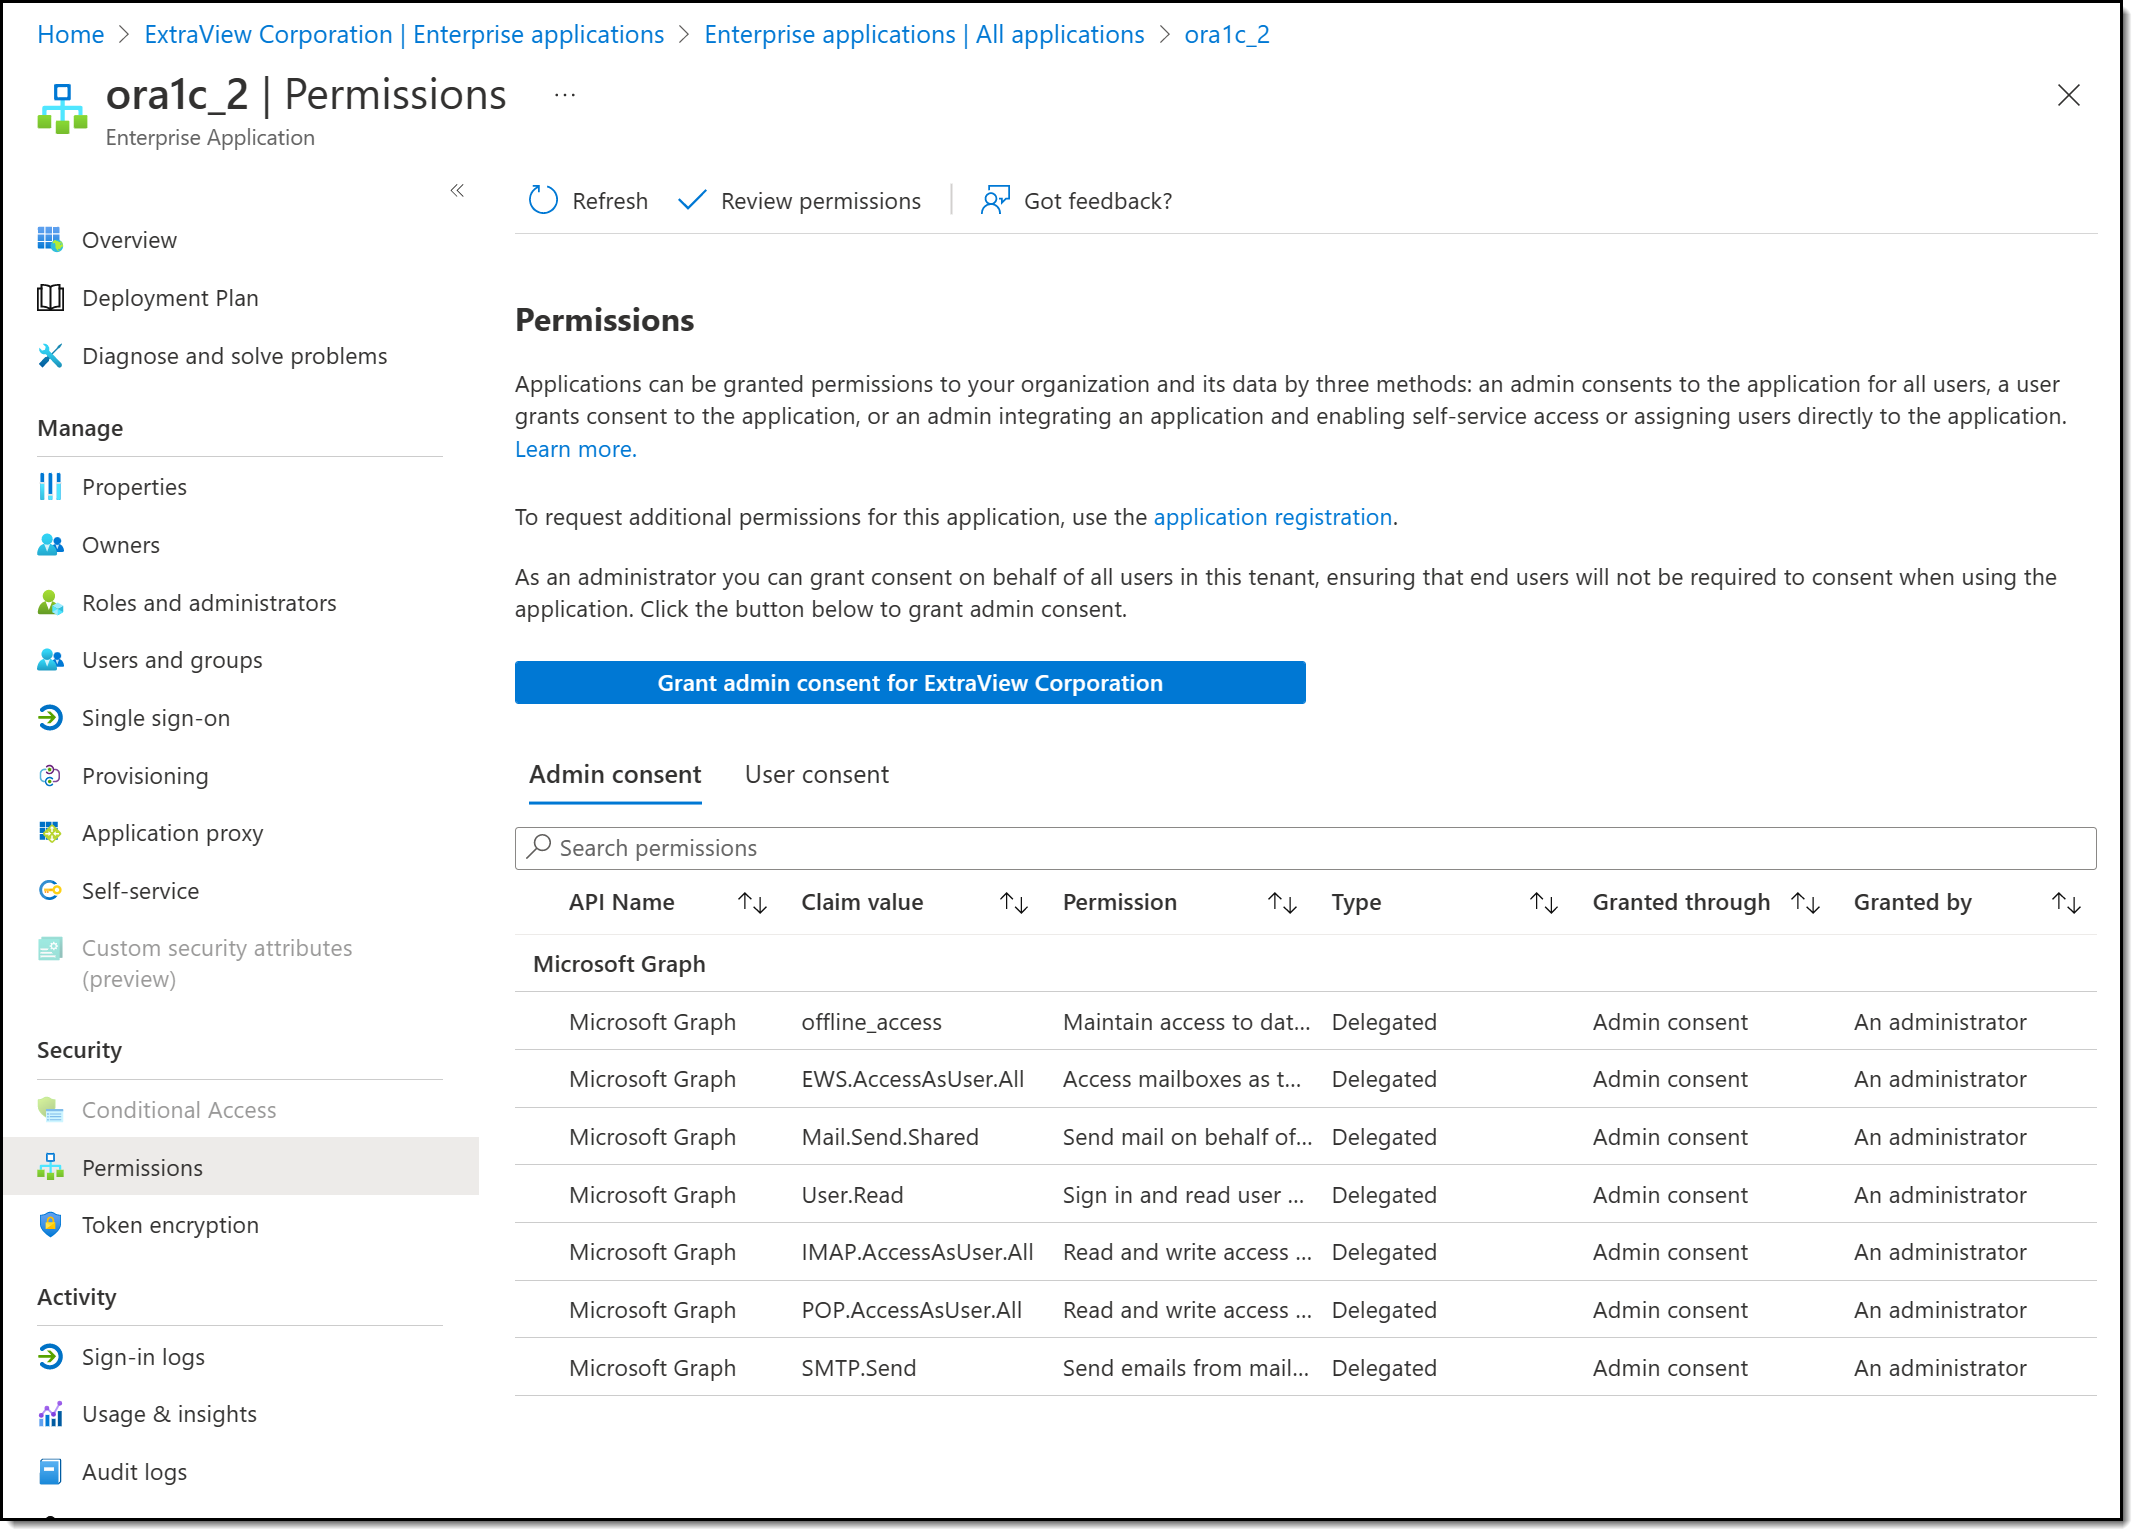
The next step in configuring the API and Office 365 Exchange permissions of the Microsoft Azure application. The specific permissions may depend on your requirements of the email server, but the following provides the permissions you are likely to need.
From the App registrations screen:
- Choose your application
- Click on the API permissions entry in the navigation bar
- Click on Microsoft Graph
- Select Delegated permissions
-
Search for and select the following permissions as needed with their checkboxes:
- OpenId permissions: offline_access
- IMAP: IMAP.AccessAsUser.All
- POP: POP.AccessUser.All
- EWS: EWS.AccessAsUser.All
- SMTP: SMTP.Send
Save the settings. with the Add button and then click on Grant admin consent to complete setting the permissions.
Step 7 – Set the User
You will then select a user to use with this application. It is likely the user already exists, but if not, you will create a new user to access the application. From the Azure navigation bar enter the Users screen and choose an existing user, or create a new one.
The user name used must be the email address(es) configured within ExtraView. For EVMail, this is the address used to sign on and retrieve emails from the Azure server. For BatchMail, this is the email address used to authenticate for outgoing email.
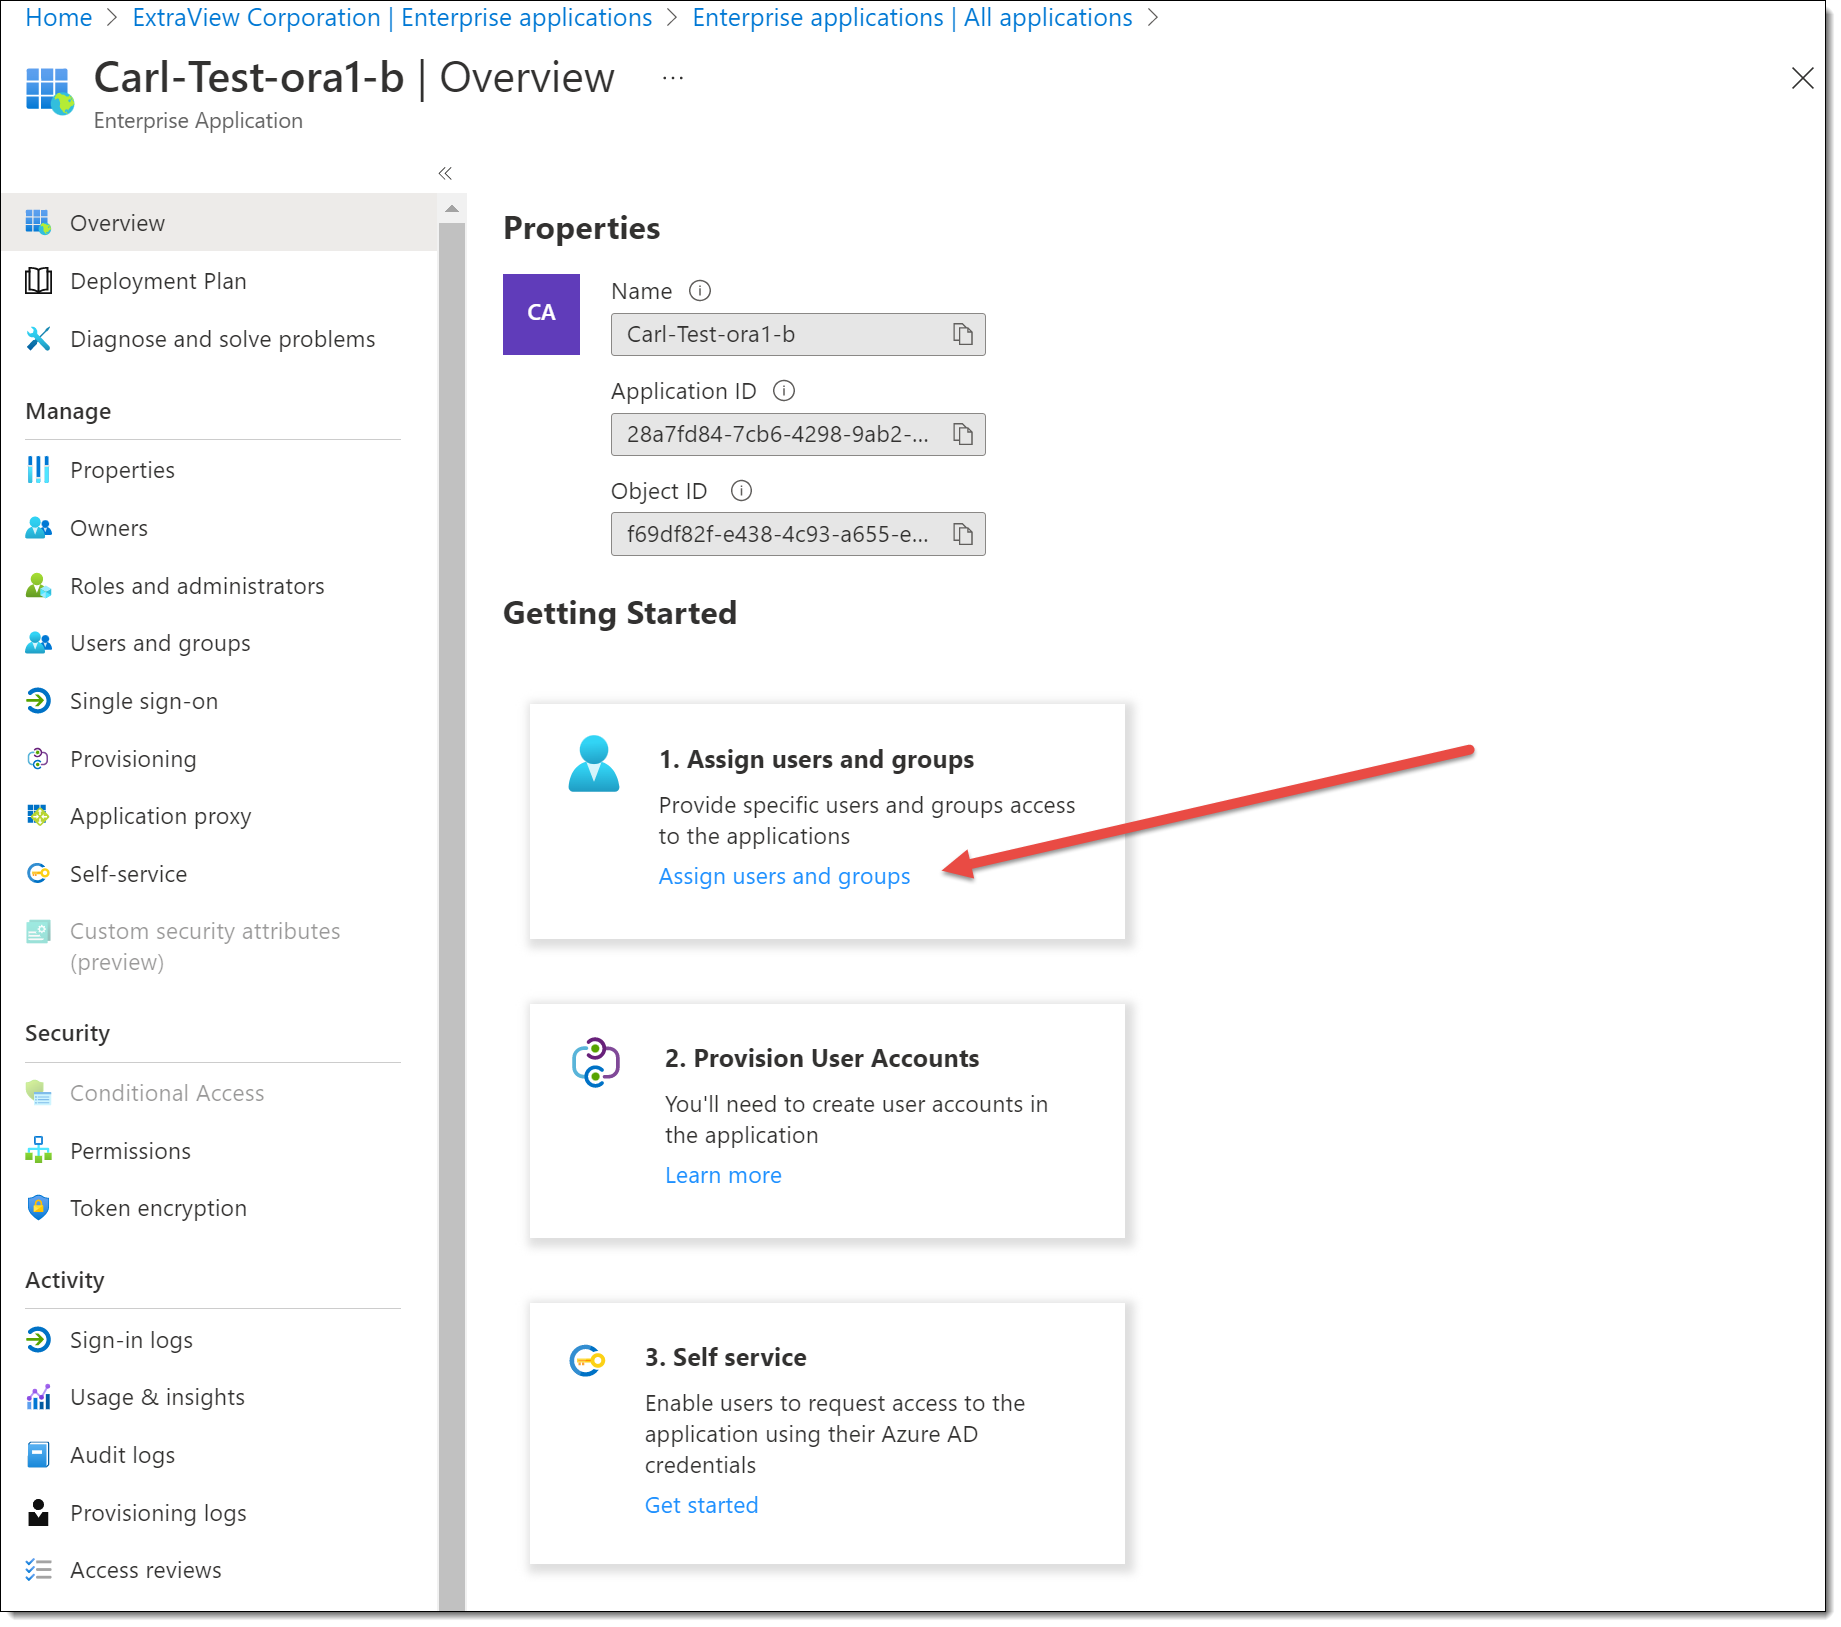
This user must be assigned to the application. From the list of Enterprise Applications, choose the application you created, Assign users and groups and then add the user to the application.
