We recommend installing Tomcat 9.0 to work with this release of ExtraView.
The following steps will install Tomcat into the directory $BASE/apache-tomcat-9.0.xx.
Note that Tomcat is required, even if you are intending to use Microsoft IIS as your web server. IIS does not provide the same functionality as Tomcat.
cd $INSTALL
cp apache-tomcat-9.0.xx.tar.gz $BASE
cd $BASE
gunzip apache-tomcat-9.0.xx.tar.gz
tar xvf apache-tomcat-9.0.xx.tar
rm apache-tomcat-9.0.xx.tar
We can remove *.bat files since this is a Linux installation.
cd $BASE/apache-tomcat-9.0.xx/bin
rm *.bat
chmod 744 startup.sh shutdown.sh catalina.sh
The following steps will set memory parameters for Tomcat and configure it to run with the correct Java.
We generally do not recommend setting the Xmx parameter above 1024 megs at maximum. If your system usage is predicted to be high enough that you will require more memory, we strongly suggest installing a clustered set of multiple Tomcat nodes under a load-balanced Apache web server.
vi $BASE/apache-tomcat-9.0.xx/bin/catalina.sh
Add the following lines:
JAVA_HOME=/usr/local/extraview/jre1.8.0_xx
CATALINA_HOME=/usr/local/extraview/apache-tomcat-8.0.xx
CATALINA_OPTS="-server -Xms96m -Xmx512m -Djava.awt.headless=true -Dfile.encoding=UTF-8"
If you are using Java 9.0 and above, you will need to add the parameter "-Djava.local.providers=COMPAT" as well
CATALINA_OPTS="-server -Xms96m -Xmx1024m -XX:MaxPermSize=190m -Djava.awt.headless=true -Dfile_encoding=UTF-8 -Dcom.sun.management.jmxremote -Djava.locale.providers=COMPAT"
vi $BASE/apache-tomcat-9.0.xx/bin/startup.sh $BASE/apache-tomcat-9.0.xx/bin/shutdown.sh
Add the following lines to each script:
JAVA_HOME=/usr/local/extraview/jre1.8.0_xx
CATALINA_HOME=/usr/local/extraview/apache-tomcat-9.0.xx
Tomcat is now installed in the directory $BASE/apache-tomcat-9.0.xx. You can start/stop tomcat using the following commands:
$BASE/apache-tomcat-9.0.xx/bin/startup.sh
$BASE/apache-tomcat-9.0.xx/bin/shutdown.sh
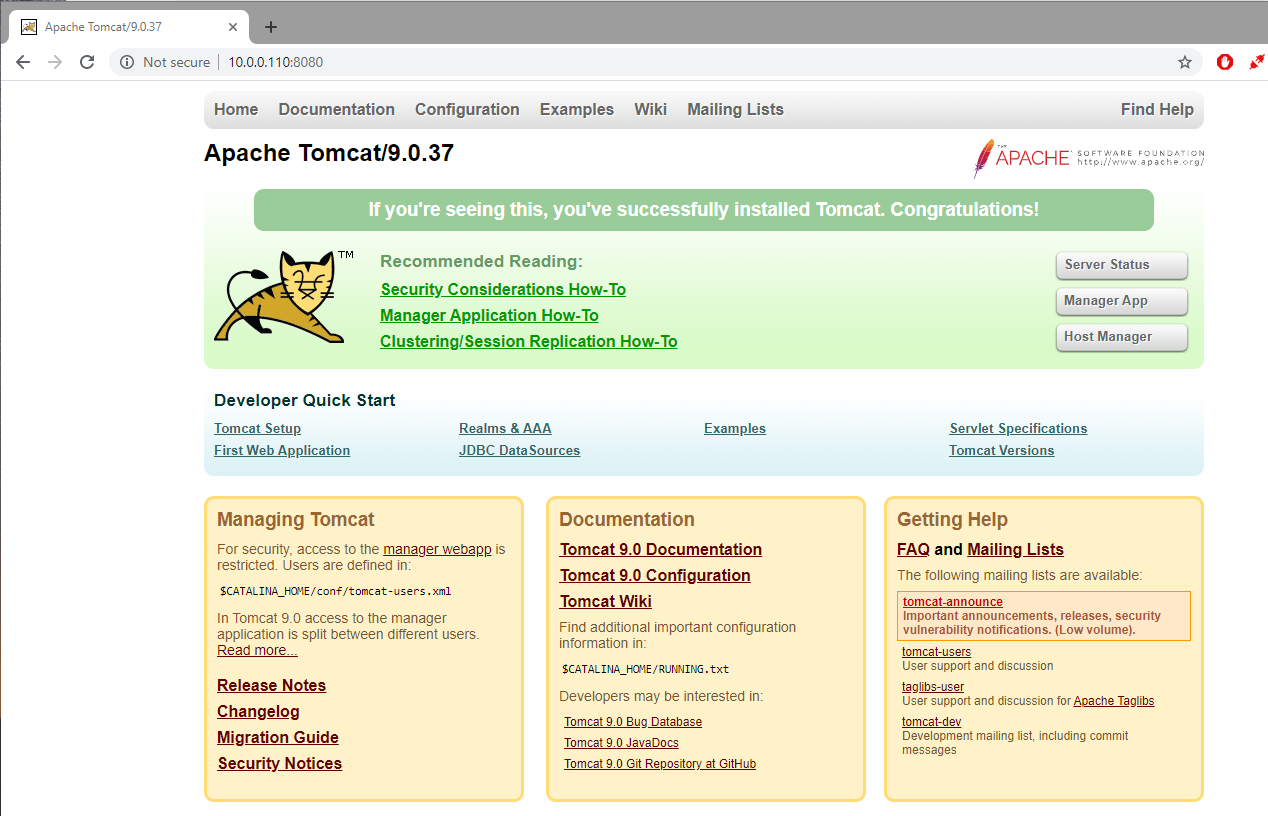
If you enter the URL of the server using port 8080 into a browser, for example http://server.domain.com:8080, you should get a test page similar to the following.

Edit the tomcat/conf/context.xml file
At the bottom of the file, add the the two following lines, before the last line wich reads </Context> :
<!-- Force use of the old Cookie processor (because this Tomcat version uses RFC6265 Cookie Specification) -->

			<CookieProcessor className="org.apache.tomcat.util.http.LegacyCookieProcessor" />
<tomcat_home>/conf/context.xml:
<!-- Uncomment this to disable session persistence across Tomcat restarts -->

		<!--

		<Manager pathname="" />

		-->
and alter to use the setting by removing the comments <!-- and -->;. This section will now read:
<!-- Disable session persistence across Tomcat restarts -->

		<Manager pathname="" />
Edit the tomcat/conf/server.xml file
Connector entry. I.e. remove <!-- and -->
    <!-- Define an AJP 1.3 Connector on port 8009 -->

			    <!--
<Connector protocol="AJP/1.3" address="::1" port="8009" redirectPort="8443" />
-->address="::1" value in the Connector parameter to force Tomcat to use IPV4. Set it to 0.0.0.0
 <!-- Define an AJP 1.3 Connector on port 8009 -->

			    <Connector protocol="AJP/1.3"
address="0.0.0.0" port="8009" redirectPort="8443" />|, { and }. Some of these characters have long been used within the ExtraView application. To enable Tomcat's handling of these characters, modify the Connector setting in the conf/server.xml file by adding the following entry:
relaxedQueryChars="{}|"
So that you have:
<Connector protocol="AJP/1.3"

		           address="0.0.0.0"

		           port="8009"

		           redirectPort="8443"

		           relaxedQueryChars="{}|"
           />
server.xml file, ensure the section for the AJP 13 connector has the new parameter:
secret="changeme"
<Connector protocol="AJP/1.3"

				           address="0.0.0.0"

				           port="8009"

				           redirectPort="8443"

				           relaxedQueryChars="{}|"

				           secret="changeme"

				            />
Note the secret word should be changed to your own secret word.
workers.properties file where you set the AJP13 connector, add the parameter:
worker.tomcat1.secret = changeme
Note the secret word should match the entry you created in the server.xml file.
After making these configuration changes, stop and restart the tomcat process to pick up the changes.
When using an API to insert very large amounts of text within a single issue you may encounter an error within the API function, exhibiting as a null pointer exception that originates within the Tomcat application server. This error may be remedied by inserting the modifying the Connector entry within the Tomcat configuration file. An example of the altered configuration is:
<Connector port="8082" protocol="HTTP/1.1" URIEncoding="UTF-8" connectionTimeout="20000" maxPostSize="209715200" redirectPort="8442" maxParameterCount="1000000" />The maxPostSize parameter increases the size of Tomcat's buffer used to process the API command.
Normally, Tomcat explodes any existing WAR files and uses the extracted contents. However, Tomcat also supports the use of unexploded WAR files.
To configure Tomcat for use of unexploded WAR files, update the server.xml file to prevent explosion of WAR file as follows:
Find the line:
unpackWARs="true" autoDeploy="true"
Change this to:
unpackWARs="false" autoDeploy="true"