Importing Issues within Add and Edit Screens
Click for end user documentation
It can be useful as part of a workflow to configure the ability for an end user to directly import a file containing issues directly from an add or edit screen. This page discusses how to configure this feature.
As an end user feature there are some deliberate limitations, compared to the administrative function to import issues. These limitations make it much simpler for the user:
- The upload uses a predefined import template
- All the field mappings are therefore done for the end user
- There is no need to provide the end user with administrative access.
The process to configure this feature is as follows:
Step 1 – Create an empty import file with the field titles the end user will import
This is useful for two reasons. First, the file can be provided to end users as an empty container into which the issues they want to create can be entered. Secondly, this provides the basis for providing field mappings, especially if the titles you want the end user to use do not match the titles within the ExtraView database. As an example, we want to create a list of customers and their information:
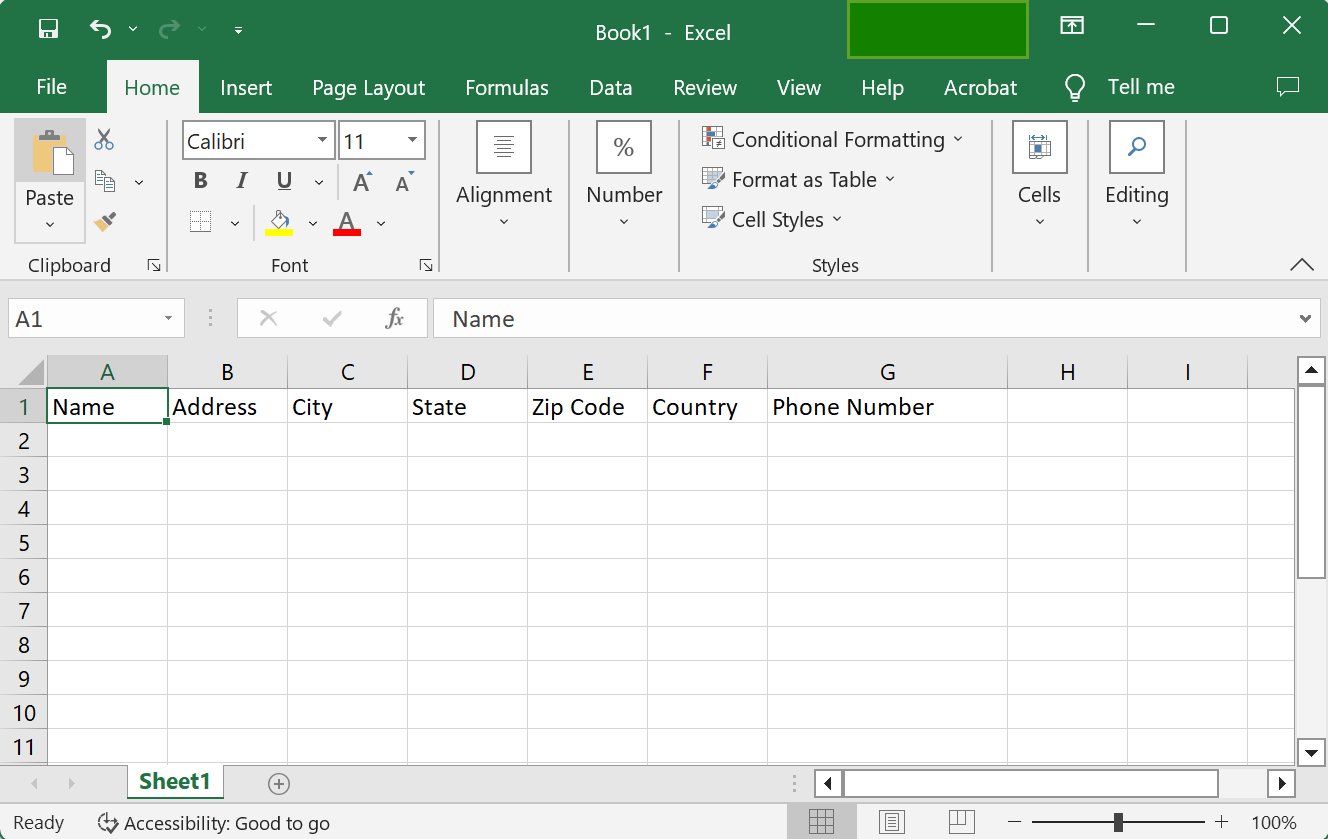
Save this file with a type of CSV. For our example, a name of customer-list.csv is used.
Step 2 – Create the import template with the Administration utility
This is created as a standard template within the File Import – Issue Data administration utility. See here for details. Note:
- The Business Area and Project should be the same as the one used as the user will use to add the issues as part of their workflow
- The mode should be Insert
- Choose the file you created in the last step to upload
- Click the Create Template & Upload File button
-
After mapping the field titles in your import file to the ExtraView fields you will see a screen similar to:
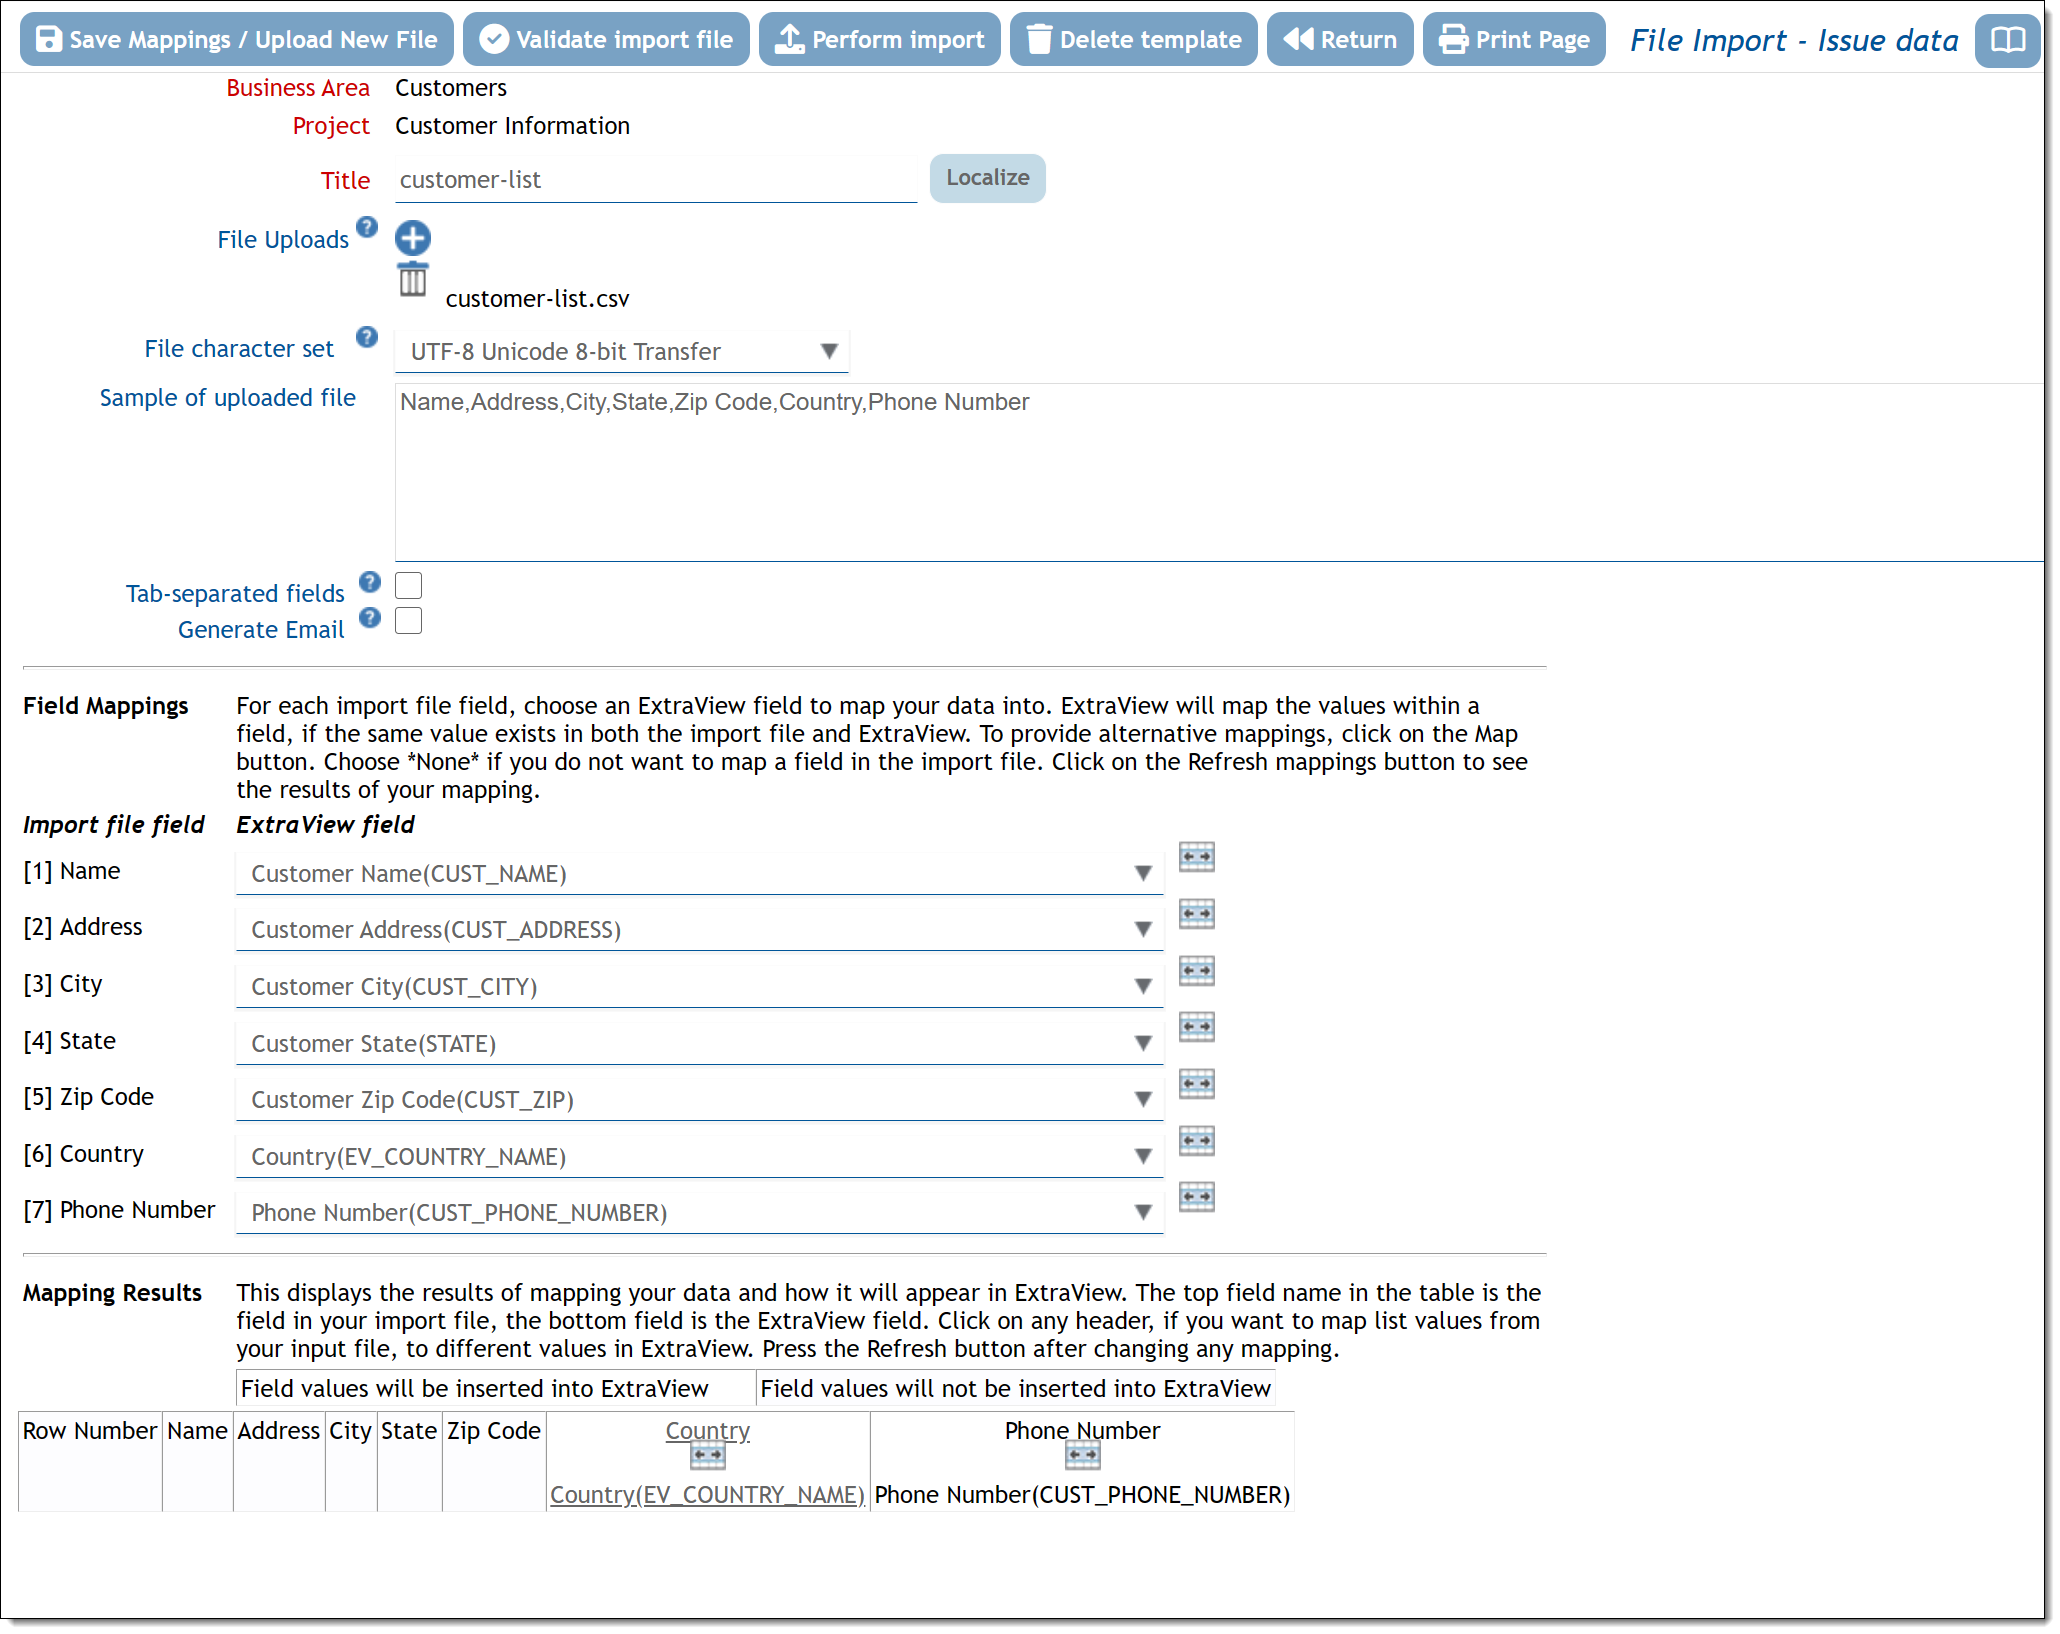
- Click the Save Mappings button
For more information on configuring file import templates, click here.
Step 3 – Use a Predefined Button, or Define a New Button within the Data Dictionary
This button will appear to the end user to activate the import process.
A button name UPLOAD_FILE_BTN is provided within the Data Dictionary and can be used. If needed, you can alter the title Import Issues and any other attribute of the field, or you can use the remainder of the instructions in this section to define a new button field.
If you want to create a field from scratch:
- Navigate to the Labels / Buttons tab of the Data Dictionary within Administration
- Add a new Menubar Button. For our example, we will name this as IMPORT_CUSTOMER_BTN and it will have a title of Import Customer List
- Edit the button you just created and add an Action Type of ExtraView File Upload
- Select the file upload template you created in Step 2 from the list provided
- Provide Help Text, These are the instructions that will appear to the end user of the import. This is a rich text field
- Click the Update button
-
Your screen will be similar to this:

Step 4 – Place the Button on an add or edit Screen Layout
Navigate to the layout where the layout is to be placed, and add the button field you created to the layout.
One optional feature here is that you can embed a report, typically showing the results of the import so that the end user can see the results of their import directly on the report.
- If you want to embed a report with the results, create the report first. Typically the report will use the Business Area, Project and the Date Created as filters, although any report can be used
- Place the button field on the layout
- If embedding a report, use the Layout Cell Attributes to select the report to be embedded, along with any other report attributes you wish to set
- Add the layout cell attribute named Drilldown Target to the menubar button you created and select the embedded report for the Drilldown Target, This causes the action to refresh the results of the embedded report once the file import has completed.
Step 5 – Using the Import Functionality
As an end user function, click here for end user documentation.