Custom Email
The custom email feature allows the ExtraView user to send email notifications (using templates or a custom email that you compose) to a list of email addresses generated by means of filters. For example, an organization might decide to have internal users (who create customer issues in ExtraView) always enter the customer’s email address in an email text field that can be made to appear on the Add Issue screen layout. If someone in customer support or marketing then wanted to send batch mail to all customers associated with a certain set of issues, the ExtraView user can drill down to a given issue’s edit screen, and then click the Email button to activate the feature, select filters to generate the email list, select a template, or write a custom mail, and then send the message.
To Create Custom Email
Click the Email button from an appropriate issue’s Edit screen.

Issue Edit screen
The following screen appears:
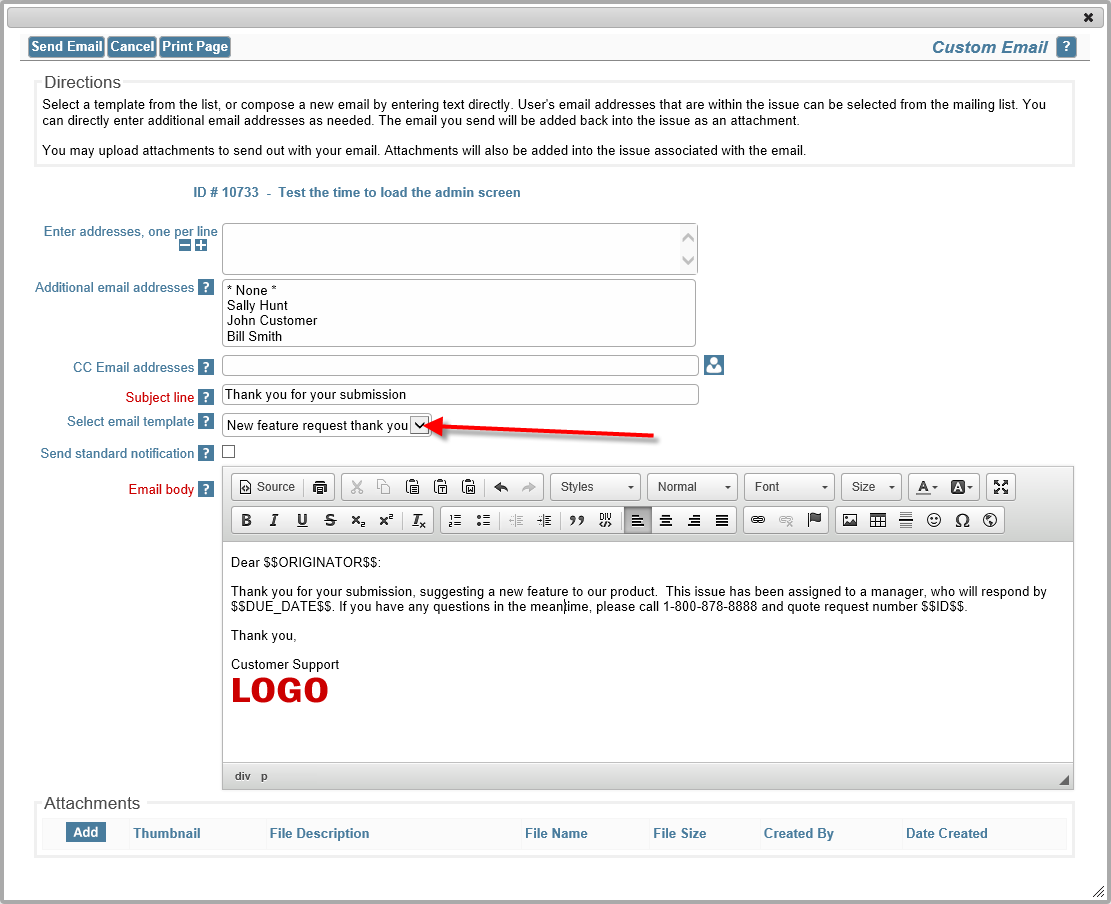
Custom Email screen
- Enter email addresses to which you want to send the email in the text area with the title Enter addresses, one per line. Additional addresses (these are ExtraView users), may be selected from within the area titled Additional email addresses.
- You can use the CC Email addresses to enter or select additional people to whom you would like to send a copy of the email.
- The Subject line is required.
- You can either enter the text to send into the text area of the screen, or you can choose an email template from the pick list, and the template text will populate directly into the email body. Note that the email body allows you to enter and edit the text as HTML, using the toolbar above the field. For full details on how to use the editor, see Appendix B of this guide
- To create custom mail that you enter directly, type the desired content into the email body field. When you select a template, there is a warning if you already have text in the email body, ensuring you only overwrite the body deliberately. You may use $$ on either side of a database field name (e.g., $$CATEGORY$$) and the value selected in the original issue will populate the email text when it is sent. For a full list of field names that you can use, ask your system administrator for a list
- You may include image fields and document fields as part of a custom email. When you place the field name of either of these field types into a custom email (e.g. $$MY_DOC_FIELD$$, then the name of the document or image file is placed into the email body in place of the token, and the image or document is added as an attachment to the outgoing email notification.
- Check the box titled Send standard notification if you want the standard email notification to be sent in addition to the custom email you are preparing on this screen.
- If you are editing an issue, you may add an attachment from the list displayed. This functionality is not available when adding a new issue.
Note: The database names selected for use within the email tags must be fields that appear on the Edit screen layout, or else they won’t return any data.
Note: Once your email has been sent, it is appended to the issue as an attachment.