Attachments
Click for end user documentation
ExtraView gives you the ability to add an unlimited number of file attachments to any ExtraView issue. Attachments can include captured screen shots and documents or files. ExtraView gives you the ability to attach any number of files of any type to any given issue. Depending on the database used on the ExtraView server, each file attachment may be up to 2 GB (Microsoft SQL Server) or 4 GB (Oracle). If the database is MySQL, then the size limit is set by the administrator, but is generally smaller.
There are several interfaces for uoading file attachments within ExtraView. The primary method is described first. The remaining methods were used with earlier versions of ExtraView but retained for backwards compatibiilty. The reason for the change was browser developers such as Google and Mcrosoft removing support for Java applets being run within browsers. The primary interface works across all support browsers, but does lack some minor features.
Adding Attachments
From the add or the edit screen, click the Add Attachments button. A popup window will be displayed. The upload screen looks like this:
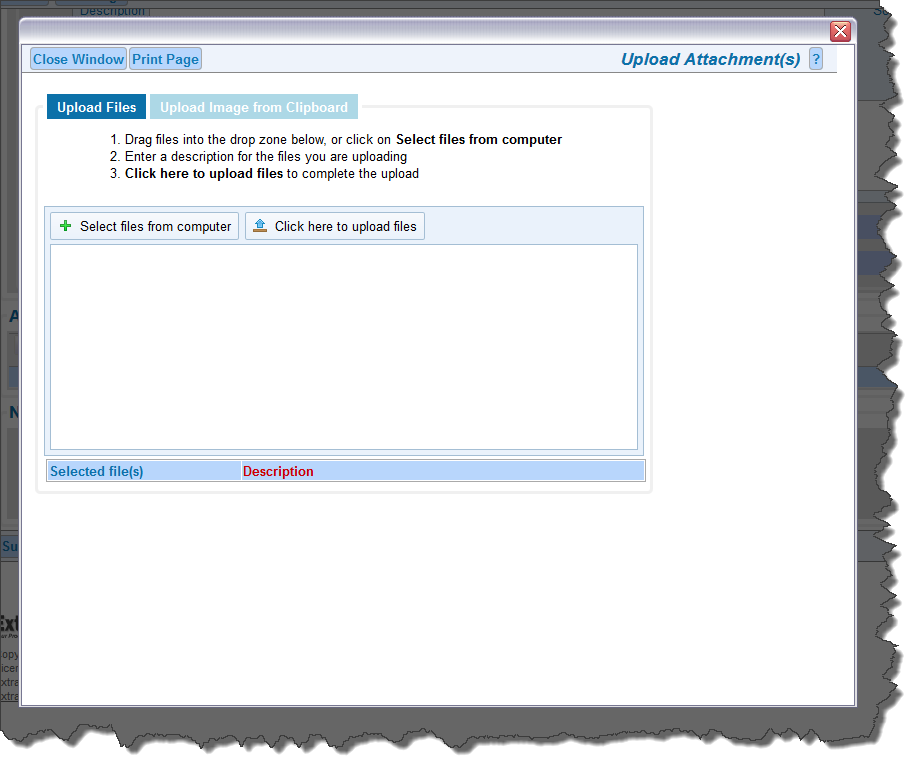
You may select up to 10 files to be uploaded in one operation. These files may be selected by using the Select files from computer button and selecting them from the file system, or by dragging the files from your desktop or file manager and dropping them into the panel. Once you have the selected the files, you enter descriptions for each of them in the popup, then press the Upload button.
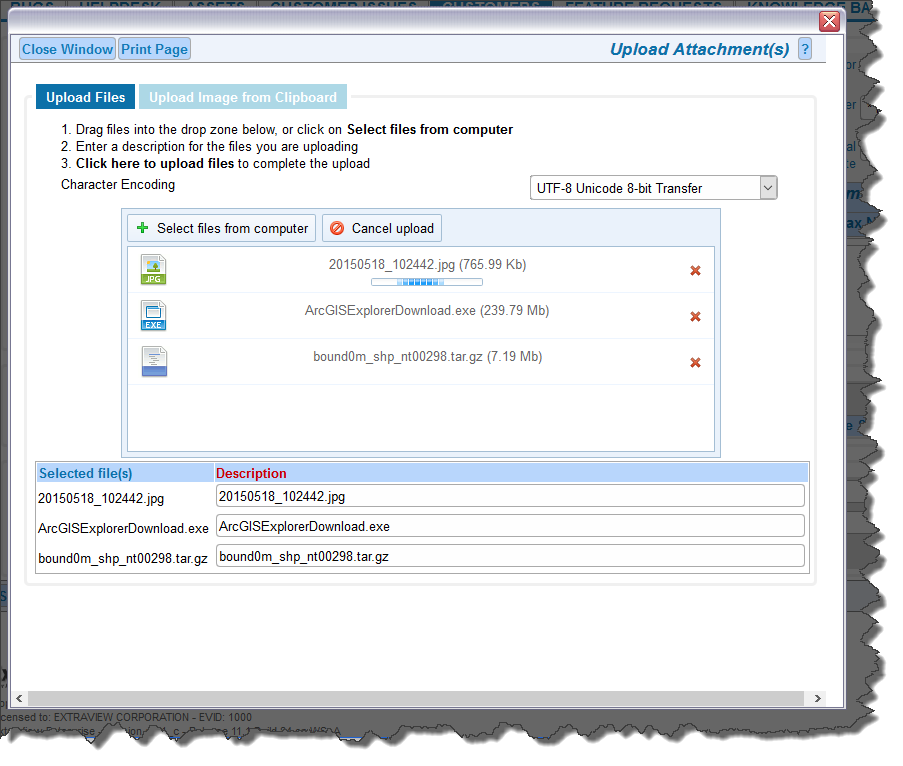
You will see a progress bar for each file as it is being uploaded, similar to the screenshot below.
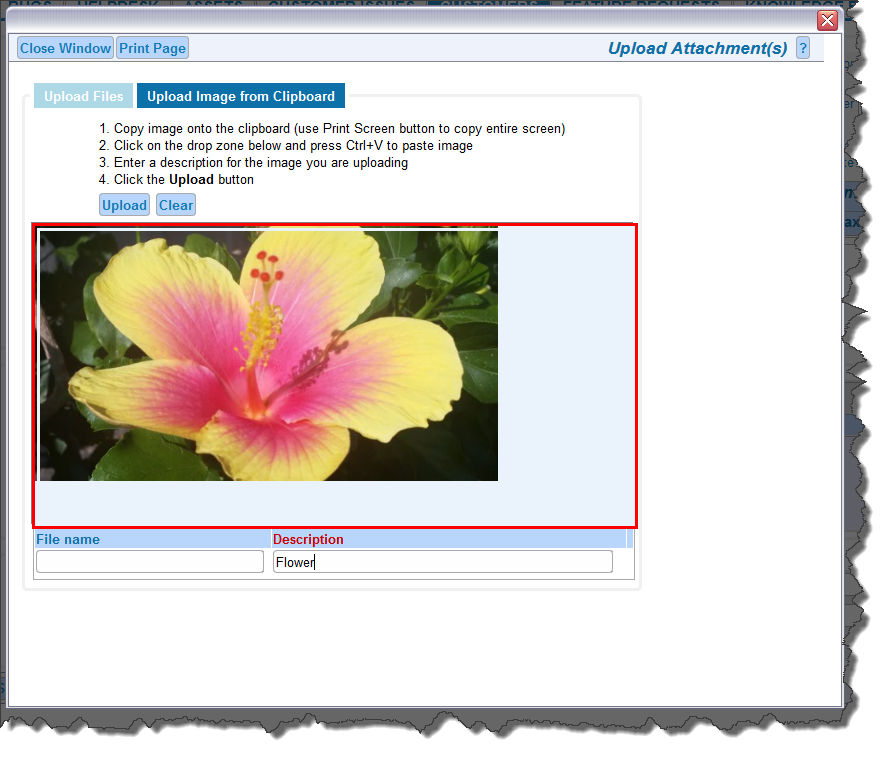
You may also load images as file attachments, direct from the clipboard of your computer. Copy a screen, or a portion of your screen onto the clipboard and within the Add Attachment popup, click the button at the top with the title Upload Image from Clipboard. Right-click with your mouse on the drop area and select Paste, or click CTRL-V and your image will be placed in the popup where it can be uploaded as a file. You will give the image a description, and optionally a file name:
Viewing Attachments
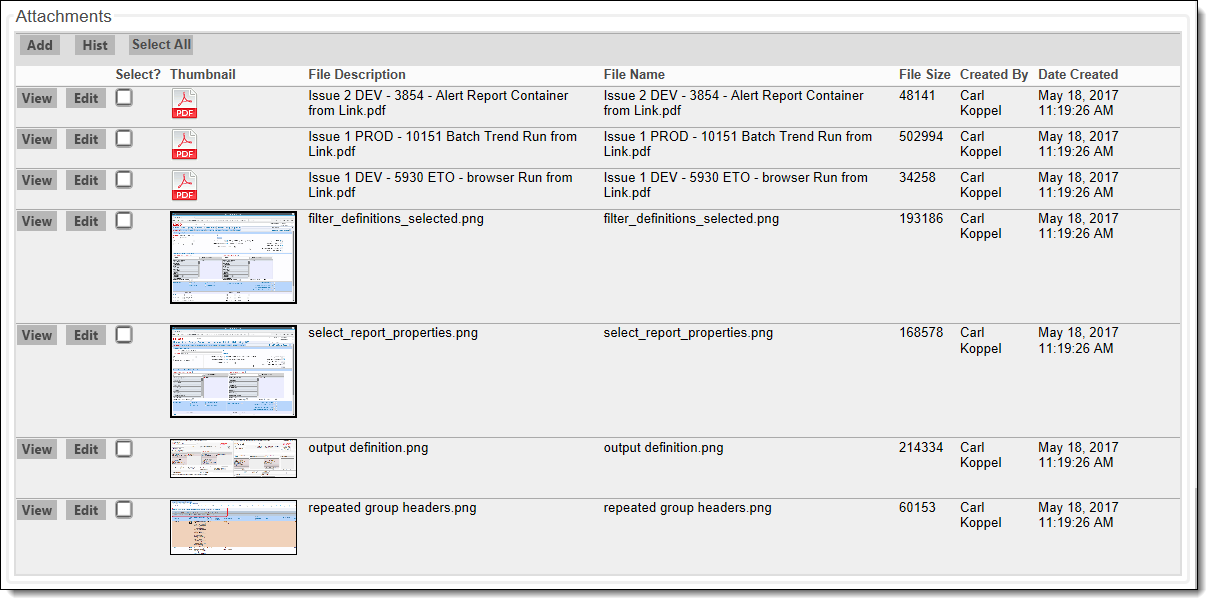
From the Edit Issue screen, click the View button next to the Attachment you would like to view. If the attachment is an image file, of type JPG, GIF or PNG, then a thumbnail image of the attachment will appear, and you can also click on the thumbnail to view the complete attachment.
Edit Issue screen
Editing and Deleting Attachments
Note that your administrator must have given you permission to delete attachments.
- From the Edit Issue screen, click the Desc button next to the attachment that you want to edit.
- Change the description and then click the Update button.
- If you would like to delete the attachment, click the Delete button.
Viewing the history of attachment changes for an issue
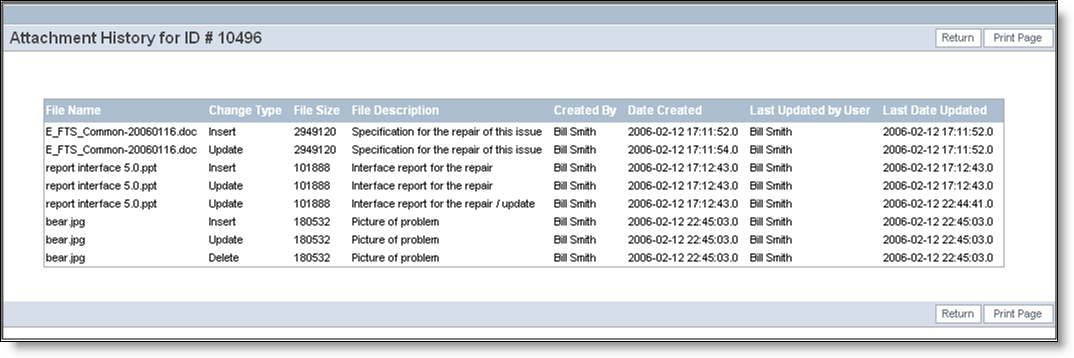
From the Edit Issue screen, press the Hist button to see a record of all the changes to attachments within an issue. This only appears if your administrator has given you permission. The history attachment screen is as follows. Note that you will see the history of all attachments for the issue, showing whether each attachment was inserted, updated, viewed or deleted.
Attachment history screen