Reports can all be saved so that they may be run at any time in the future.
Assuming you have been granted permission by your administrator, there are 3 potential areas into which you can save a report:
If a report already exists when you click the Save button, you are prompted to overwrite the existing report. If you click the Save As button, you will be saving the report with a new name and/or description.
There is a button to the right of the Report Title that appears when you are editing an existing report. When you place your mouse over this button, you will see who created the report, who last updated the report and the dates when these actions occured. This is most useful when managing public reports
In both cases, you can place the report into an existing report folder by selecting the folder name within the Existing Folders selection list, or you can create a new folder by providing its name in the appropriate field.
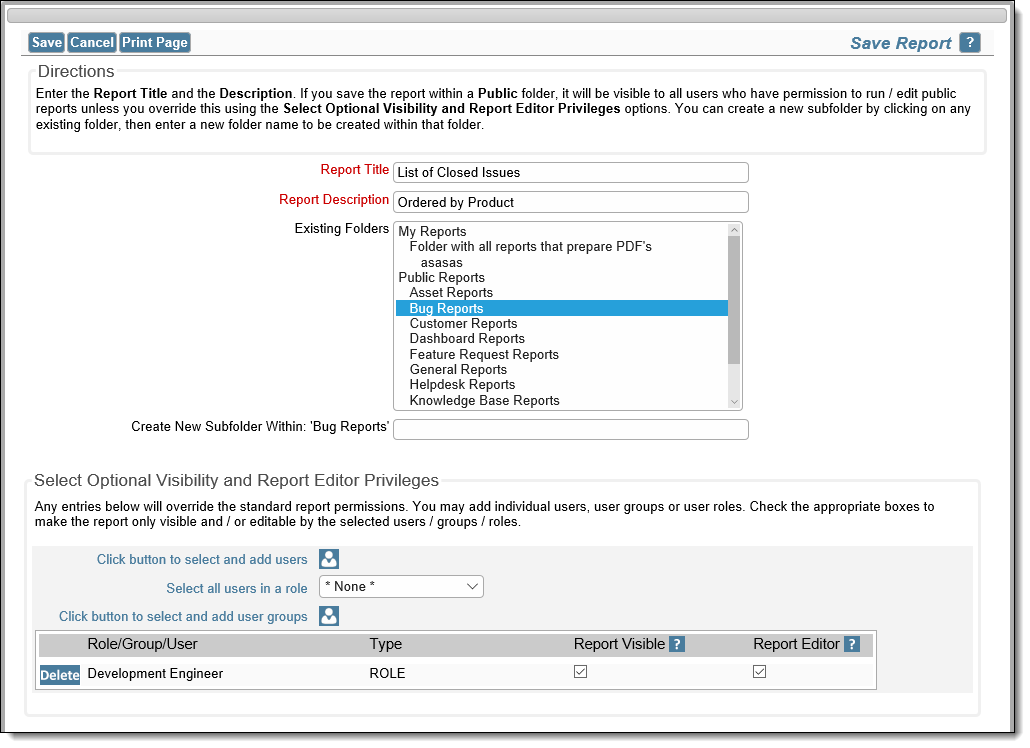
If you save the report for public use, you can make the report available to all users who have permission to see and run public reports. You may also share public reports to a much more limited audience. You achieve this with entries on the Select Optional Visibility and Report Editor Privileges are of the dialog. You may share the report with individual users, members of a User Group or with all members of a User Role. Note that User Groups are created and maintained on the Report screen. Further, when you share a report in this manner, you may allow the users with whom the report is shared to only run the report, or to be able to run and to edit the report.
Note that the administrator may not have given you privileges to store public reports or reports for different user roles. The administrator may also have used a setting that ensures that you have a minimum number of filters to be used for any report. On large databases, this is a way in which it is ensured that a single report does not attempt to download a huge number of issues, consuming significant resource on the server.
Note: When you use the Optional Visibility and Report Editor Privileges, you should be careful to retain permissions for yourself. If you simply allow another user to see and edit a report, you will no longer have access to the report yourself. It is recommended that you add yourself as a user who can both see and edit reports.
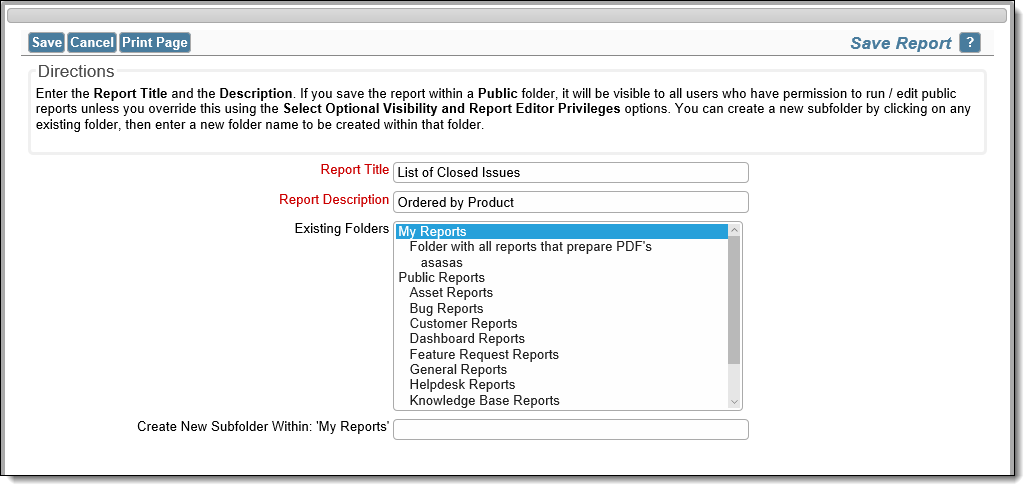
Saving a report for personal use
Saving a Public or shared report