Note that you must have been granted permission by the system administrator to see and update your personal options.
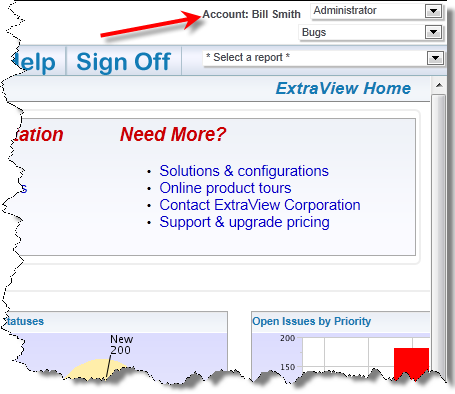
If you are using the standard interface, you click on your name in the navigation bar in order to access your personal options:
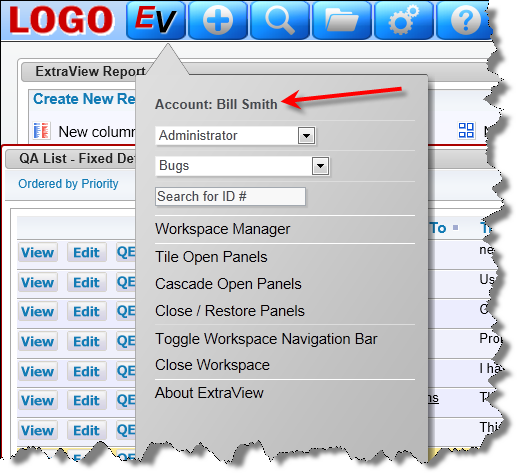
If you are using the workspace interface, you access your personal options from the Home Menu:
You will be asked for your password before gaining access to your personal options.
Personal Details
- User ID - You may not change your User ID. Once this was created it is a permanent entry into the database
- Alternative User ID - You may change your Alternative User ID and use this to sign on to ExtraView, as opposed to using your User ID. Given you are not able to alter your User ID, this provides a convenient mechanism to change your sign on. For example, this can be used to alter your sign on ID when you change your name upon marriage. This field is only visible if your administrator has enabled it
- Password
- First name and last name
- Password
- Email address
- Job Title
- Company name and address
- Telephone contact numbers

Personal Details input
Personal Options
- The text size within your browser. You can select small, medium or large fonts for the display. Most users prefer the small option
- Language. If this prompt is visible, you can alter your language setting to the available languages in the list. When you select a language, this also has the effect of allowing you to select different date formats. For example, if you choose English (United States) as opposed to English (Great Britain), the date formats presented to you will be according to the convention of the country. Also, if the language of the country is not English, all dates will be presented in your local language
- Time zone to which you belong
- Date format to use on display of date fields and an optional date mask to further customize the display of the date. See Appendix A for details of how to set the date mask, if one of the inbuilt date formats is insufficient for your needs
- Selection of 12 or 24 hour format in which to display the time
- File Attachment char set. You can set a default character set for documents you upload. The default for the English language is UTF-8, but you can use other values. For example, in Japan, Shift-JIS is the most likely value for this field. This option will not appear if your administrator has not enable working with some languages
- Chart font. This font will be used on charts you prepare.
- Start Page. If this option has been made available to you, you can set your start page to be one of the following: Home Page, Search / Report screen, Add Issue, Administration or Workspace. If you select an option to which you do not have permission, you will be directed to the Home Page.
- Workspace Settings. If you have been granted permission to utilize workspaces, then you may set some options for this.
- You can set the default workspace to be loaded when you first enter the workspace feature
- You can also select whether your personal preference is to minimize the number of Quicklist panels opened when you drill down from reports. You may prefer to keep this number to a minimum, or to create a new panel with each new drilldown
- You may choose what action that ExtraView takes when you click on a panel within a workspace. The default is that the panel obtains the focus and you work within that. However, you can choose to have ExtraView auto-scroll as much of the panel as it can, into view, from the top left-hand corner of the workspace that's visible. The first choice is better if you do a lot of dragging and dropping of issues between panels, as the panels will remain in their place within your browser. The second choice is better if you work mainly in add or edit screens, and want to see as much of their contents as possible, when you click on a panel. In both cases, clicking on a panel's icon within the navigation bar, will auto-scroll the viewing area of the workspace to make as much of the panel visible as is possible.
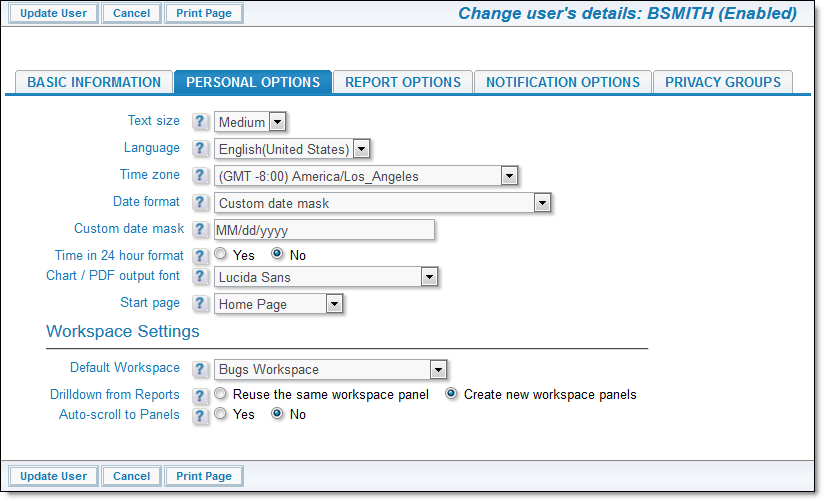
Personal Options input
Report Options
This screen controls the options to access reports for each user.
Drilldown Format (Quicklist or Detailed Report). This offers you an alternative when you drill down from a summary report, to reach the Quicklist or the Detailed Report. See the reporting section of this guide for information on the Quicklist and the Detailed Report
Choice of up to three reports that are available to you to place on your Home Page. Each report must have been previously saved, and you must have permission to run the report. You may also select these reports directly from the Home Page.
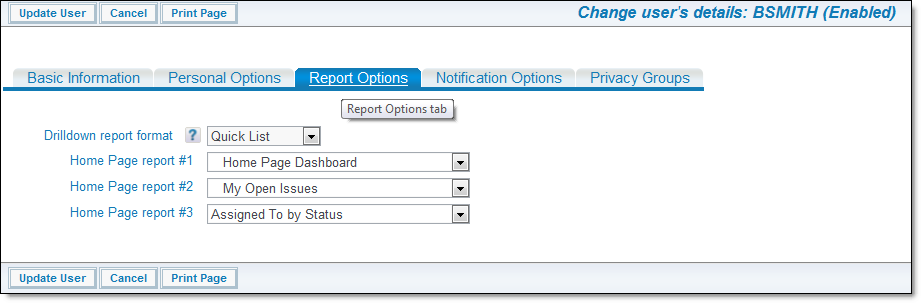
Report Options Input
Notification Options
This section controls the notification of issues to you.
Notification Options. You can turn on and off email notification at your primary email address (entered on the Personal Details tab) and at your alternative email address that you define on this tab. Control of sending notification to each of the addresses is independent.
Alternative Email Address - You can enter an alterative email addres and elect to receive emails at this address
Notify on Own Updates. If you select no for this option, then email notification to yourself will not take place for changes that you initiate
Email format for notification – HTML, plain text (full), plain text (brief), or plain text (very brief). The HTML and plain text (full) options will send a notification of all the key fields; the plain text(brief) option displays a smaller set of the fields that changed and the plain text (very brief) displays only the changed fields
Interest Lists. This displays all the interest lists to which you may subscribe. Note that many of these allow you to opt-in or opt-out of the interest list, according to how your administrator defined the interest list. Interest lists are used to notify users when specific values are present in issues, such as notifying an account manager when an issue for one of their customers is updated
Escalation Rules – You can opt-in and opt-out of all escalation rules that your administrator has made eligible for you to join and leave. Escalation rules are used to provide automatic notification to you or other users when specific criteria defined in the escalation rule have been exceeded. For example, issues that have not changed in Open status for more than one week may be escalated.
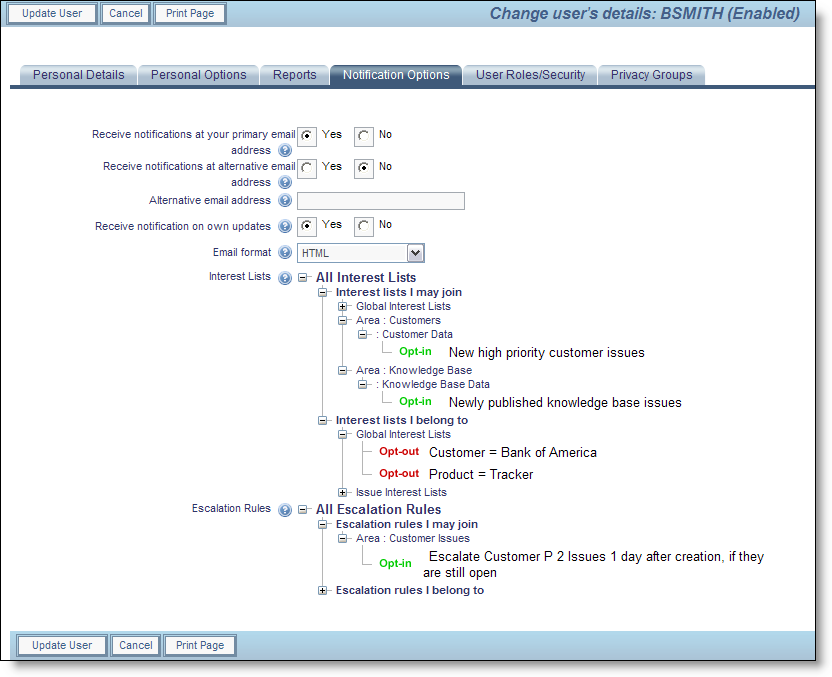
Notification Options input
Editing your personal account options
- On the navigation bar, click on your name
- After entering your password you will be able to change your account options
- Enter or update your data on any of the tabs on the screen
- To save your information, click the Update User button.