Use WinZip or a similar utility to expand the file named evjXXX.tar, where XXX is the version number of ExtraView that you are installing.
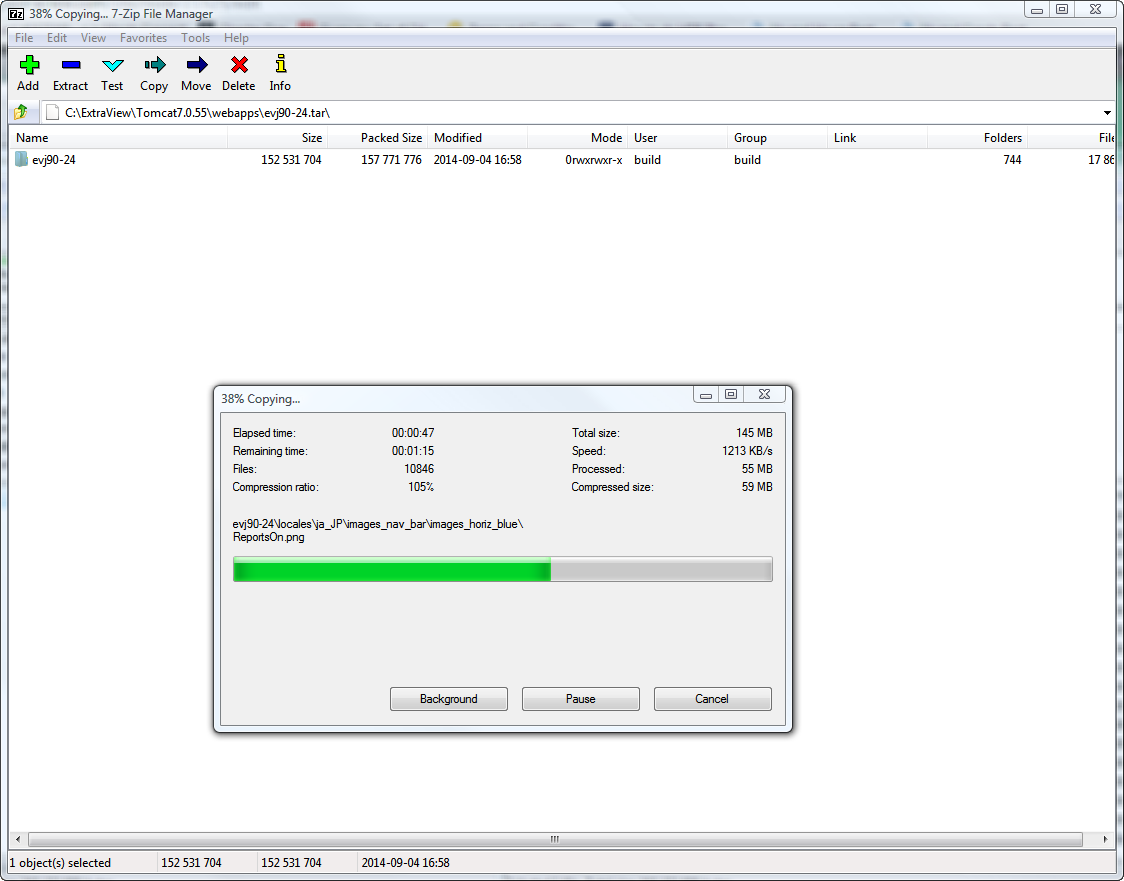
When asked to select a folder to extract to, enter C:\ExtraView\Tomcat7\webapps, or the corresponding value for your system.
A directory named evjXXX will be automatically appended to the path that you select.
Stop the Apache Tomcat service so that you can rename the directory named evjXXX to evj, and complete the following steps.
Edit the configuration file C:\ExtraView\Tomcat7\webapps\evj\WEB-INF\configuration\Configuration.properties for the following entries:
| DB_HOST | The IP address, localhost or fully qualified name for your database server |
| DB_USER | This is the name of the database user created previously |
| DB_PASSWORD | This is the password for the above database user |
| DB_URL | Make sure that the correct entry is uncommented and edited for your DBMS (Oracle, MSSQL or mySQL). The entry for HOST should be set to the same as DB_HOST above. The entry for SID should be the SID of the Oracle database, or the database name for MSSQL or mySQL |
| JDBCDriver | Make sure that the correct entry is uncommented and edited for your DBMS (Oracle, MSSQL or mySQL) |
| DBMS_INTERFACE | Make sure that the correct entry is uncommented and edited for your DBMS (Oracle, MSSQL or mySQL) |
Note: Even though this is a Windows installation, you must use forward slashes “/” in paths in Configuration.properties.
The following is an example of the Configuration.properties using Oracle: 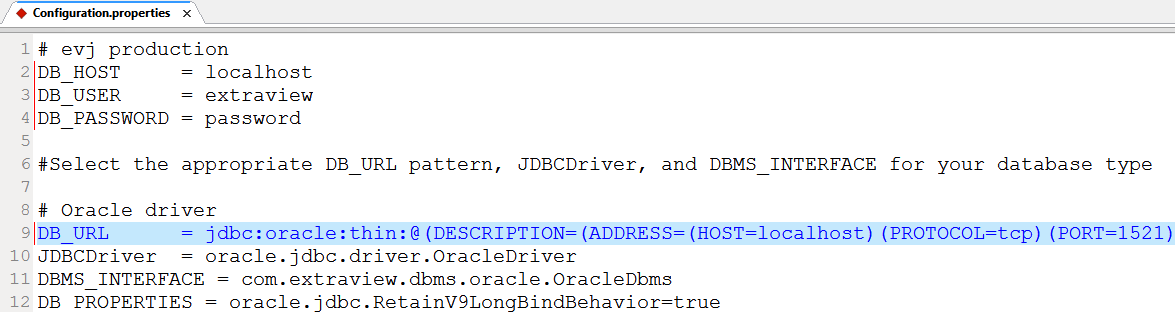
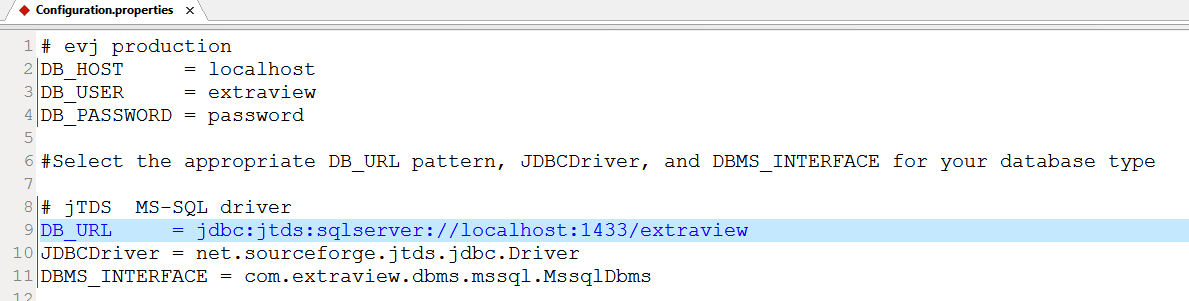
The following is an example of the Configuration.properties using MSSQL:
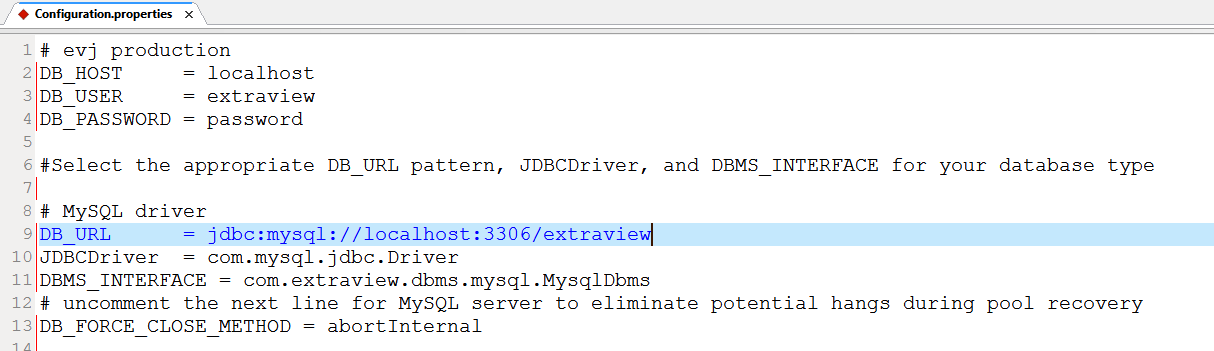
The following is an example of the Configuration.properties using mySQL:
You must configure SQL Server with mixed mode authentication, not just Windows authentication. For named instances, provide the port number in the JDBC URL - not the named instance name. For example, if your named instance is SERVERINSTANCE1 running on port 4000 then the parameters in the Configuration.properties file will be:
DB_HOST = SERVER DB_URL = jdbc:jtds:sqlserver://SERVER:4000/ev
where ev is the name of the database you created in the named instance. The SERVER name can be a server name, fully qualified domain name or IP address. It cannot be of the format SERVERINSTANCE1,4000.
Note:If you are running MSSQL:
Starting with ExtraView 5.x, ExtraView now provides a JDBC driver for MSSQL. We no longer require or support the Sprinta JDBC driver that was used in the 4.x versions of ExtraView.
If you are upgrading from 4.x and had previously been using the 20-connection Sprinta driver for MSSQL, you can now use the default values provided in the Configuration.properties for 9.x for ConnectionPoolSize and ConnectionPoolMax, instead of the previously-limited 20, as the new jTDS driver does not have a 20 connection limit.
Continue editing the Configuration.properties file within the new installation to populate the needed parameters. At this point, you can compare your evj_old/WEB-INF/configuration/Configuration.properties with the current file to determine if you have made any other changes that you wish to maintain. In particular:
Next, copy over the files from your existing installation that are specific to your installation:
Copy file evj_old/images/CompanyLogo.gif to evj/images
Copy folder evj_old/WEB-INF/user_templates to evj/WEB-INF
If you have user custom JavaScript code that was written either by ExtraView Corporation or by your developers, you should add any of your custom methods in the evj_old/javascript/user_javascript/UserJavascript.js file to the new file in evj/javascript/user_javascript. If you have questions about this step, please contact the ExtraView support team.
You may or may not have files in the user_javascript and user_templates folders, depending on your initial installation.
If you have customized images other than the company logo (CompanyLogo.gif), those have to be copied as well. Depending on your installation, you may have installed images for additional locales. You then have to perform the same action for each locale, by replacing en_US with the appropriate directory name. If you are upgrading from ExtraView 4.x or 5.x to 9.x, and you have a custom image set, please contact ExtraView support to get further information on updating your image set for the this version of ExtraView.
Copy folder evj_old/locales/en_US/images/images_custom to evj/locales/en_US/images
Only if there is User Custom code implemented on your site is this step necessary.
If you have User Custom code implemented, please review the name of your User Custom class(es) in the directory(ies) named
C:\ExtraView\Tomcat7\webapps\evj\WEB-INF\classes\com\extraview\usercustom\
and
C:\ExtraView\Tomcat7\webapps\evj\WEB-INF\classes\com\extraview\presentation\usercustom\
If you have files in these locations, and you are upgrading from a version of ExtraView older than 9.0, then you must contact ExtraView Corporation in order to make certain that you are upgrading your User Custom code to the correct new version. At the very minimum, these files should be recompiled using Java 7.
If you have files in the /usr/local/extraview/tomcat/webapps/evj/WEB-INF/classes folder that are not in the "usercustom" locations, you should *not* copy these files to the new evj folder - please contact ExtraView Corporation for assistance. These files are likely bugfix patch classes, and are not needed in the new version.