Note: If you are installing the Microsoft IIS Web Server, you should skip over this section.
If you are upgrading, you do not need to upgrade your Apache installation. However, if you have upgraded your version of Tomcat, you will need to verify that the paths in your extraview.conf and httpd.conf files match the current paths to Tomcat - see the section Configure Apache below for instructions.
If you are upgrading from a version prior to 9.1, you may optionally enable the new ExtraView Spell Check utility. From ExtraView 9.1 onwards, this is configured automatically when you perform the initial installation. Click on this link to see the installation instructions.
The following screenshots are for the installation of Apache 2.2. Follow a similar process for Apache 2.4, but note the difference configuration. Double-click on the Apache executable file. In our example, it will be httpd-2.2.21-win32-x86-openssl-0.9.8r.msi. Windows may prompt you with a Security Warning saying that the publisher could not be verified - click Run to proceed.
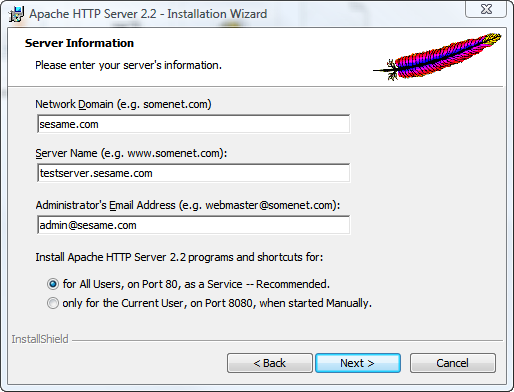
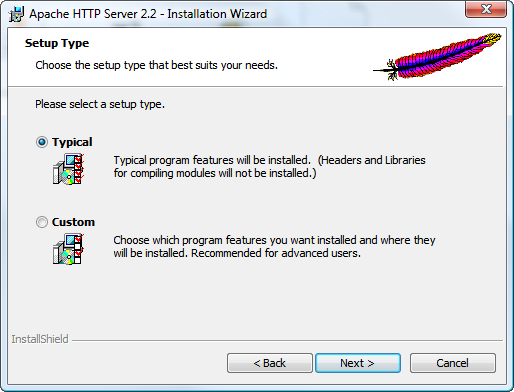
Select Typical installation.
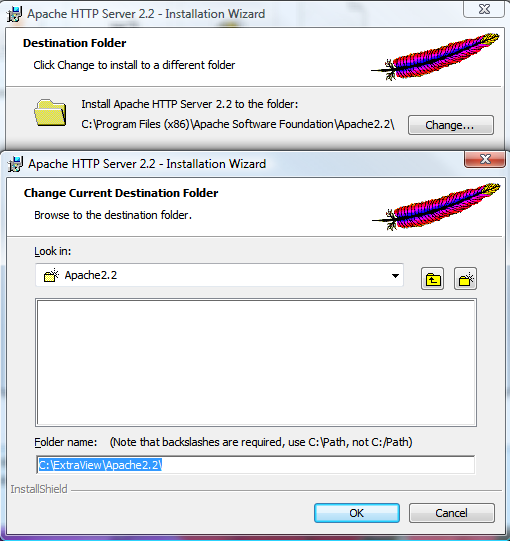
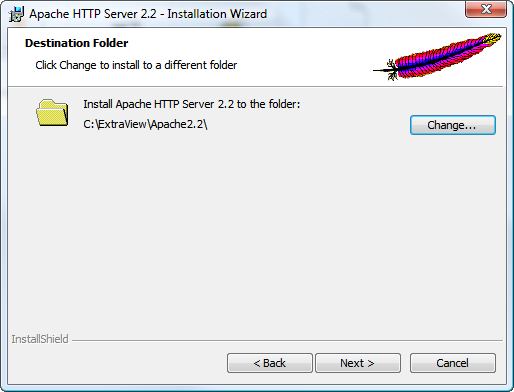
When asked to select an install folder, enter C:\ExtraView, or the corresponding value for your system. You should append a directory called Apache2.2 to the path that you have entered.
You will have downloaded an Apache Tomcat Connector file from apache.org. In our example, we downloaded tomcat-connectors-1.2.32-windows-i386-httpd-2.2.x.zip.
Extract the file named mod_jk.so into C:\ExtraView\Apache2.2\modules, or the corresponding directory on your system.
Copy the workers.properties file into C:\ExtraView\Apache2.2\conf, or the corresponding directory on your system.
Copy the extraview.conf file into C:\ExtraView\Apache2.2\conf\extra, or the corresponding directory on your system.
Edit the file named httpd.conf in C:\ExtraView\Apache2.2\conf, or the corresponding directory on your system. Find the line:
# Include conf/extra/httpd-vhosts.conf
(Search for vhosts) and place this line below it:
Include conf/extra/extraview.conf
Verify the paths in the extraview.conf correspond to your installation locations.
Edit the file extraview.conf to point to the correct corresponding directories on your server.
<VirtualHost *>
ServerName extraview.yourcompany.com
ServerAdmin you@example.com
DocumentRoot C:\ExtraView\Tomcat7.0\webapps\evj
Alias /evj/ "C:/ExtraView/Tomcat7.0/webapps/evj/"
JkMount /evj/ExtraView/* tomcat1
JkMount /evj/ExtraView tomcat1
JkMount /evj/IsItEvj tomcat1
JkMount /evj/ConnectionPoolMon tomcat1
JkMount /evj/images/CompanyLogo.gif tomcat1
JkMount /evj/rapidSpell/a.rapidspellweb tomcat1
<Directory "C:/ExtraView/Tomcat7.0/webapps/evj/">
AllowOverride None
Options Indexes FollowSymLinks
Order allow,deny
Allow from all
</Directory>
<Location "/evj/WEB-INF/">
Order deny,allow
deny from all
</Location>
</VirtualHost>
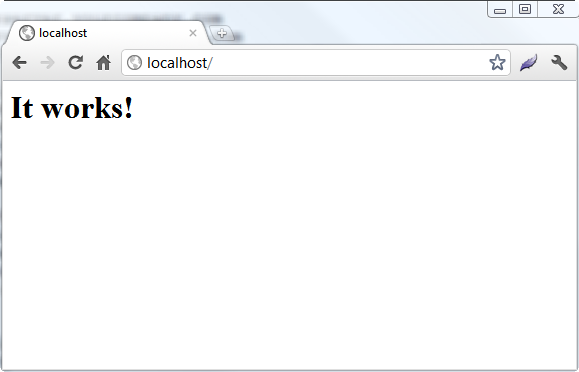
Locate the line at the bottom of the extraview.conf file that refers to mod_jk.so and make any needed changes to match your mod_jk file that you either compiled or downloaded: LoadModule jk_module modules/mod_jk.so If you enter the URL of the server into a browser, for example http://localhost, you should get the Apache test page.
The Apache configuration file, extraview.conf should look like the following:
ServerName extraview.yourcompany.com
ServerAdmin serveradmin@yourcompany.com
DocumentRoot /usr/local/extraview/apache-tomcat-7.0.22/webapps/evj/<Directory "C:/ExtraView/Tomcat5.5/webapps/evj">
AllowOverride None
Options Indexes FollowSymLinks
Require all granted
</Directory>
<Location "/evj/WEB-INF/"> Require all denied</Location>
This assumes the location of Apache Tomcat and the ExtraView installation will be altered to suit those of your installation.
ExtraView ships with its JavaScript files in both a compressed and a non-compressed format. There may be a considerable speed advantage to using the compressed JavaScript files, especially if your users do not have access to a high bandwidth network. To enable the delivery of compressed JavaScript to your user's computers, set these directives in your httpd.conf file:
<FilesMatch "\\.js.gz$">
  ForceType text/javascript
  Header set Content-Encoding: gzip
</FilesMatch>
<FilesMatch "\\.js$">
  RewriteEngine On
  RewriteCond %{HTTP_USER_AGENT} !".*Safari.*"
  RewriteCond %{HTTP:Accept-Encoding} gzip
  RewriteCond %{REQUEST_FILENAME}.gz -f
  RewriteRule (.*)\.js$ $1\.js.gz [L]
  ForceType text/javascript
  ExpiresDefault A2592000
</FilesMatch>
Now, find the following line in your httpd.conf file:
#LoadModule rewrite_module modules/mod_rewrite.so
Remove the comment character (#) at the beginning of the line.
Find the following line in your httpd.conf file:
#LoadModule expires_module modules/mod_expires.so
Remove the comment character (#) at the beginning of the line.
Lastly, look for the line:
#LoadModule headers_module modules/mod_headers.so
and remove the comment character (#) from the beginning of the line. The Apache server must be restarted after these changes.
If your users are utilizing the drag-and-drop file upload for attachments, document fields and image fields, make sure that the Apache configuration has a ServerName or ServerAlias for the SSL virtual host that matches the hostname you are using. For example, you can customize this fragment to get the desired behavior.
There are reports of Internet Explorer hanging, and hanging all connections to Apache, when running on a localhost on Windows 7 as an operating system. This problem is not restricted to ExtraView, but to any web applications that use the combination of Apache 2.4, Windows 7 and Internet Explorer all running on the same computer. The fix for this is to add the following two lines to your httpd.conf file: