Make sure you have the correct version of Java installed, as specified in the system requirements for your version of ExtraView. If you are upgrading from a previous version of ExtraView, please do not assume you have the correct version installed.
For Apache Tomcat, you can use either the JDK or the (smaller) JRE.
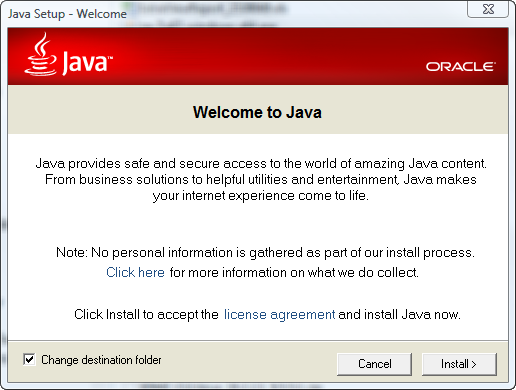
Double-click on the Java installation file that you downloaded. In our example, it is named jre-7u67-linux-x64.
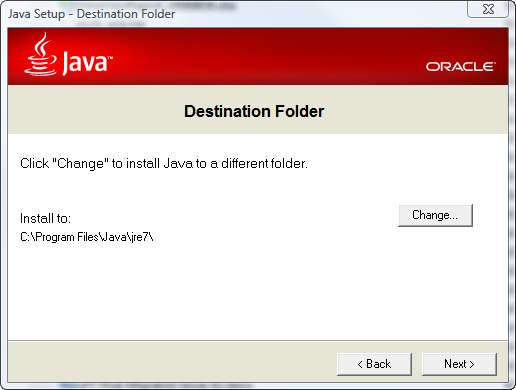
When asked to select an install folder, enter C:\ExtraView\jre8_xx, or the corresponding value for your system. You may be prompted with a Windows Security Warning - click "Run" to proceed.
Check the checkbox to Change the Installation Folder.
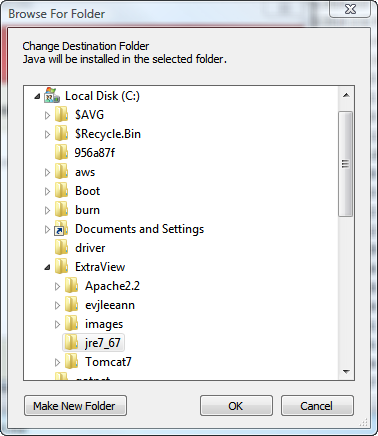
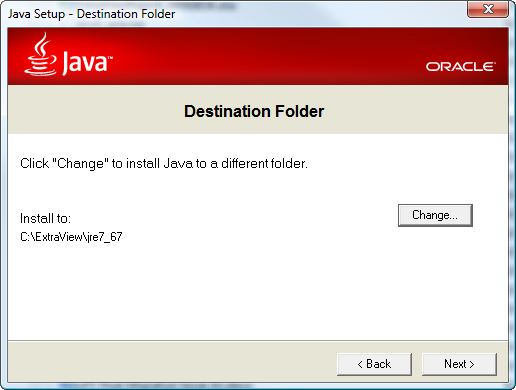
Take the defaults, but change the install folder to C:\ExtraView\jre7_67.
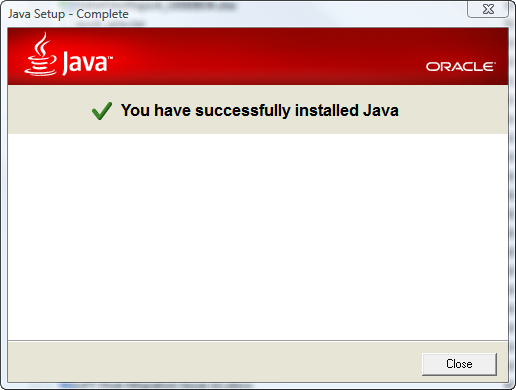
When the installation completes, you will see the confirmation screen:
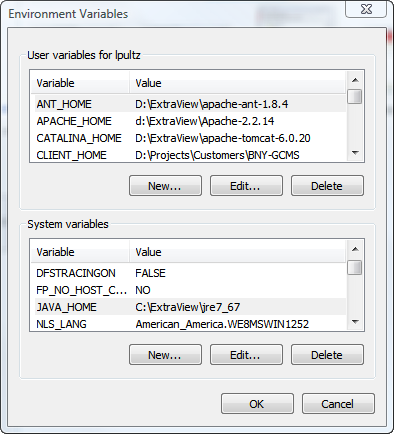
If you will be using your installation as a development environment, you should make sure you have a JAVA_HOME environment variable set. It is worth setting this in any case, as it might be needed at some time in the future. Go to the Windows Control Panel and select System. Select the Advanced tab and click on Environment Variables. Under System Variables, define the variable JAVA_HOME as the directory where you installed Java: JAVA_HOME=C:\Extraview\jre8_xx