From the Administration menu, under the Site Configuration tab, click on Status Change Rules. Based on your choice of workflow format, one of the following three screens will appear (the screens may look slightly different than what is represented here, but the functionality is identical).
Note the use of * None * as a value in the To Status and From Status column and row of the table. As well as control the movement of issues between different values, you can also control whether * None * is an allowable value. * None * may be set as a default value for the status field in the data dictionary.
When accessing the matrix showing the valid status transitions, all checkboxes may appear “grayed-out”. This implies that the values shown for the combination of the user role or product, the business area and the project are being inherited and cannot be set explicitly for this combination. To break the inheritance and set explicit values for the combination, either press the Update button once, or use the Copy From option to select the values from another combination of user role or product, business area and project.
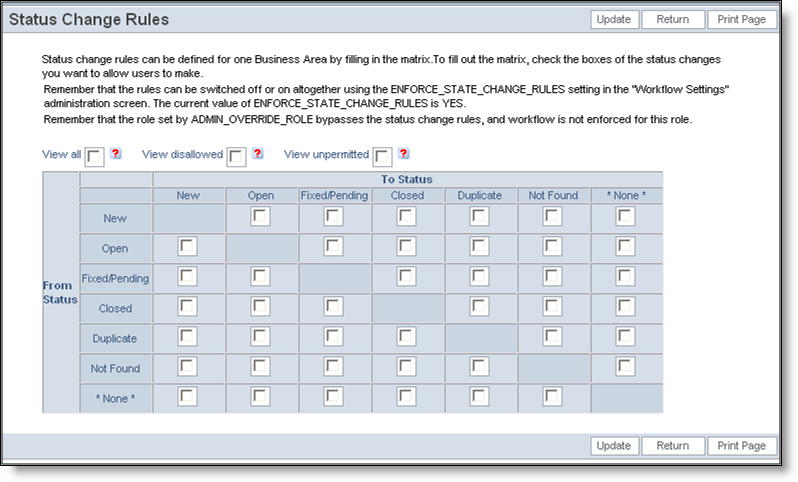
Status change rules applied universally to all issues
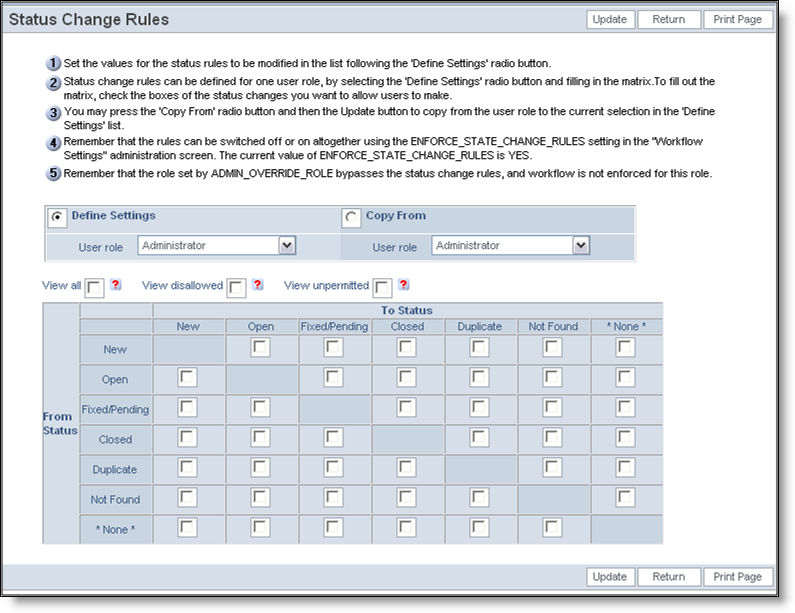
Status change rules applied to different user roles
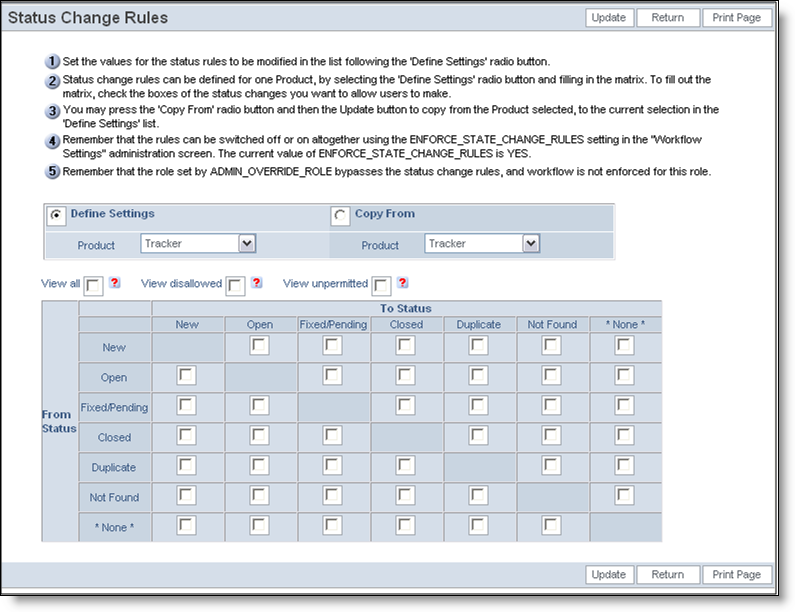
Status change rules applied to different products
Viewing allowed values and other information
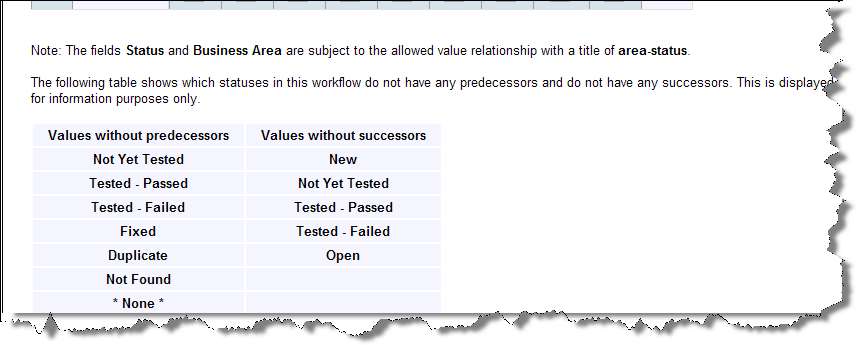
Towards the bottom of the screen that manages the status change rules there are two optional sections. If the status change rules are subject to the STATUS field being the child of either AREA or the PROJECT field as a parent, this is displayed. The second piece of information is a table that shows which settings in the status change rules has no predecessors and which rules have no successors. The first group represents the statuses that will be start points in the workflow; the second group represents those that are end-points in the workflow.